
Replace
Select an object and describe what should appear instead.
Fill, replace, or extend selected image areas with prompts and masks while keeping edits visually natural.
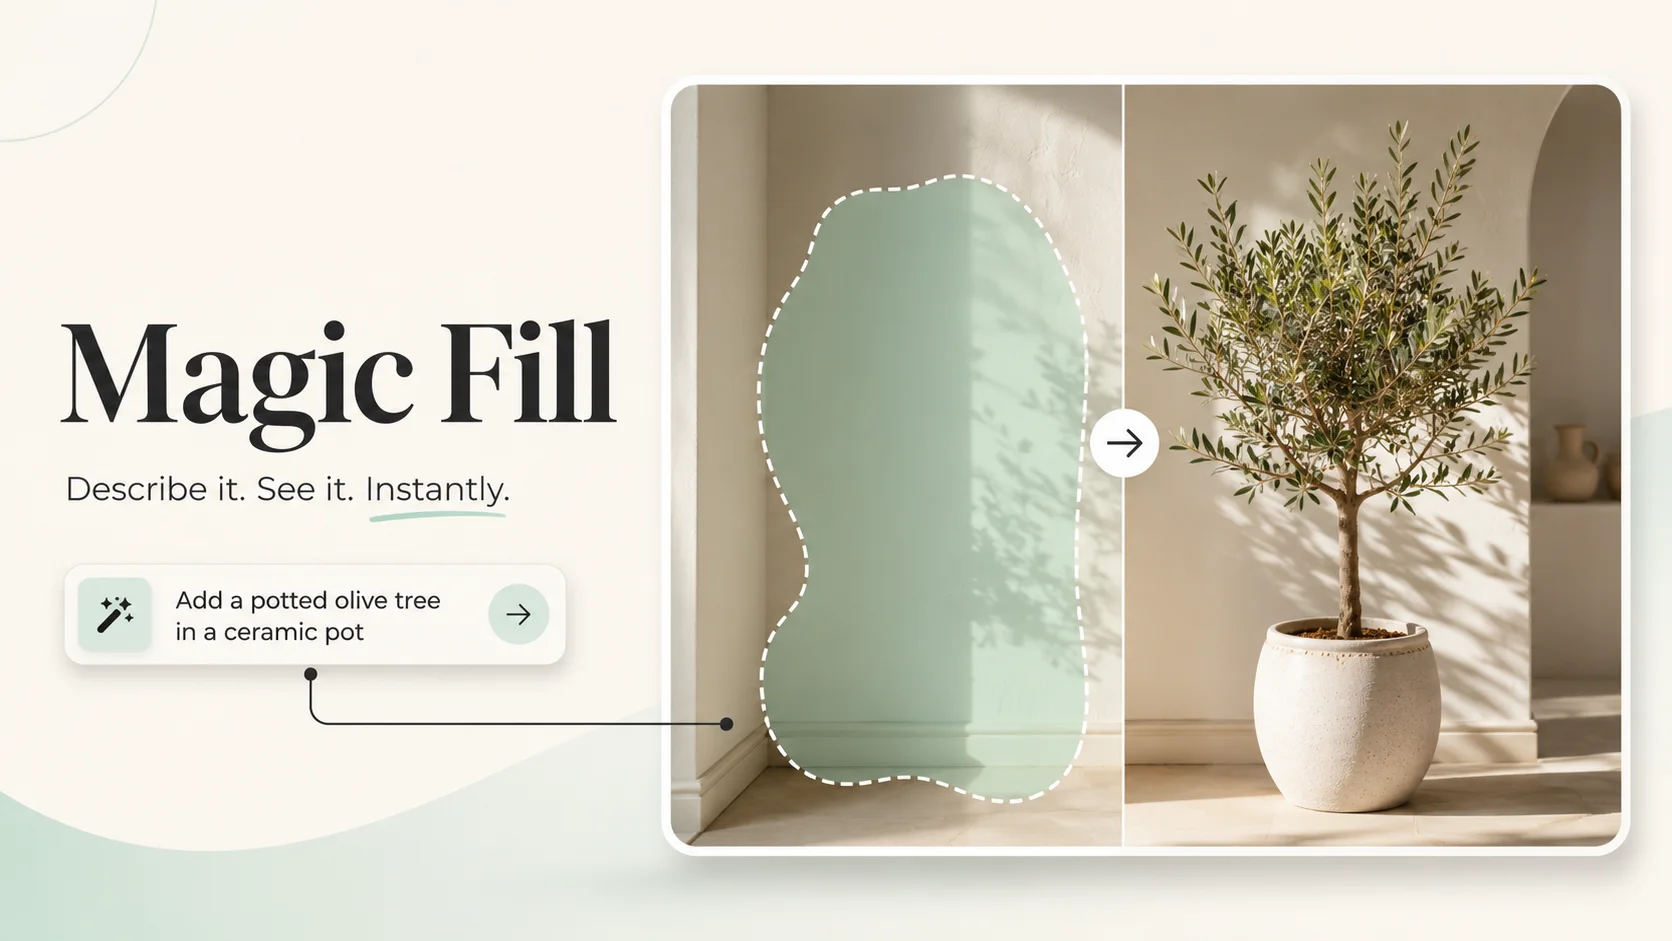
Select an object and describe what should appear instead.
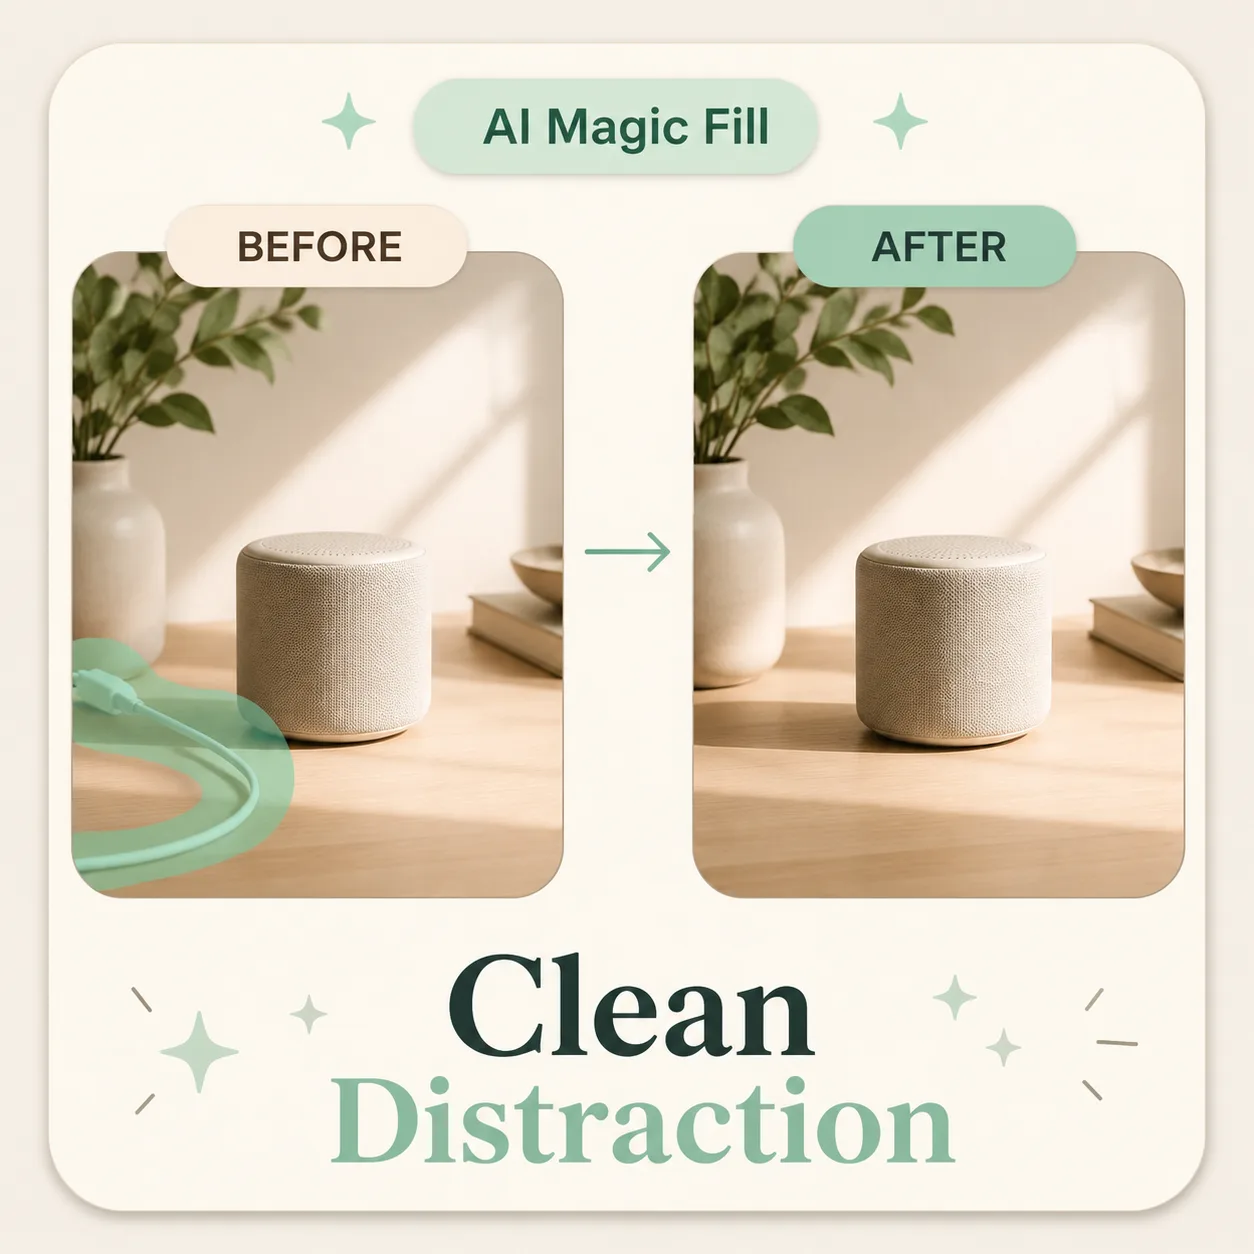
Erase a distraction and let nearby texture fill the space.
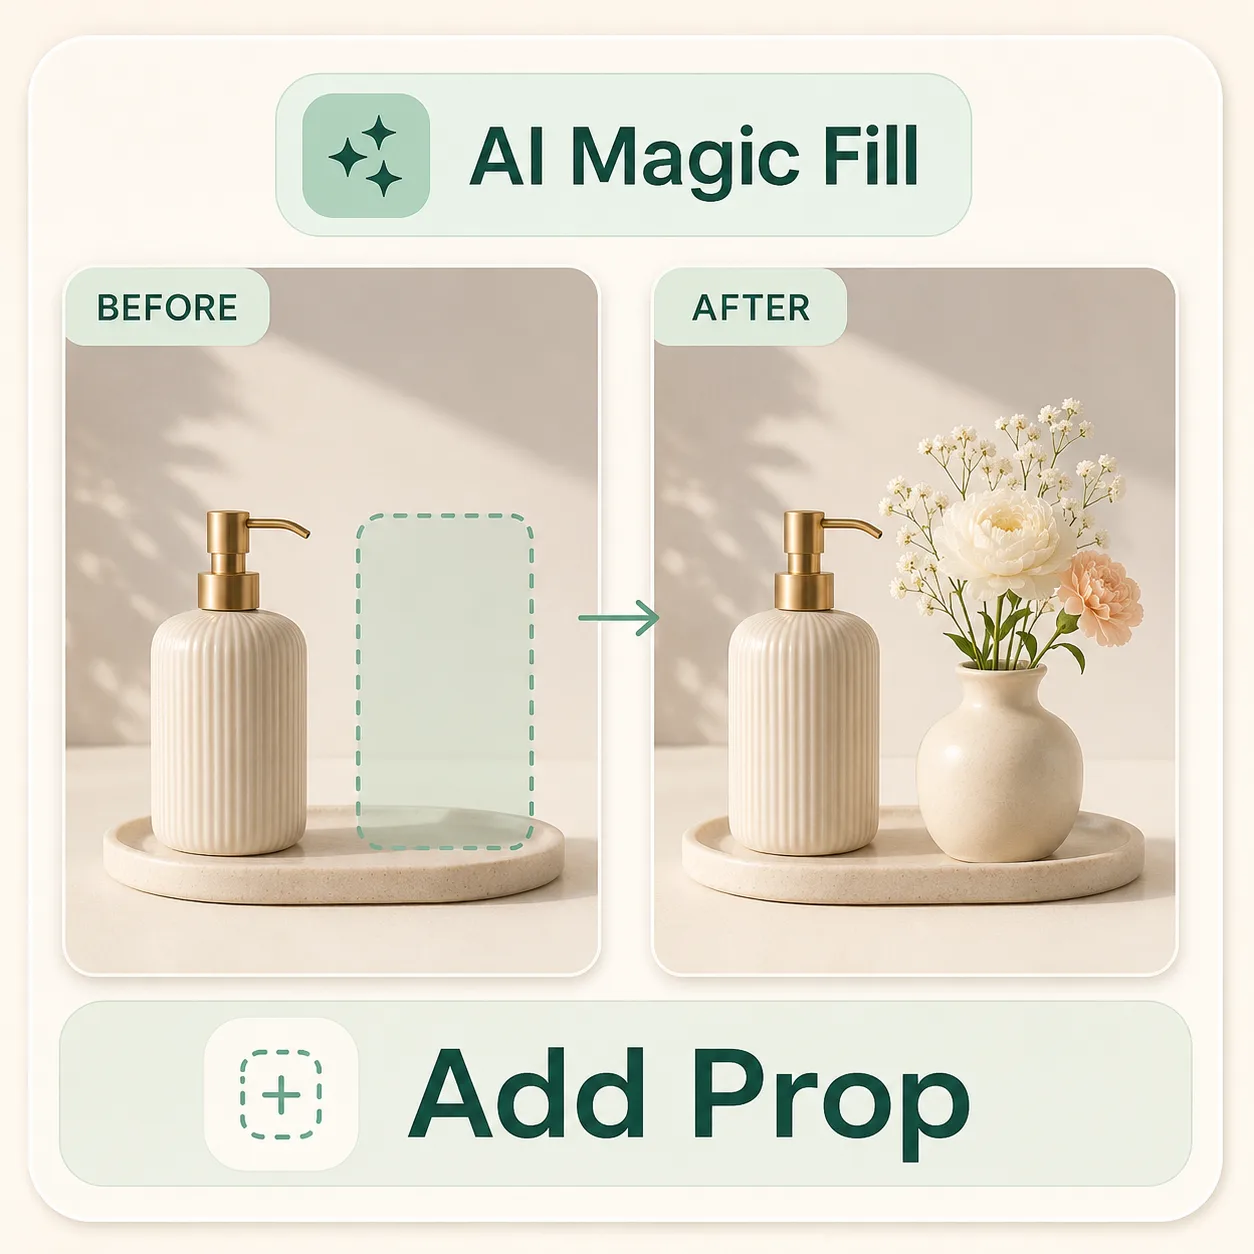
Insert small props, decor, or campaign details locally.
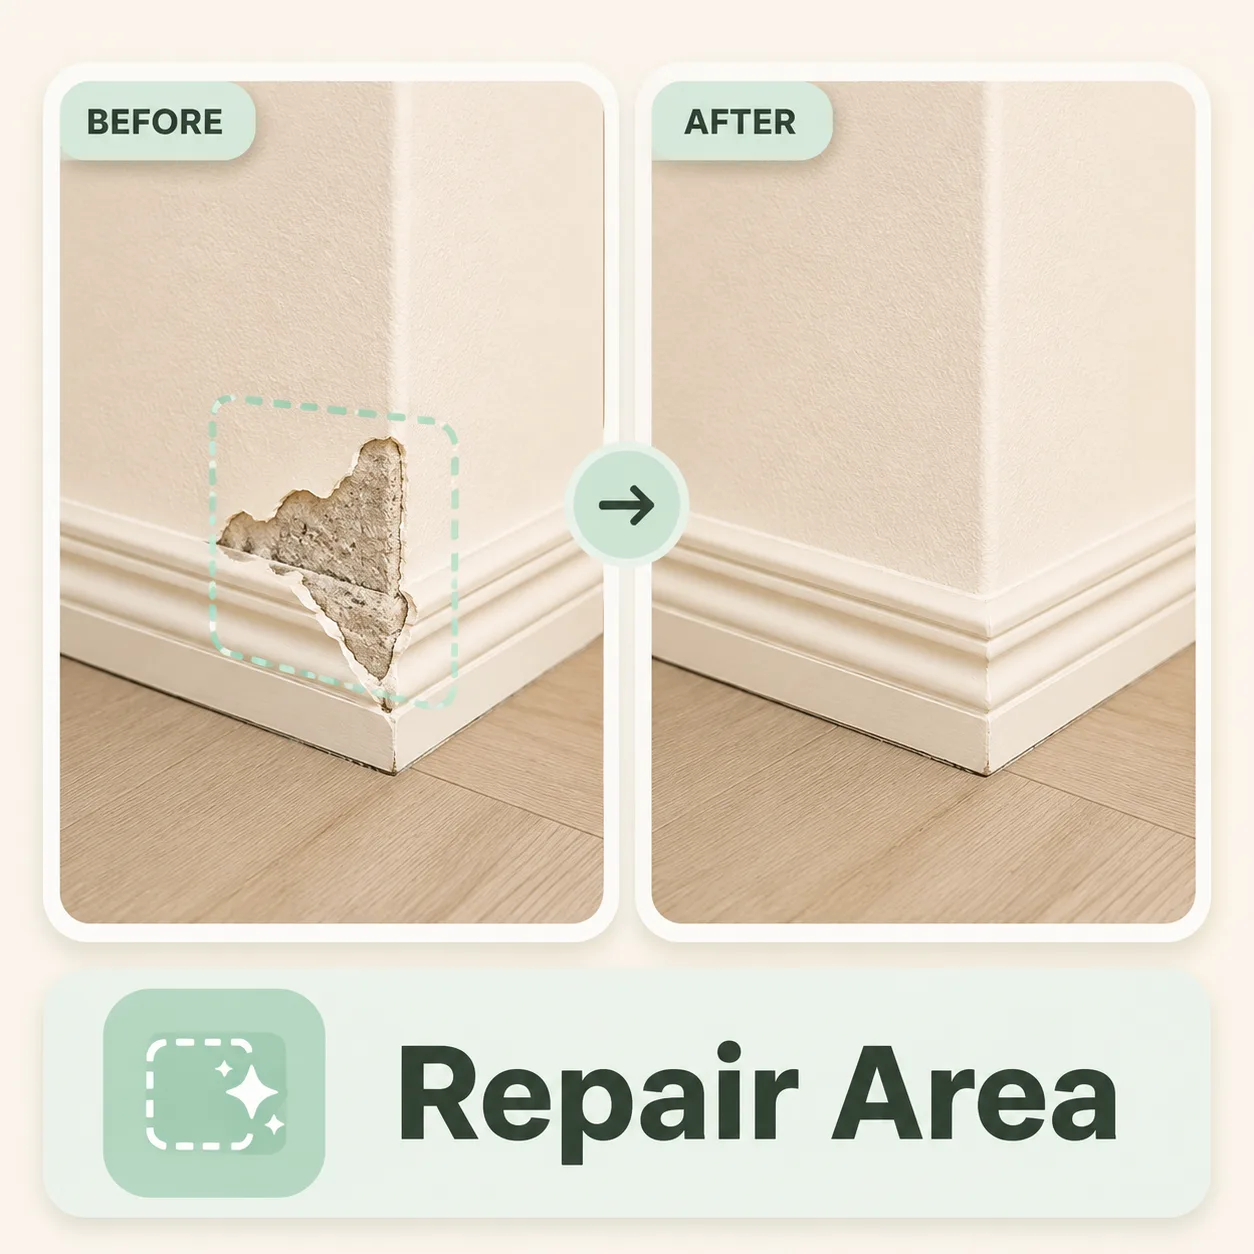
Patch missing areas, damaged corners, or awkward crops.
Visual edit modes
Magic Fill should feel like editing one specific area, not regenerating the whole picture. These examples show repair, insertion, and distraction removal as separate jobs.
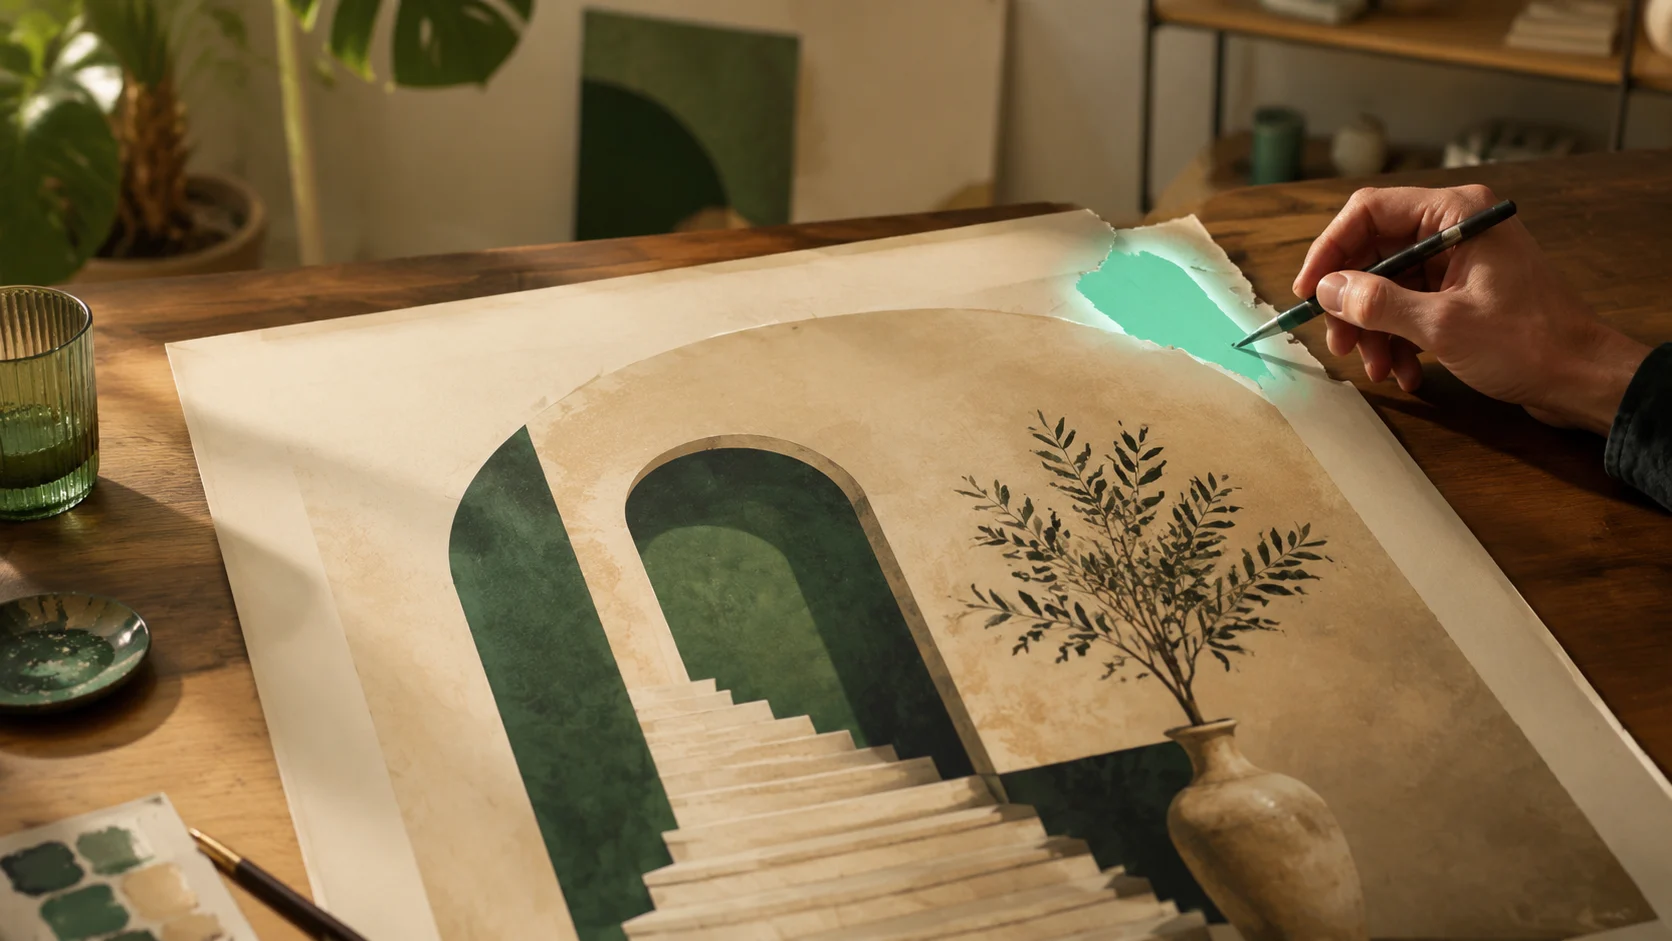
01 / local edit
Use a brush mask to rebuild a damaged corner without touching the rest of the image.
Open Magic Fill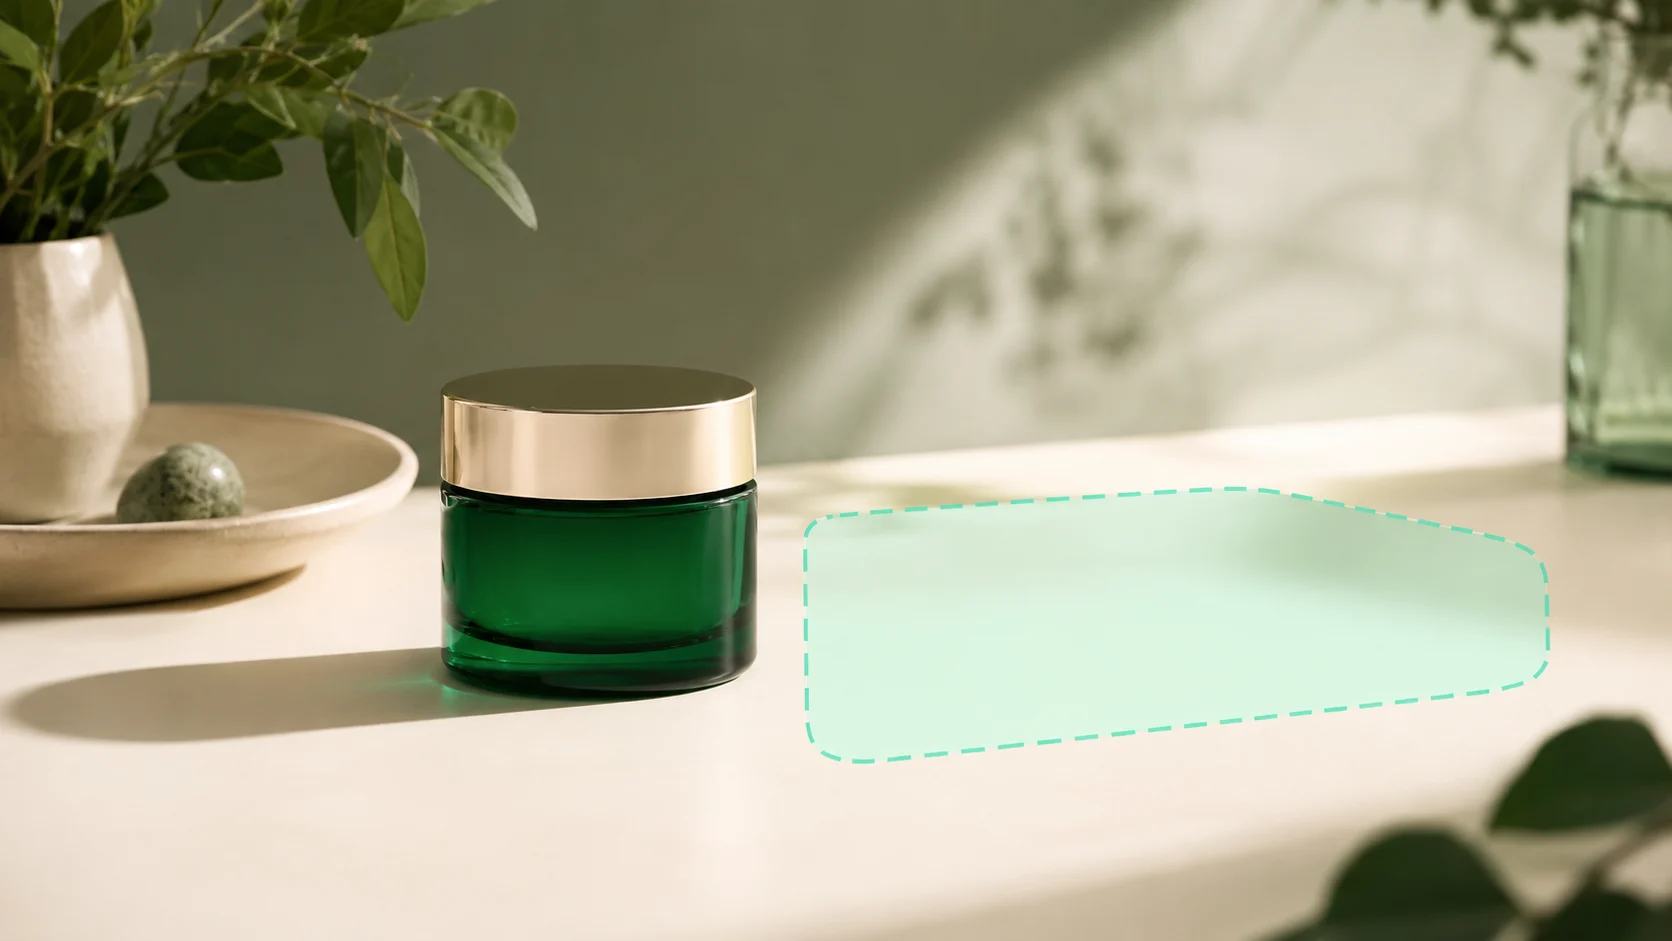
02 / local edit
Add a small prop or product accent that follows the original light and perspective.
Open Magic Fill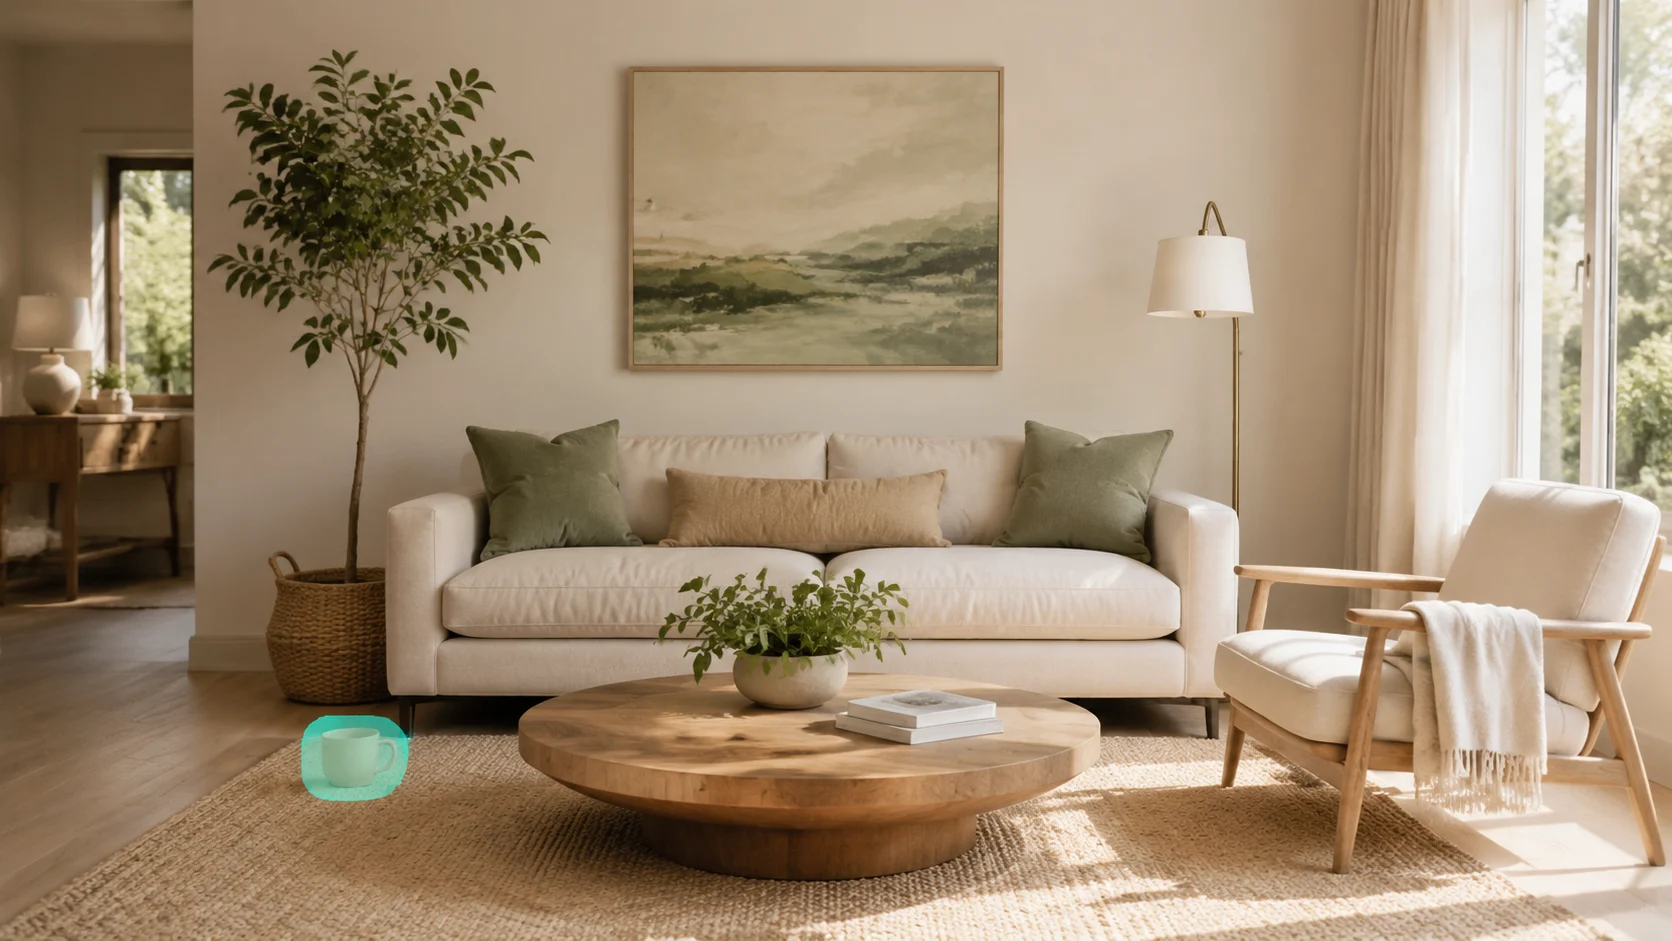
03 / local edit
Select the distracting object, then let the surrounding texture blend back naturally.
Open Magic FillExamples
Magic Fill cases are easier to understand as editing requests: mark a region, say what should happen there, and compare the blended result.
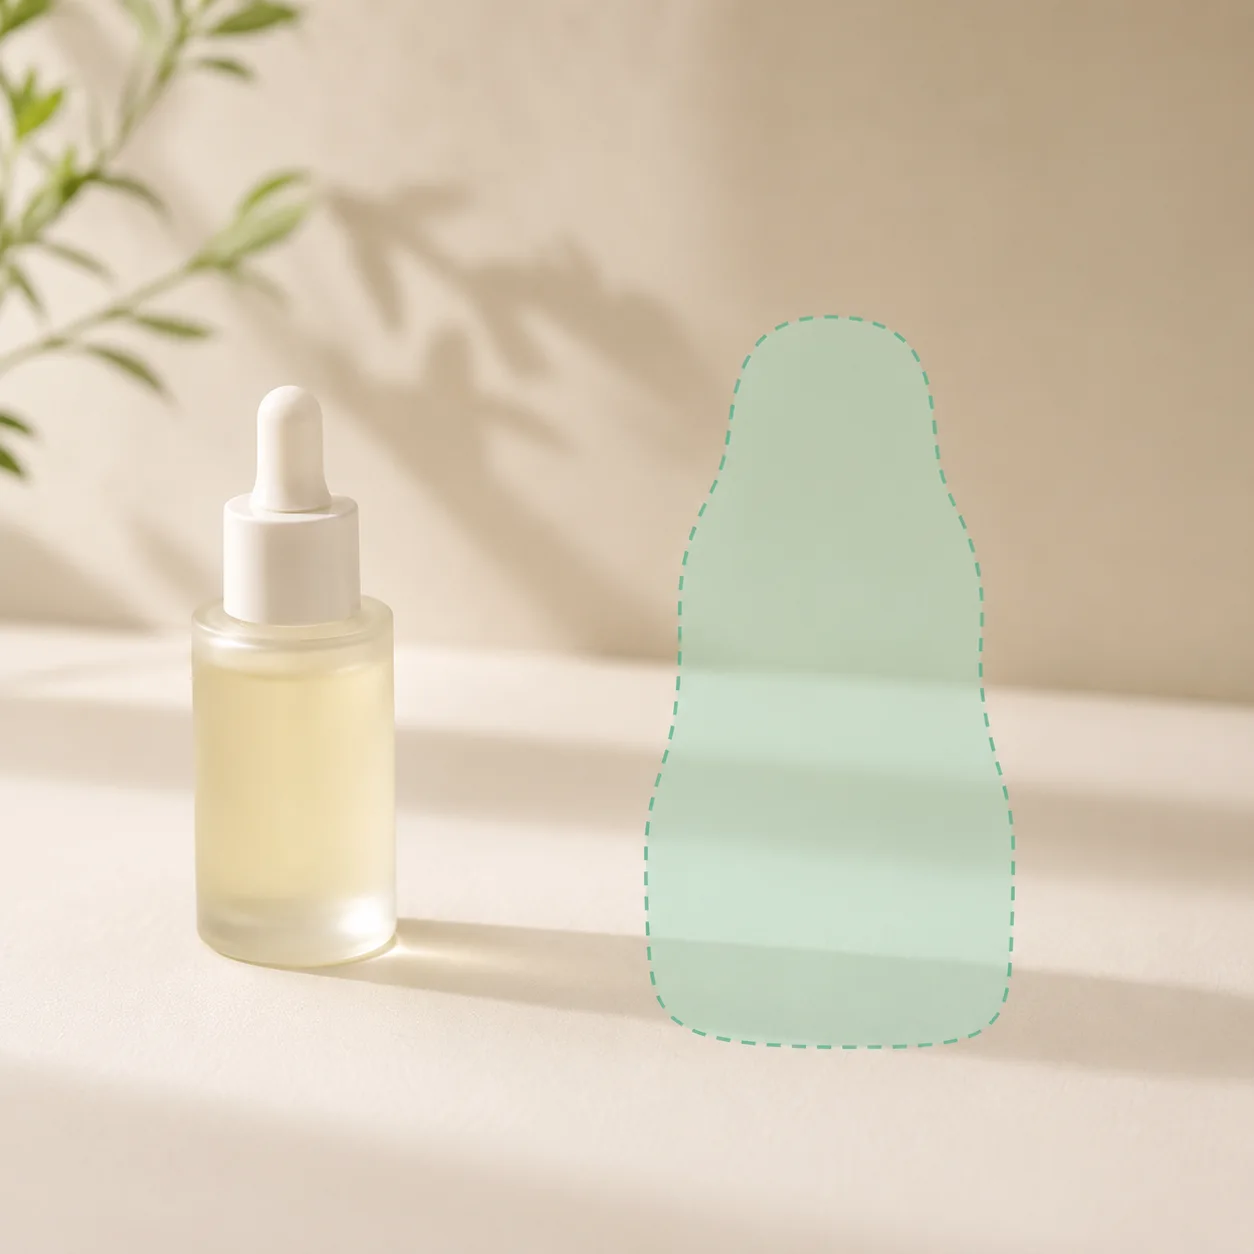 Before
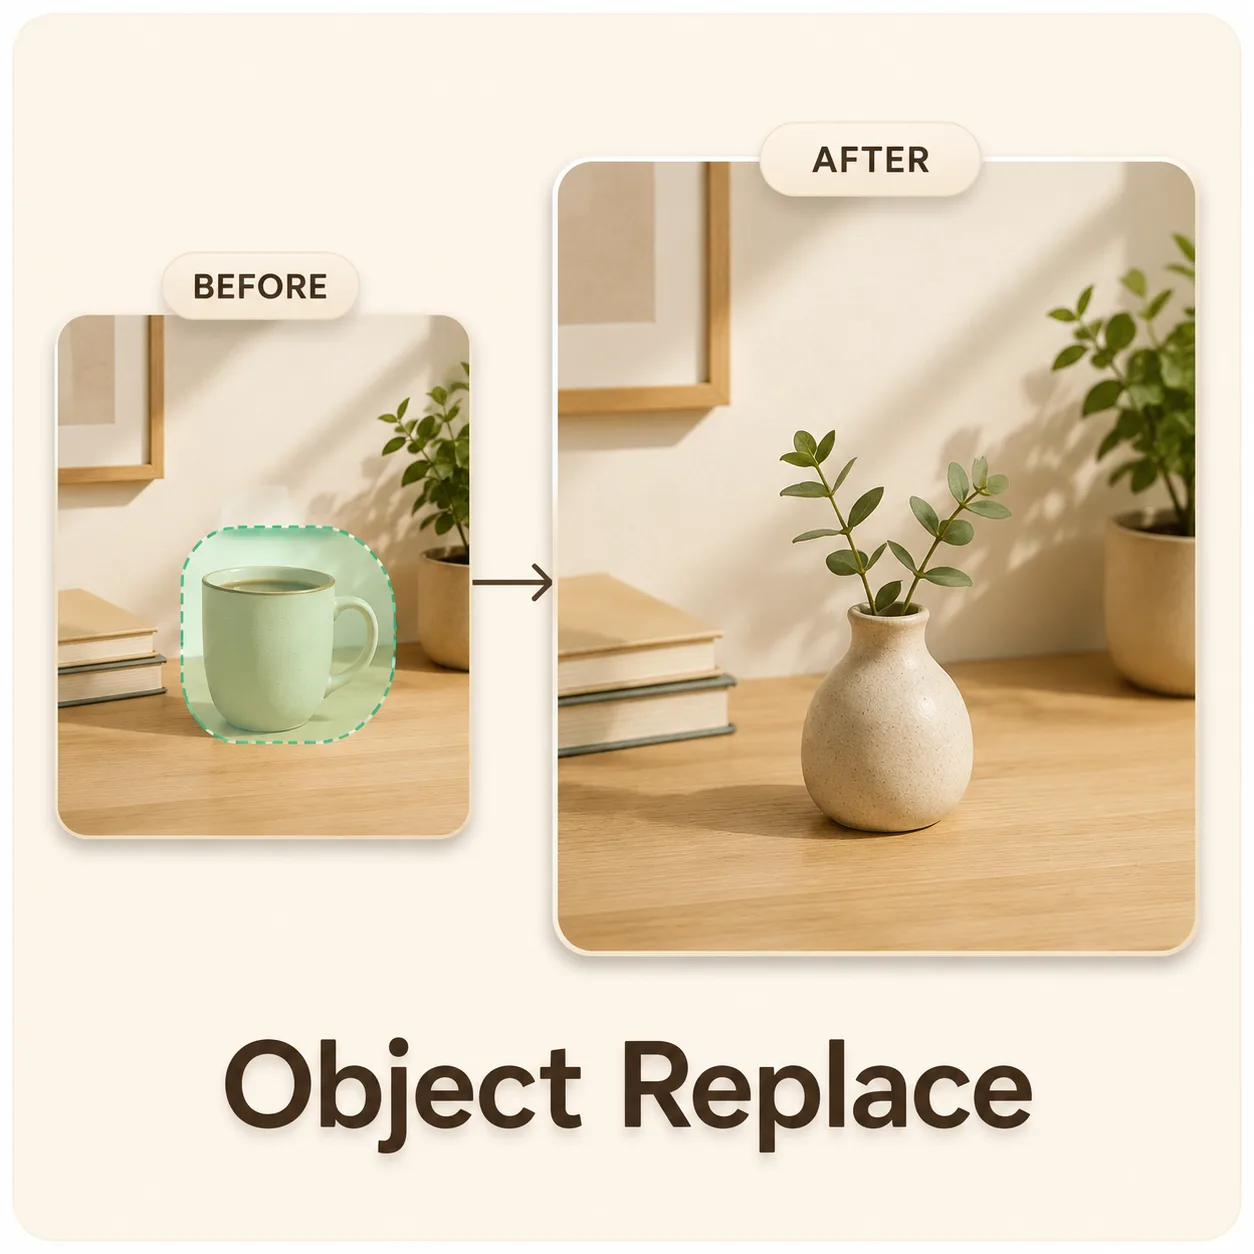 After
AfterPrompt
Swap one item while preserving the original scene and light.
 Result
Remove distraction
Clean visual noise without manually cloning the background.
 Result
Add a matching prop
Insert campaign details that match the photo direction.
 Result
Repair missing texture
Patch awkward crops, gaps, or damaged image areas locally.
Keep the interaction focused: image, selected area, short prompt, generated result.
Mask workflow
Upload a source image or start from the sample.
Mask workflow
Brush over the area that should change.
Mask workflow
Write one focused instruction for that area.
Mask workflow
Generate and keep the edit that blends best.
Quality checklist
Mask slightly overlaps the object edge
Prompt describes only the selected area
Lighting direction matches the source image
Texture and shadow scale feel consistent
Creator notes
Eight grounded snapshots from everyday image work—from quick social posts to client-ready drafts.
“I came in for one quick product image and stayed to try three directions. The workflow never made me feel like I needed a tutorial first.”
 Maya R.E-commerce manager
“The controls are restrained in a good way. I can get a useful draft, download it, and finish the last ten percent in my usual design app.”
 Jon BellFreelance designer
“What won me over was consistency. I can repeat the same brief without rebuilding every setting from scratch.”
 Priya S.Content lead
“The first result is often close enough to start a real conversation with a client. That alone saves me a round of mood-board work.”
 Owen K.Independent maker
“I tested it during a busy launch week. It was fast, clear, and I always knew what the next click would do.”
 Nina ParkSocial media editor
“Being able to keep the source image visible matters to me. I can judge what changed instead of guessing from memory.”
 Luis M.Photographer
“It feels designed for actual production work, not just a flashy demo. The examples are practical and the output is easy to hand off.”
 Sophie ChenBrand coordinator
“I mostly use it for small weekly assets. It turns the blank-page moment into something I can react to in a couple of minutes.”
 Tom W.Newsletter creator
Questions and answers
Fill, replace, or extend selected image areas with prompts and masks while keeping edits visually natural.
AI Magic Fill is an inpainting workflow for selected areas of an image. Instead of regenerating the whole picture, you mark a region and describe what should appear there.
Yes. Select the object or distraction, then use a prompt such as remove this cable or clean the background. The result works best when the surrounding texture is visible and consistent.
Yes. Magic Fill can insert props, decorations, product accents, or small scene details. Describe the object, lighting, material, and how it should sit in the scene.
Use a mask that slightly overlaps the surrounding area. Avoid masks that cut exactly on the object edge, and keep the prompt focused on the edit rather than the entire image.
The intended workflow changes only the selected area and nearby blend region. Large masks or broad prompts can create more visible changes, so start with a smaller selection.
Product photos, portraits, room scenes, social visuals, and clean lifestyle shots work well. Extremely blurry, very dark, or heavily compressed images may need a larger mask or a simpler prompt.
Use a sharp, lightly compressed image with the full subject visible. Heavy blur, tight cropping, or repeatedly edited files make important details harder to preserve and review.
Compare the output with the source at full size. Check identity, edges, text, hands, texture, and composition, and keep the original file for any important use.
✦ One focused tool, ready for your next idea
Fill, replace, or extend selected image areas with prompts and masks while keeping edits visually natural.
Start with AI Magic Fill