

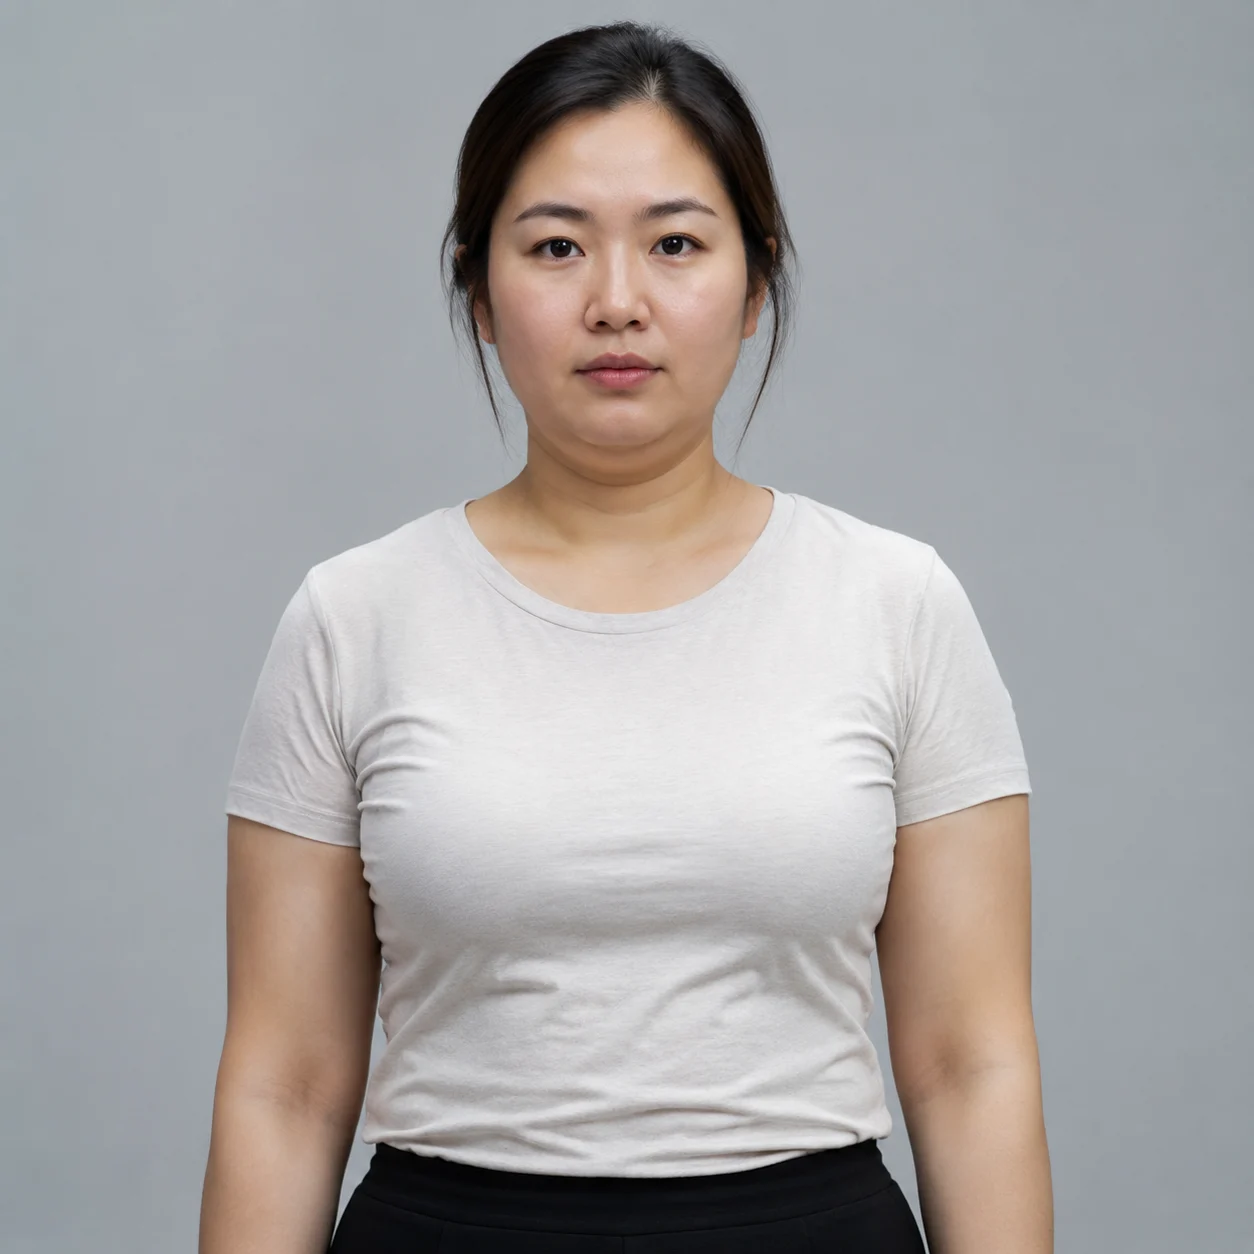
 Before
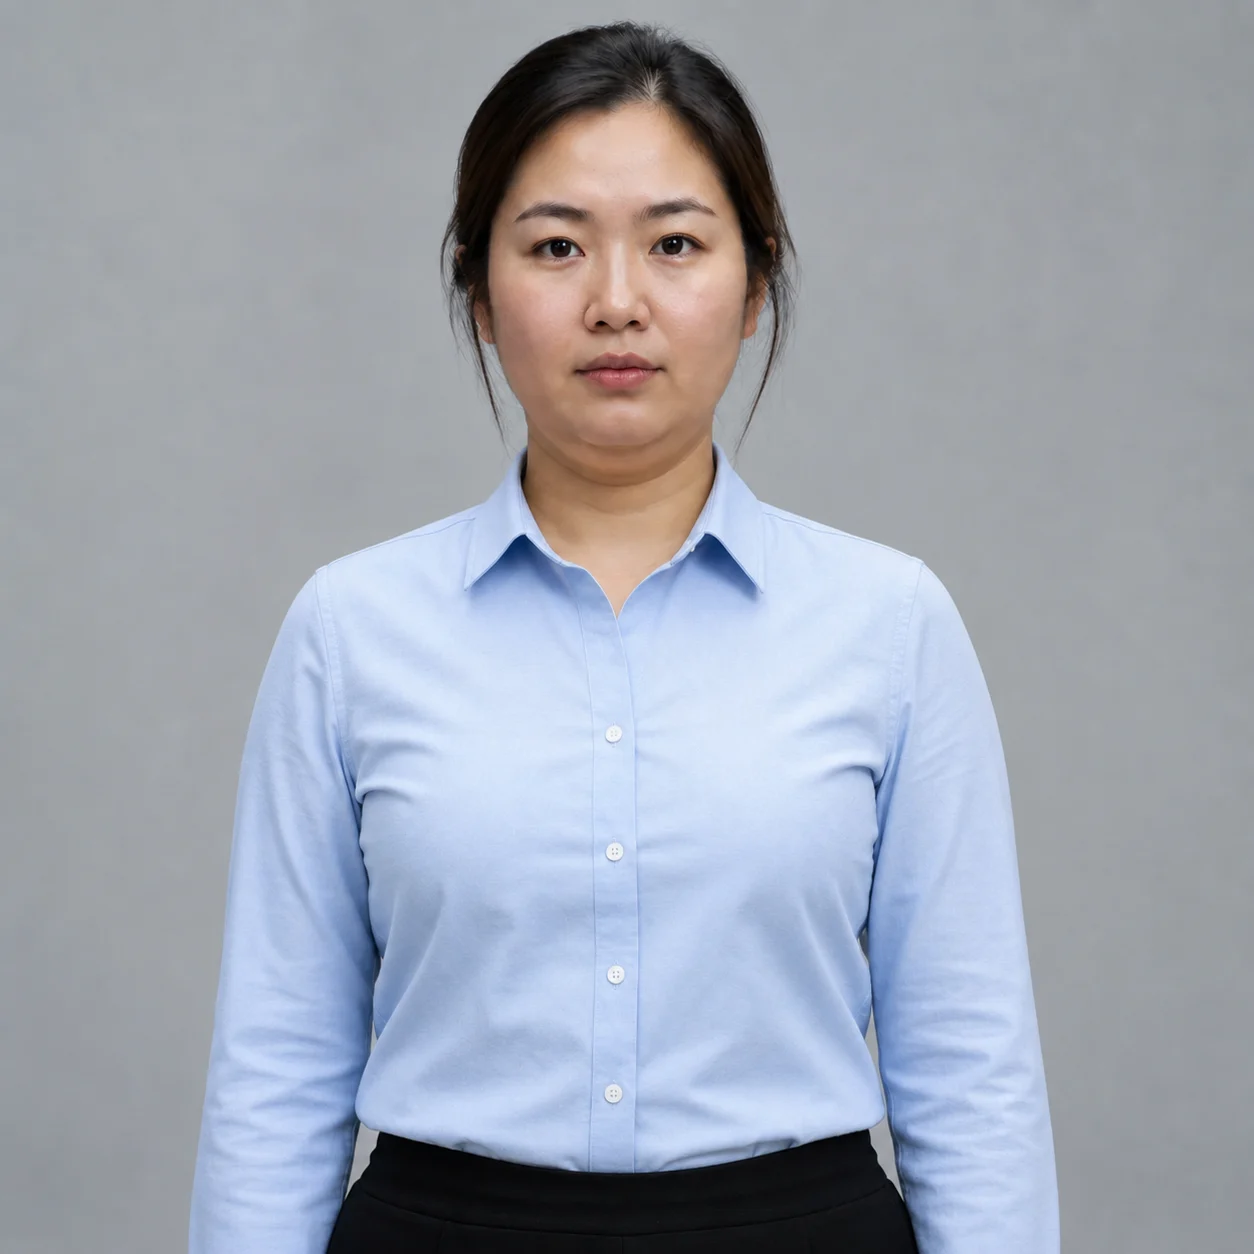 After
AfterShirt virtual try-on
A neutral portrait is tested with a tailored business outfit for a profile concept.
Use an AI clothes changer with a person photo and a garment reference to explore outfit directions. It is useful for styling concepts and moodboards, while fabric details, hands, and exact garment construction still need review.
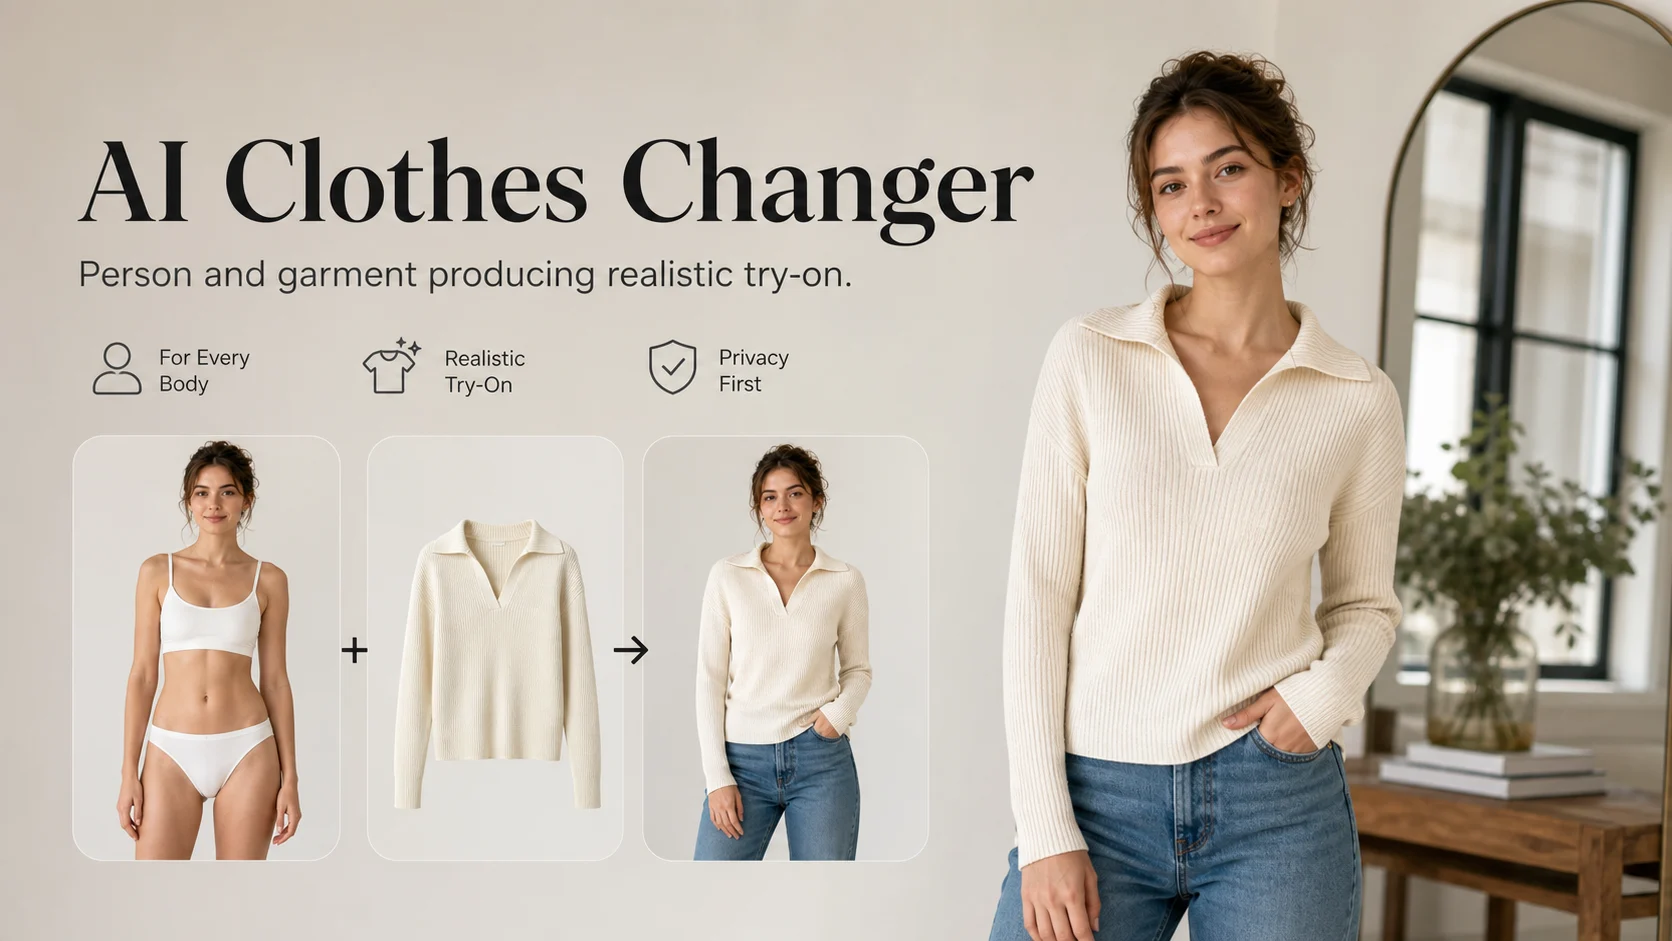
Use an AI clothes changer with a person photo and a garment reference to explore outfit directions. It is useful for styling concepts and moodboards, while fabric details, hands, and exact garment construction still need review.
Before / After
BeforeAfterA neutral portrait is tested with a tailored business outfit for a profile concept.
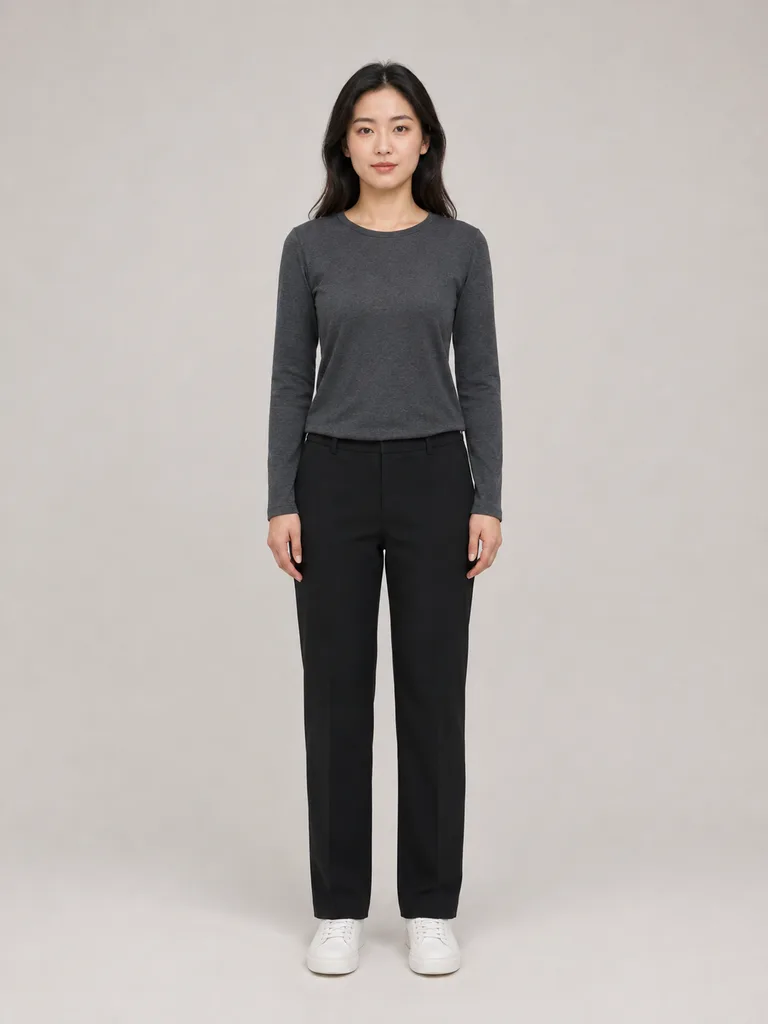 Before
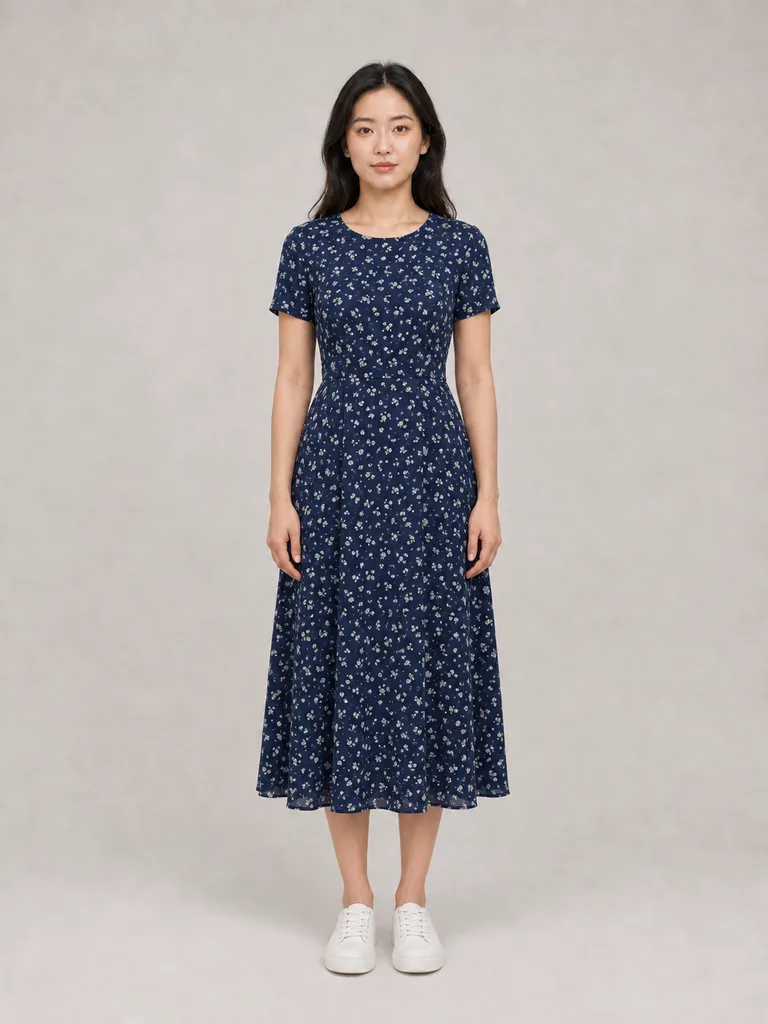 After
AfterA casual look is shifted toward smart casual while the original pose remains the reference.
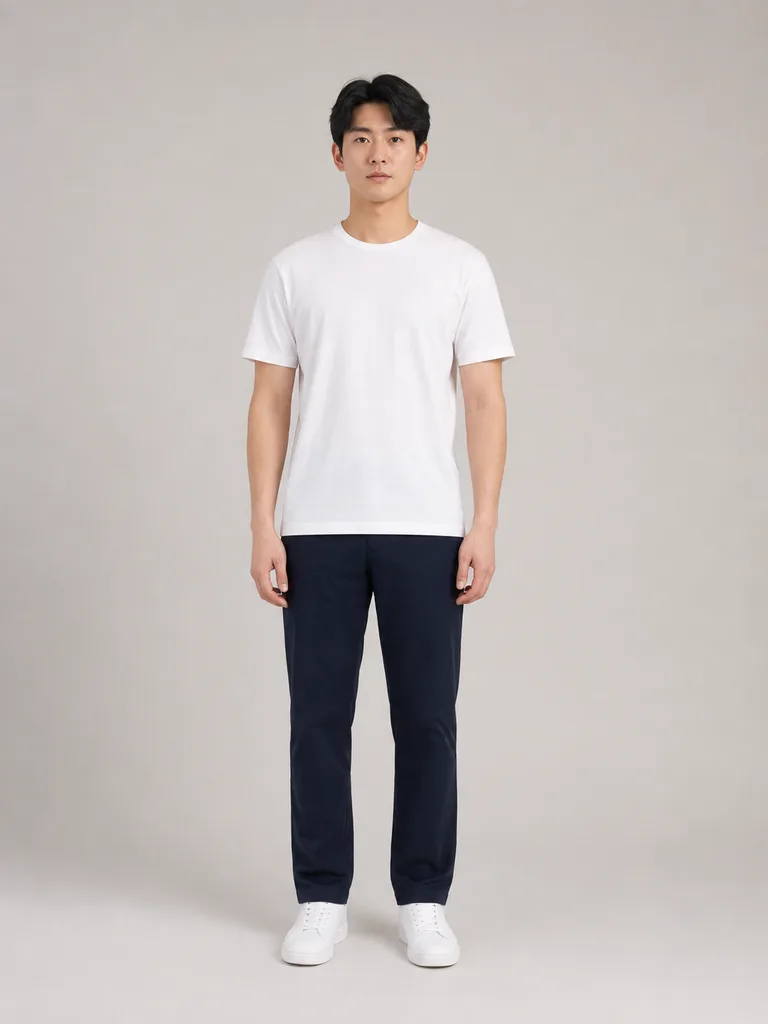 Before
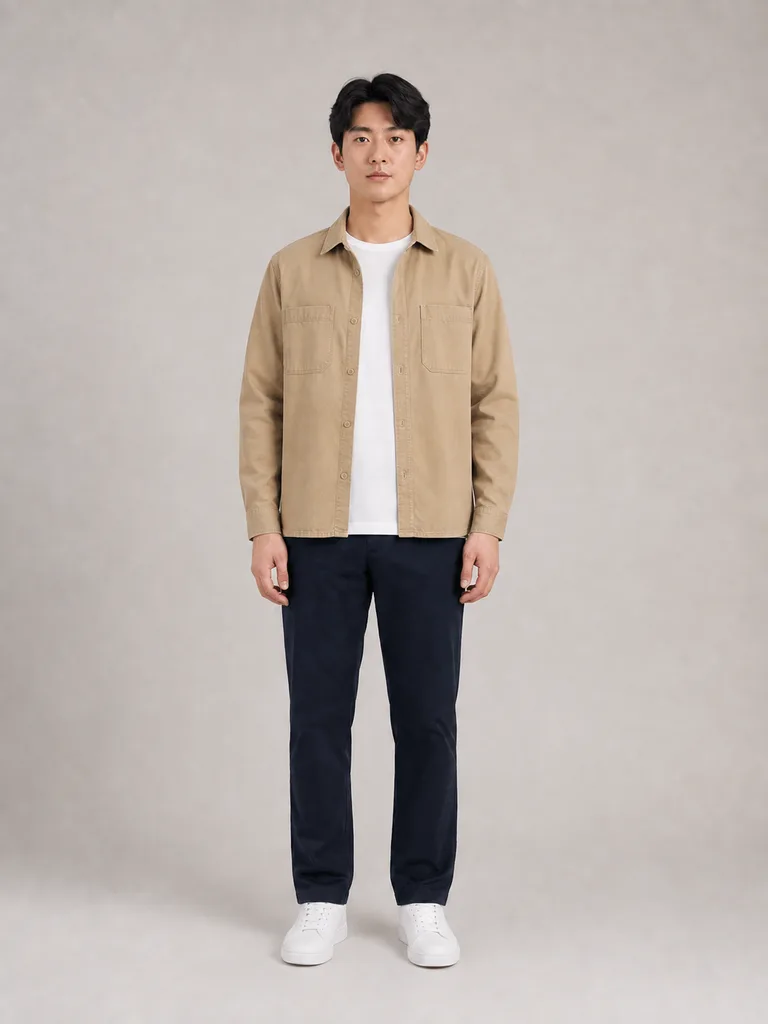 After
AfterA creative color direction is explored without claiming the pictured garment is available.
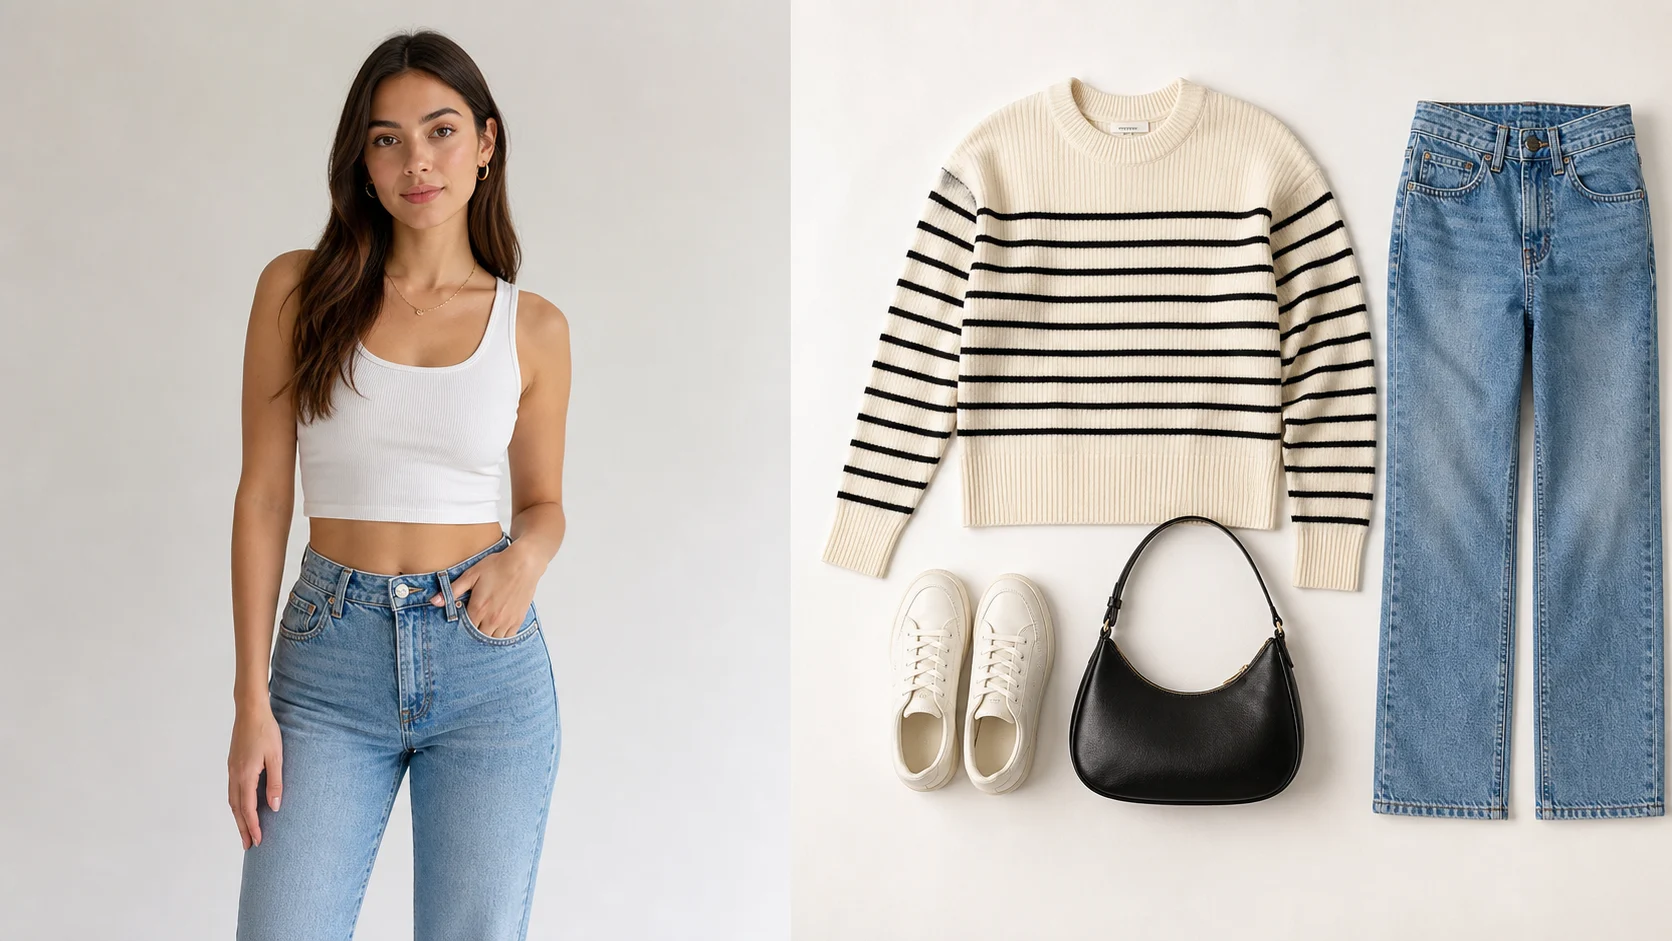
The right question is which direction feels plausible on this person, not whether the model has produced a product-accurate garment. Use several concepts to narrow the brief before a real fitting or shoot.
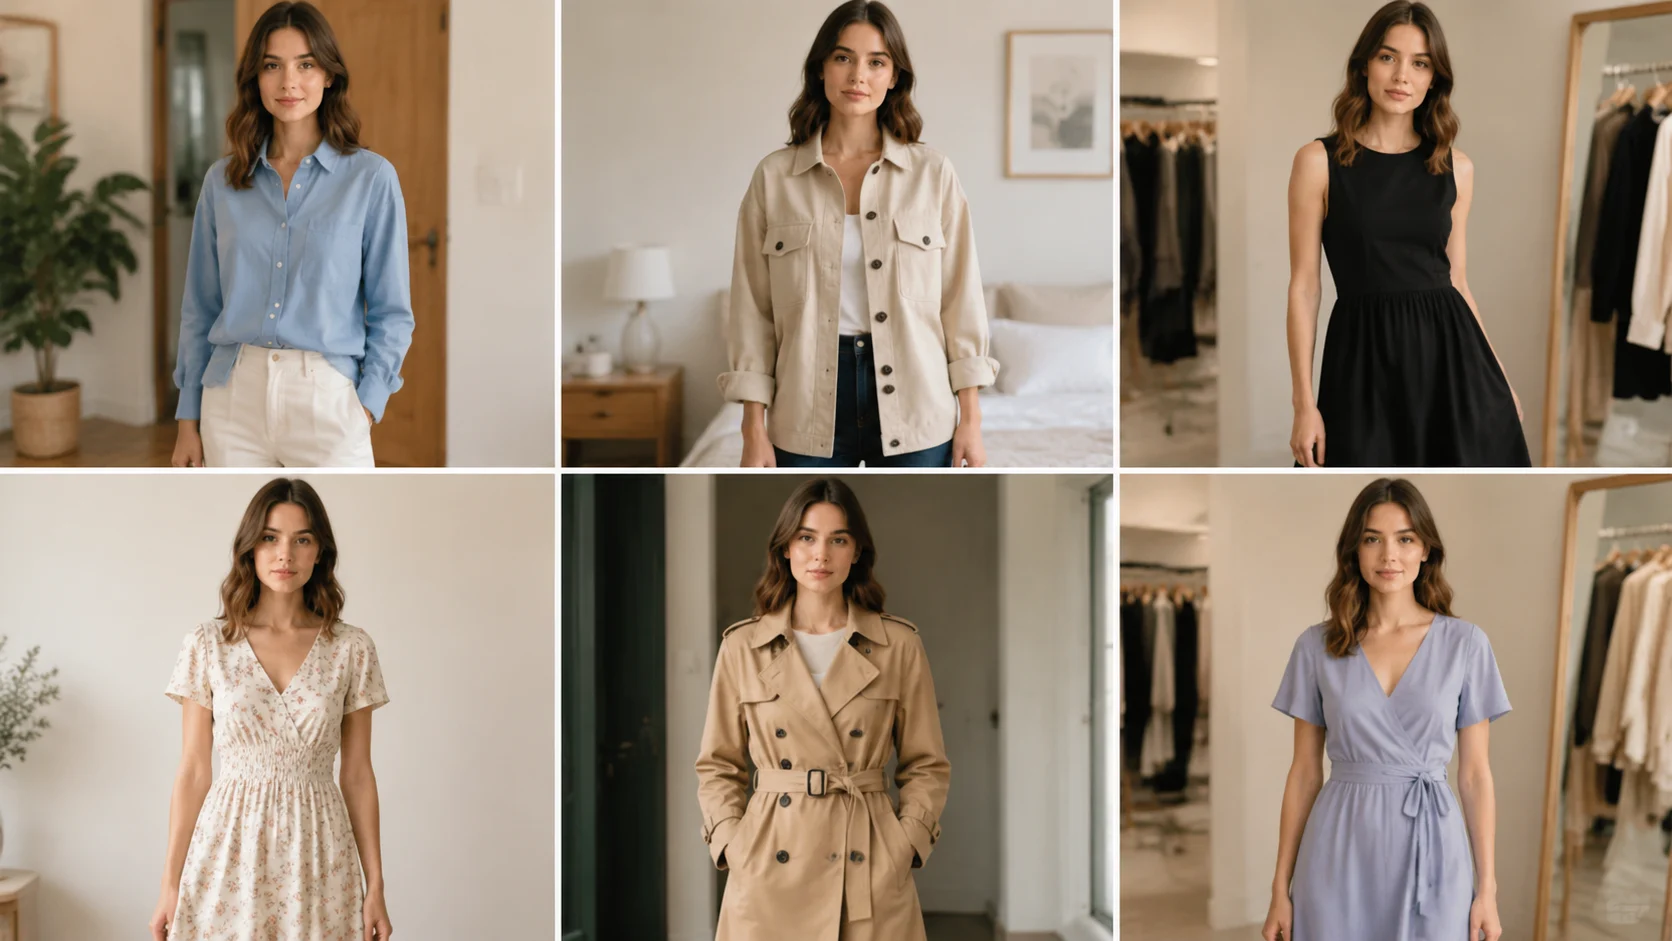
Hands, layered sleeves, jewelry, and patterned fabric are common failure points. Review the silhouette and small details before showing the concept as a finished look.
A closer look
Outfit generation is an exploration tool. It helps compare a business layer, smart-casual look, or more expressive styling on the same person, but it does not prove how a garment fits, feels, or exists in a shop.
Why it works
Compare style directions on one consistent portrait
Keep pose and identity as the visual anchor
Use the result as a moodboard before shopping or shooting
Creator notes
Eight grounded snapshots from everyday image work—from quick social posts to client-ready drafts.
“I came in for one quick product image and stayed to try three directions. The workflow never made me feel like I needed a tutorial first.”
 Maya R.E-commerce manager
“The controls are restrained in a good way. I can get a useful draft, download it, and finish the last ten percent in my usual design app.”
 Jon BellFreelance designer
“What won me over was consistency. I can repeat the same brief without rebuilding every setting from scratch.”
 Priya S.Content lead
“The first result is often close enough to start a real conversation with a client. That alone saves me a round of mood-board work.”
 Owen K.Independent maker
“I tested it during a busy launch week. It was fast, clear, and I always knew what the next click would do.”
 Nina ParkSocial media editor
“Being able to keep the source image visible matters to me. I can judge what changed instead of guessing from memory.”
 Luis M.Photographer
“It feels designed for actual production work, not just a flashy demo. The examples are practical and the output is easy to hand off.”
 Sophie ChenBrand coordinator
“I mostly use it for small weekly assets. It turns the blank-page moment into something I can react to in a couple of minutes.”
 Tom W.Newsletter creator
AI Clothes Changer
No. A flat-lay garment photo can work, but a clear garment reference with visible edges, sleeves, and neckline gives the model more useful boundaries.
The workflow aims to keep the person recognizable, but face, body proportions, hair, hands, and pose can still shift. Compare the output with the source.
Small prints, logos, buttons, and lettering may be redrawn or changed. Check garment details at full size before using the image.
Use one clear garment reference at a time. If you describe multiple pieces, inspect the boundary between top and bottom because layers and overlaps can drift.
Yes, but side angles and seated poses can hide garment edges or body areas, so the result has more to infer. Use a clear front or three-quarter source when possible.
No. It is a visual concept, not a size or fit measurement. Check the garment's real size chart and try it on through the seller's normal process.
Use a sharp, lightly compressed image with the full subject visible. Heavy blur, tight cropping, or repeatedly edited files make important details harder to preserve and review.
Compare the output with the source at full size. Check identity, edges, text, hands, texture, and composition, and keep the original file for any important use.
✦ One focused tool, ready for your next idea
Use an AI clothes changer with a person photo and a garment reference to explore outfit directions. It is useful for styling concepts and moodboards, while fabric details, hands, and exact garment construction still need review.
Start with AI Clothes Changer