

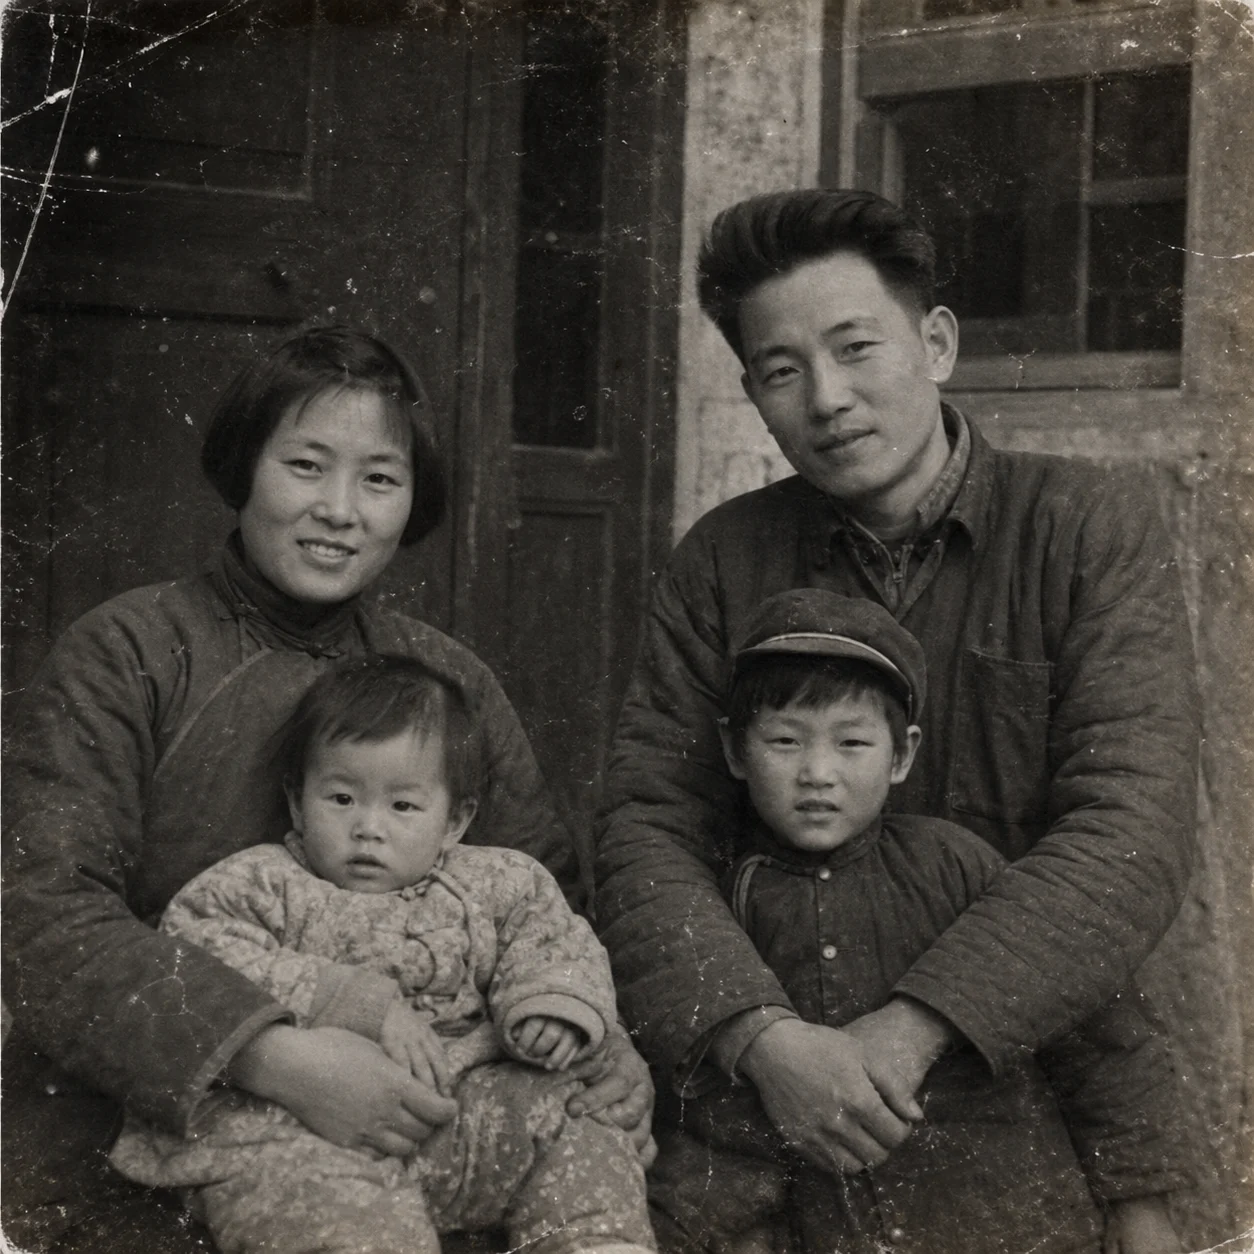
 Before
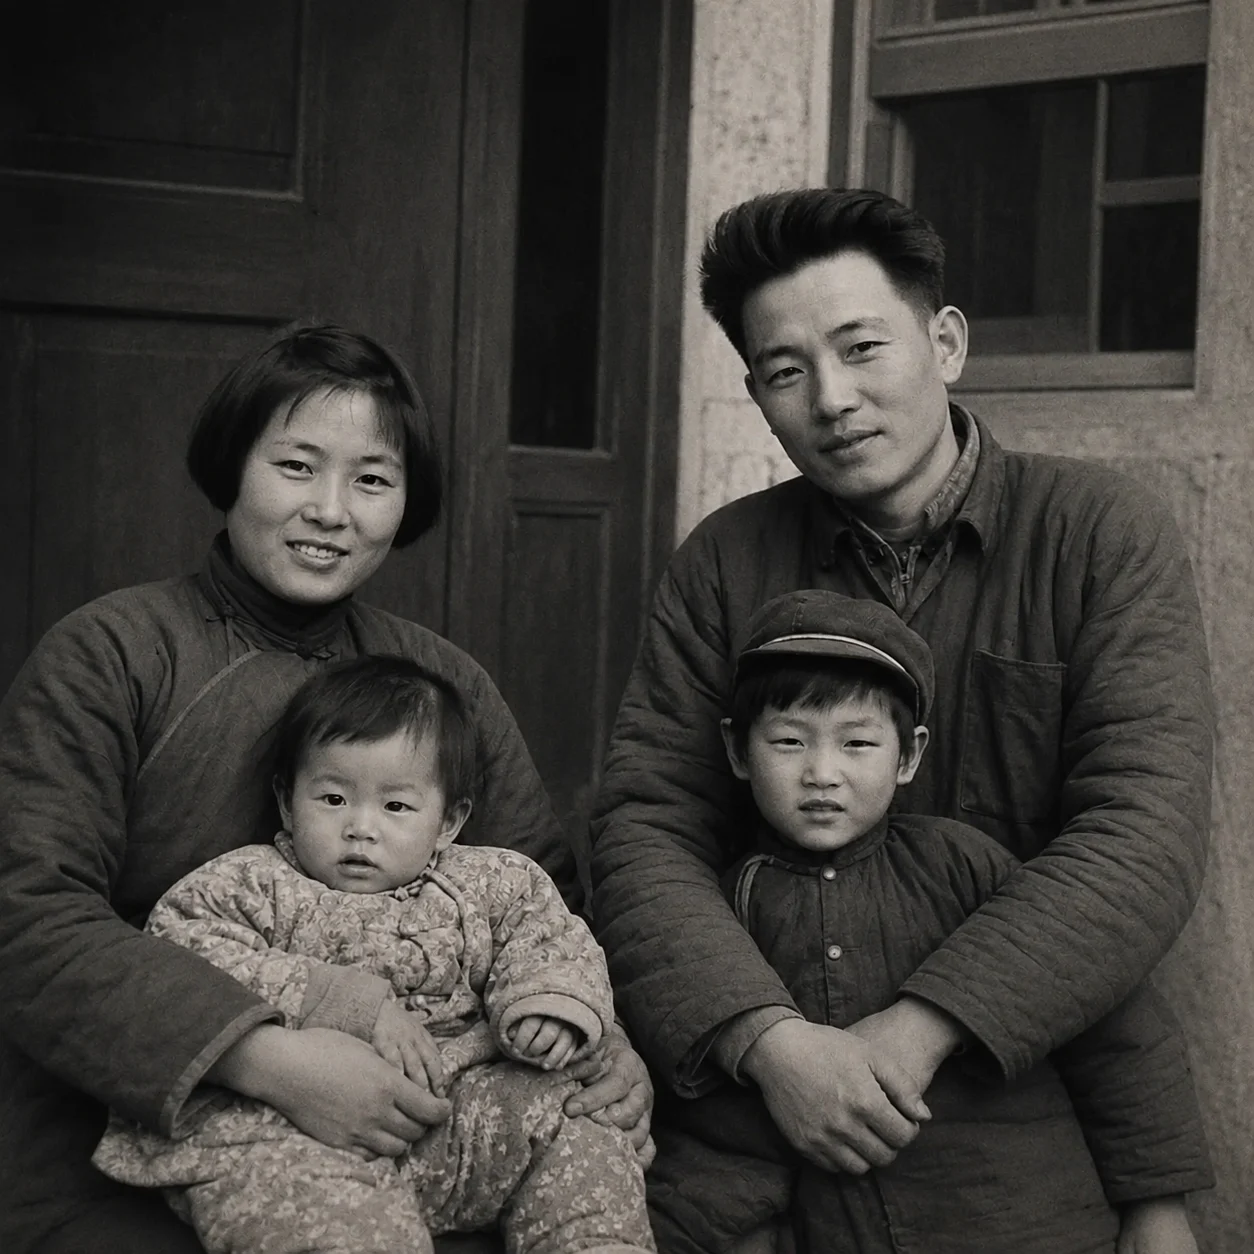 After
AfterFamily portrait scratch repair
A family portrait becomes easier to read after dust and crease marks are reduced around the faces.
Restore old photos online when a family print or scanned archive has visible damage. Use a conservative pass to recover readability while accepting that missing information must be inferred, not recovered.
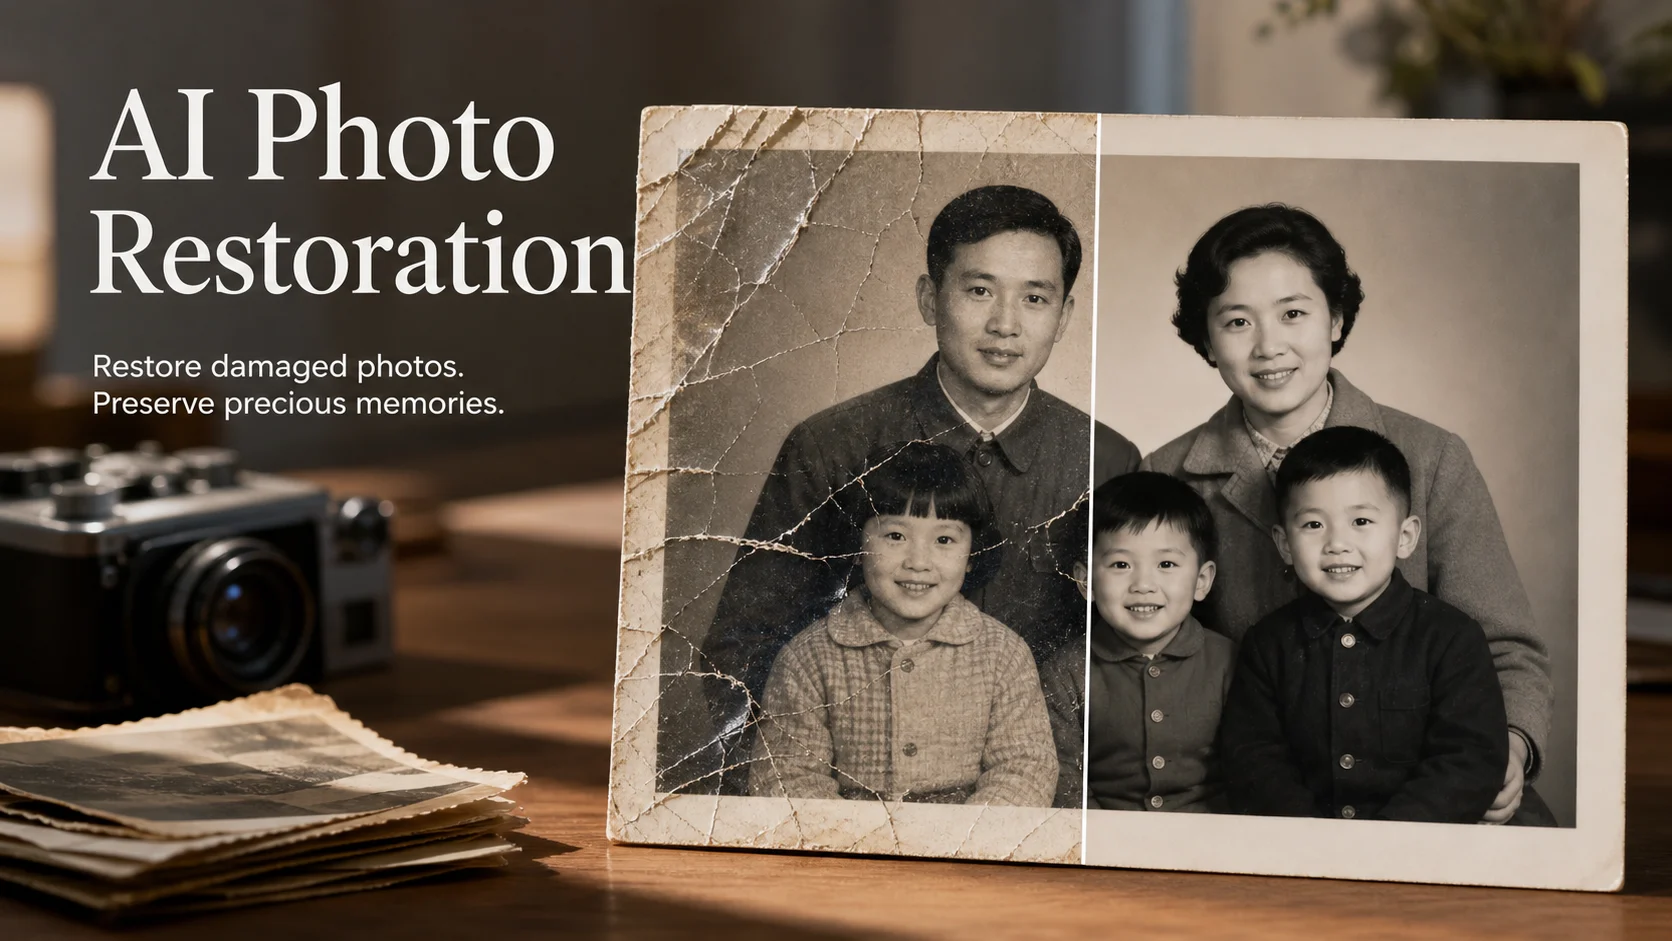
Restore old photos online when a family print or scanned archive has visible damage. Use a conservative pass to recover readability while accepting that missing information must be inferred, not recovered.
Before / After
BeforeAfterA family portrait becomes easier to read after dust and crease marks are reduced around the faces.
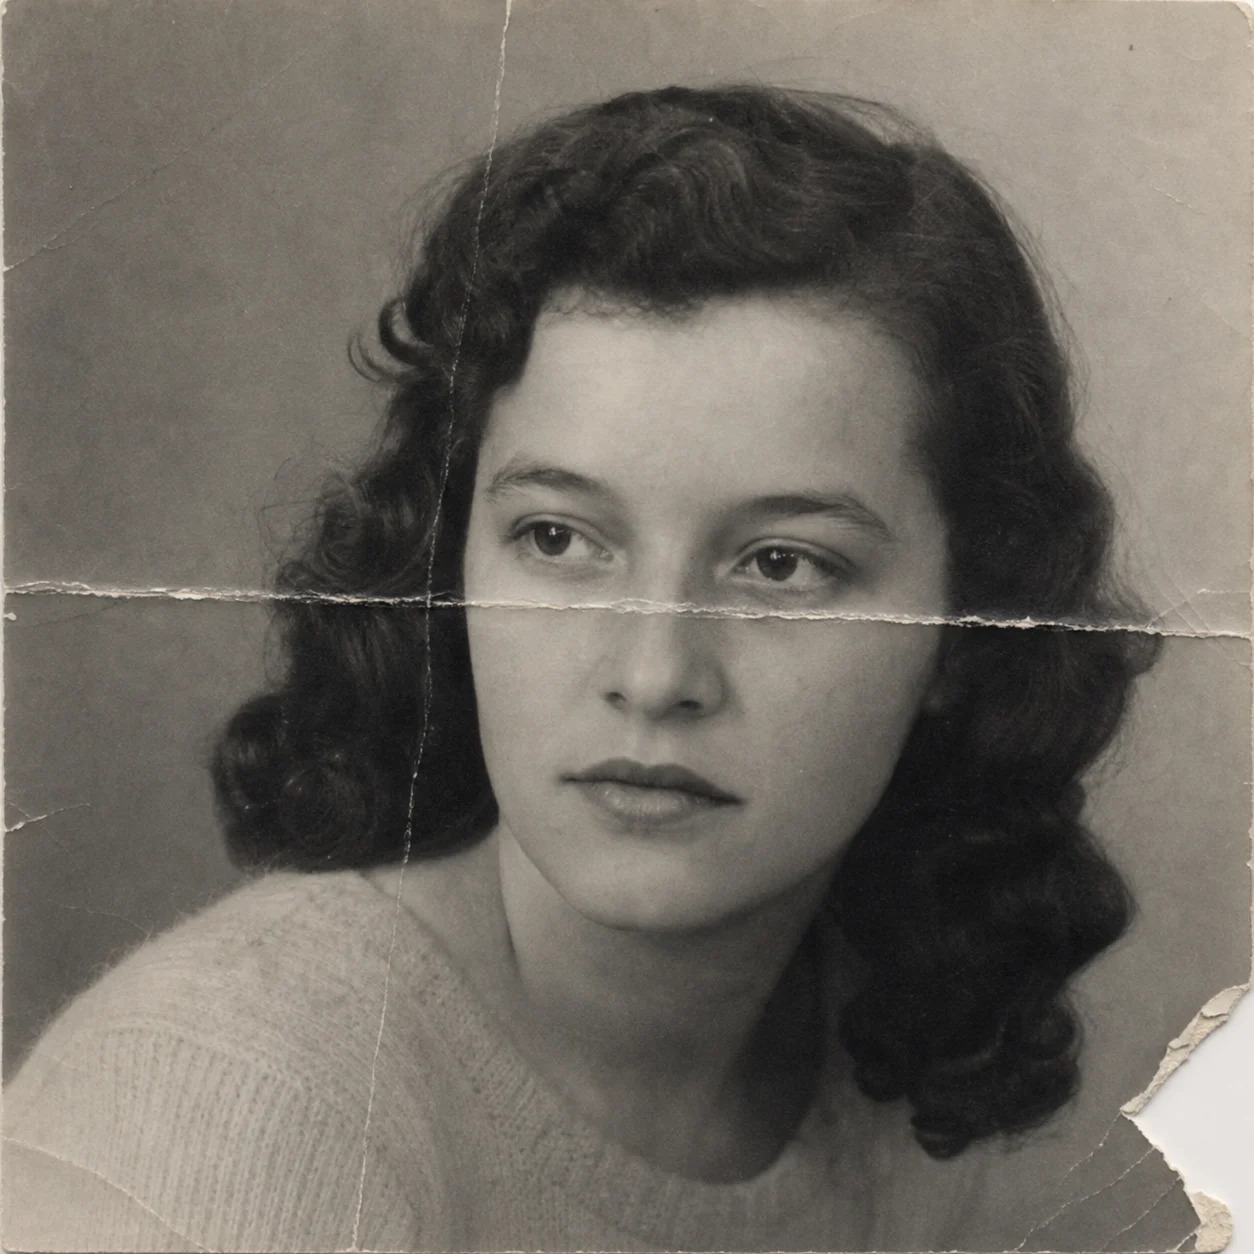 Before
 After
AfterA faded street photograph gains contrast while the old-paper character remains visible.
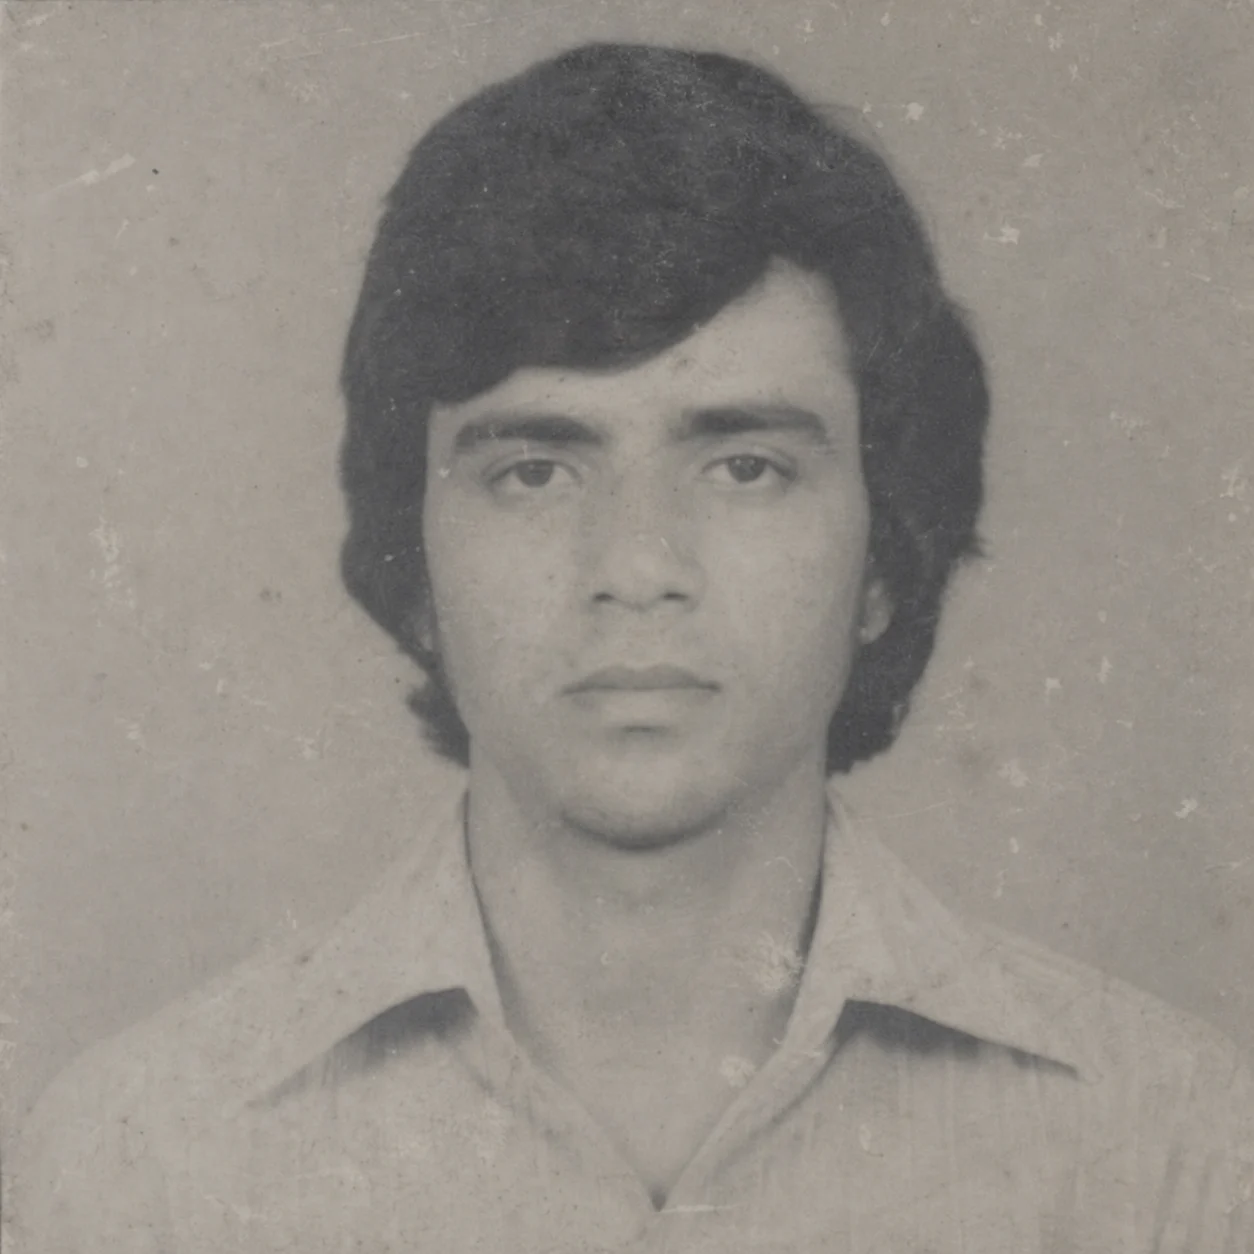 Before
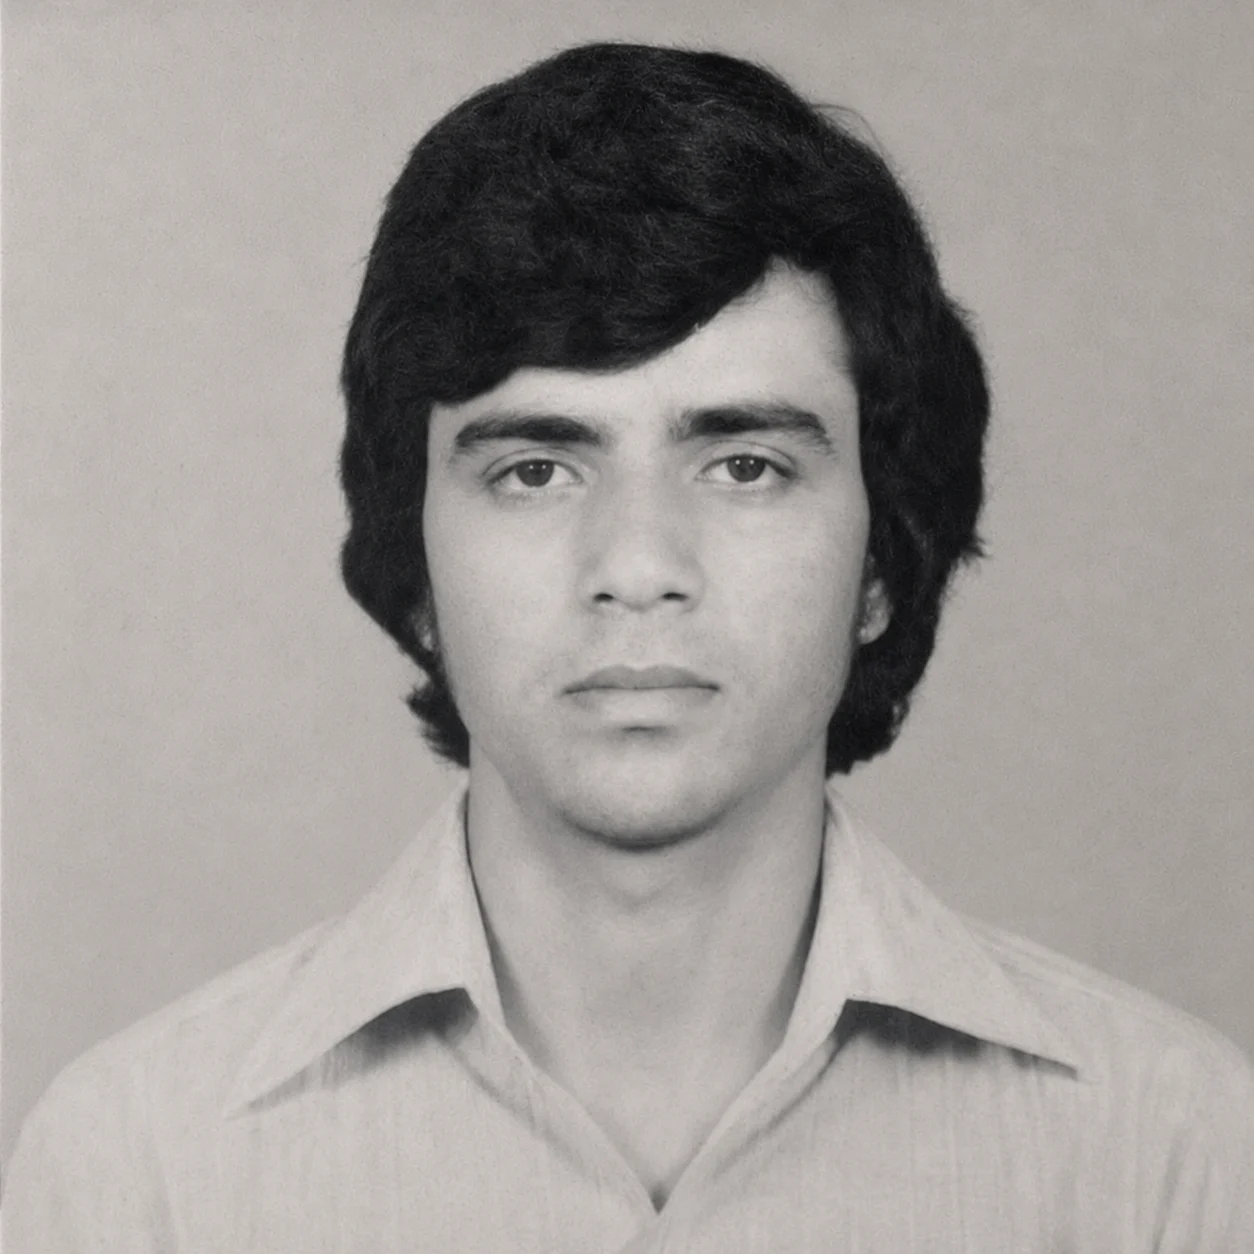 After
AfterA small print is cleaned for sharing without pretending that every missing detail was recovered.
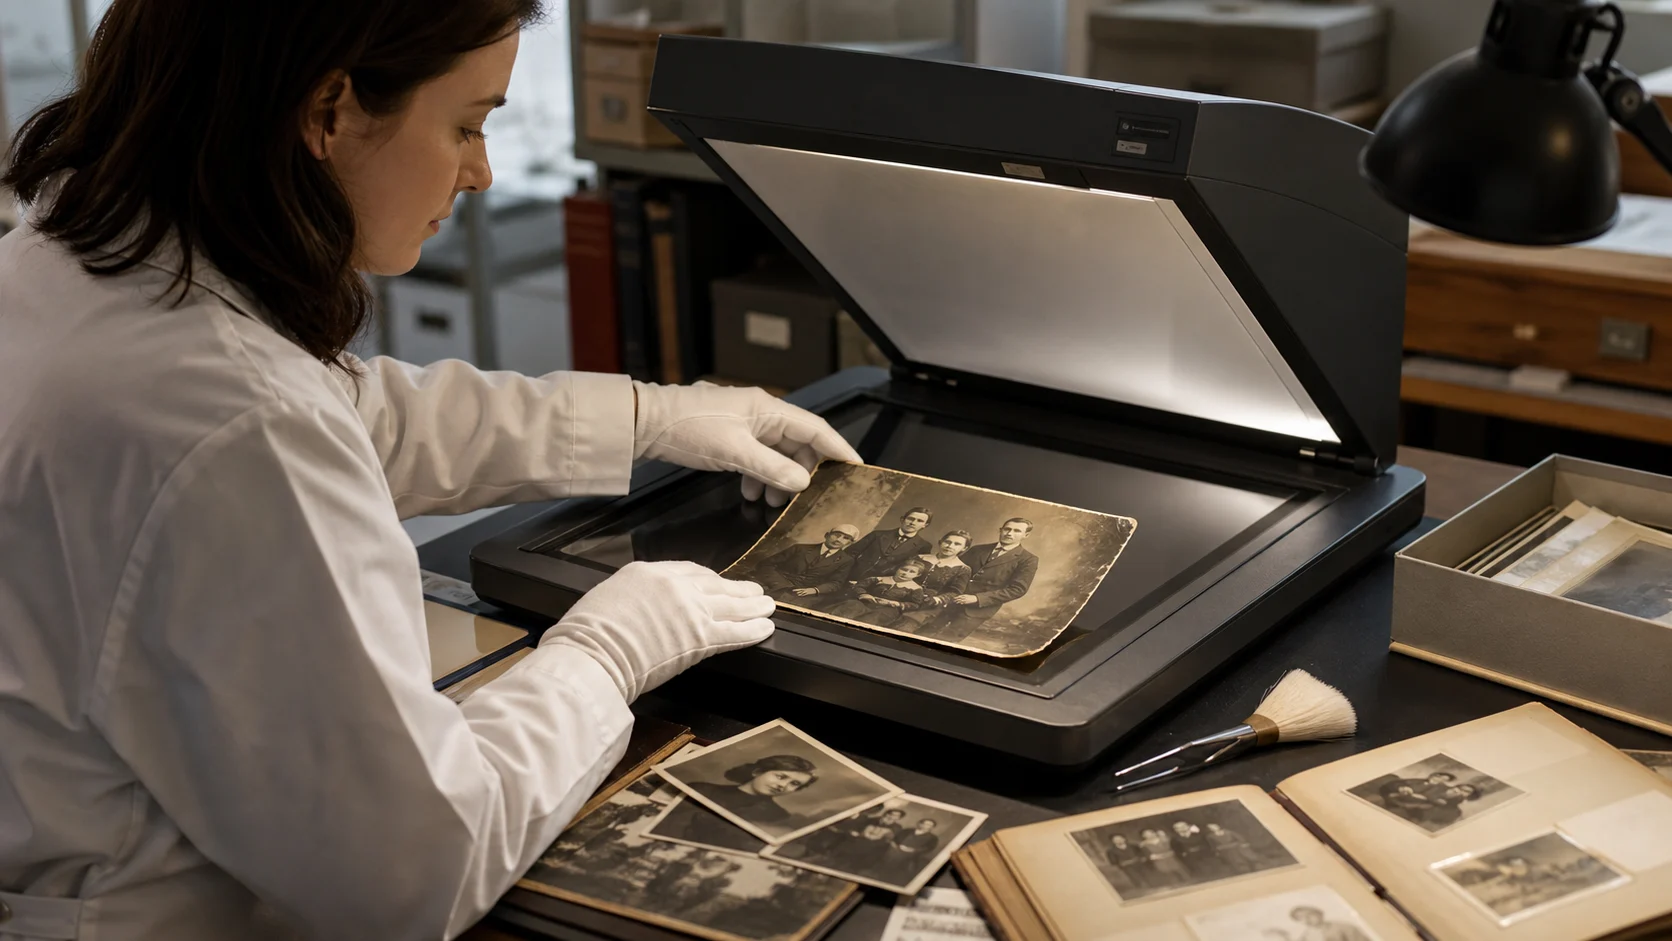
Restoration is an interpretation when pixels are gone. A good pass reduces distractions and keeps the original expression, framing, and period cues more legible; it should not silently invent historical evidence.
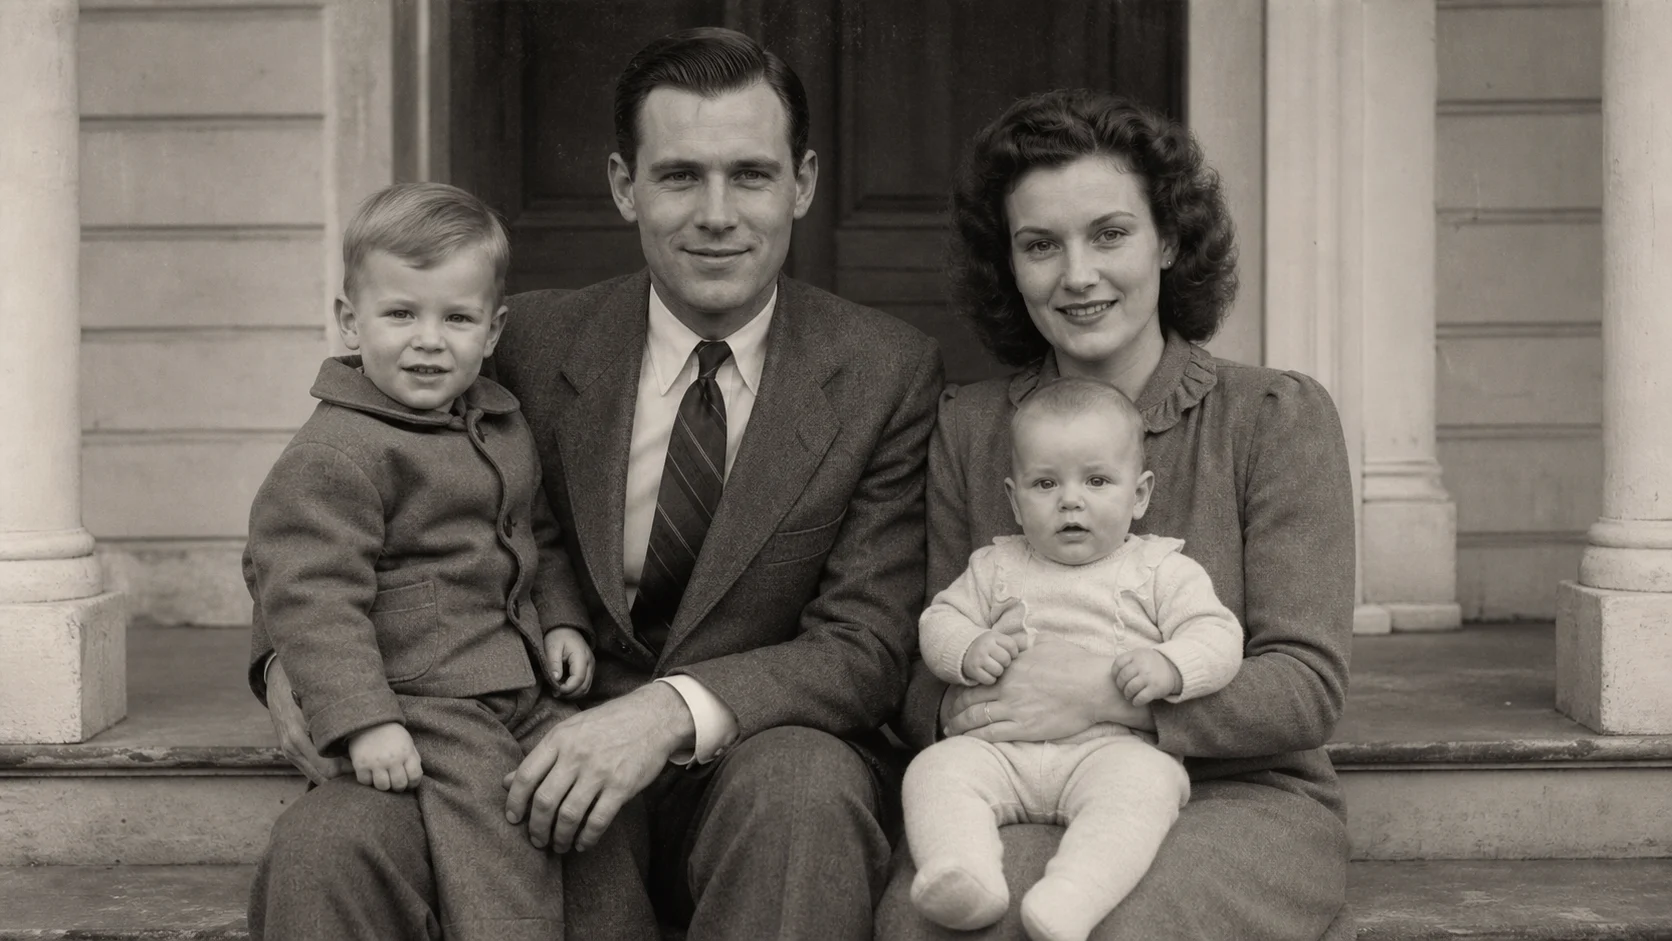
Make a clean archive scan first, then compare repair strength at full size. Heavy denoising can erase film grain, hair, and small lettering along with the scratches.
A closer look
Online restoration is a practical first pass for dust, scratches, folds, fading, and uneven contrast. It can make an archive easier to view, but it cannot know the exact texture or detail that a damaged print no longer contains.
Why it works
Separate scan damage from faces and important edges
Use different repair priorities for prints and documents
Keep an original scan beside every enhanced version
Creator notes
Eight grounded snapshots from everyday image work—from quick social posts to client-ready drafts.
“I came in for one quick product image and stayed to try three directions. The workflow never made me feel like I needed a tutorial first.”
 Maya R.E-commerce manager
“The controls are restrained in a good way. I can get a useful draft, download it, and finish the last ten percent in my usual design app.”
 Jon BellFreelance designer
“What won me over was consistency. I can repeat the same brief without rebuilding every setting from scratch.”
 Priya S.Content lead
“The first result is often close enough to start a real conversation with a client. That alone saves me a round of mood-board work.”
 Owen K.Independent maker
“I tested it during a busy launch week. It was fast, clear, and I always knew what the next click would do.”
 Nina ParkSocial media editor
“Being able to keep the source image visible matters to me. I can judge what changed instead of guessing from memory.”
 Luis M.Photographer
“It feels designed for actual production work, not just a flashy demo. The examples are practical and the output is easy to hand off.”
 Sophie ChenBrand coordinator
“I mostly use it for small weekly assets. It turns the blank-page moment into something I can react to in a couple of minutes.”
 Tom W.Newsletter creator
Restore Old Photos Online
It can reduce common scan damage and improve readability, but a torn or missing area has to be inferred. Keep the original file so the repaired version is never the only record.
A high-resolution scan with even exposure is the best starting point. Photos of a print can work, but glare, perspective, and low contrast make the repair less reliable.
A missing corner or section must be inferred, so the result may not match the original. Keep the untouched file and compare the repaired area.
Restoration can prepare a cleaner source for later colorization, but historical colors cannot be verified from damaged pixels alone. Treat color as an interpretation.
Keep both files. The restored image is a working copy, while the untouched scan remains the reference for future repair decisions.
Use the highest-resolution scan you have and keep the original. A phone photo can work, but glare, perspective, and compression reduce repair reliability.
Use a sharp, lightly compressed image with the full subject visible. Heavy blur, tight cropping, or repeatedly edited files make important details harder to preserve and review.
Compare the output with the source at full size. Check identity, edges, text, hands, texture, and composition, and keep the original file for any important use.
✦ One focused tool, ready for your next idea
Restore old photos online when a family print or scanned archive has visible damage. Use a conservative pass to recover readability while accepting that missing information must be inferred, not recovered.
Start with Restore Old Photos Online