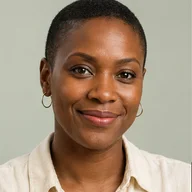

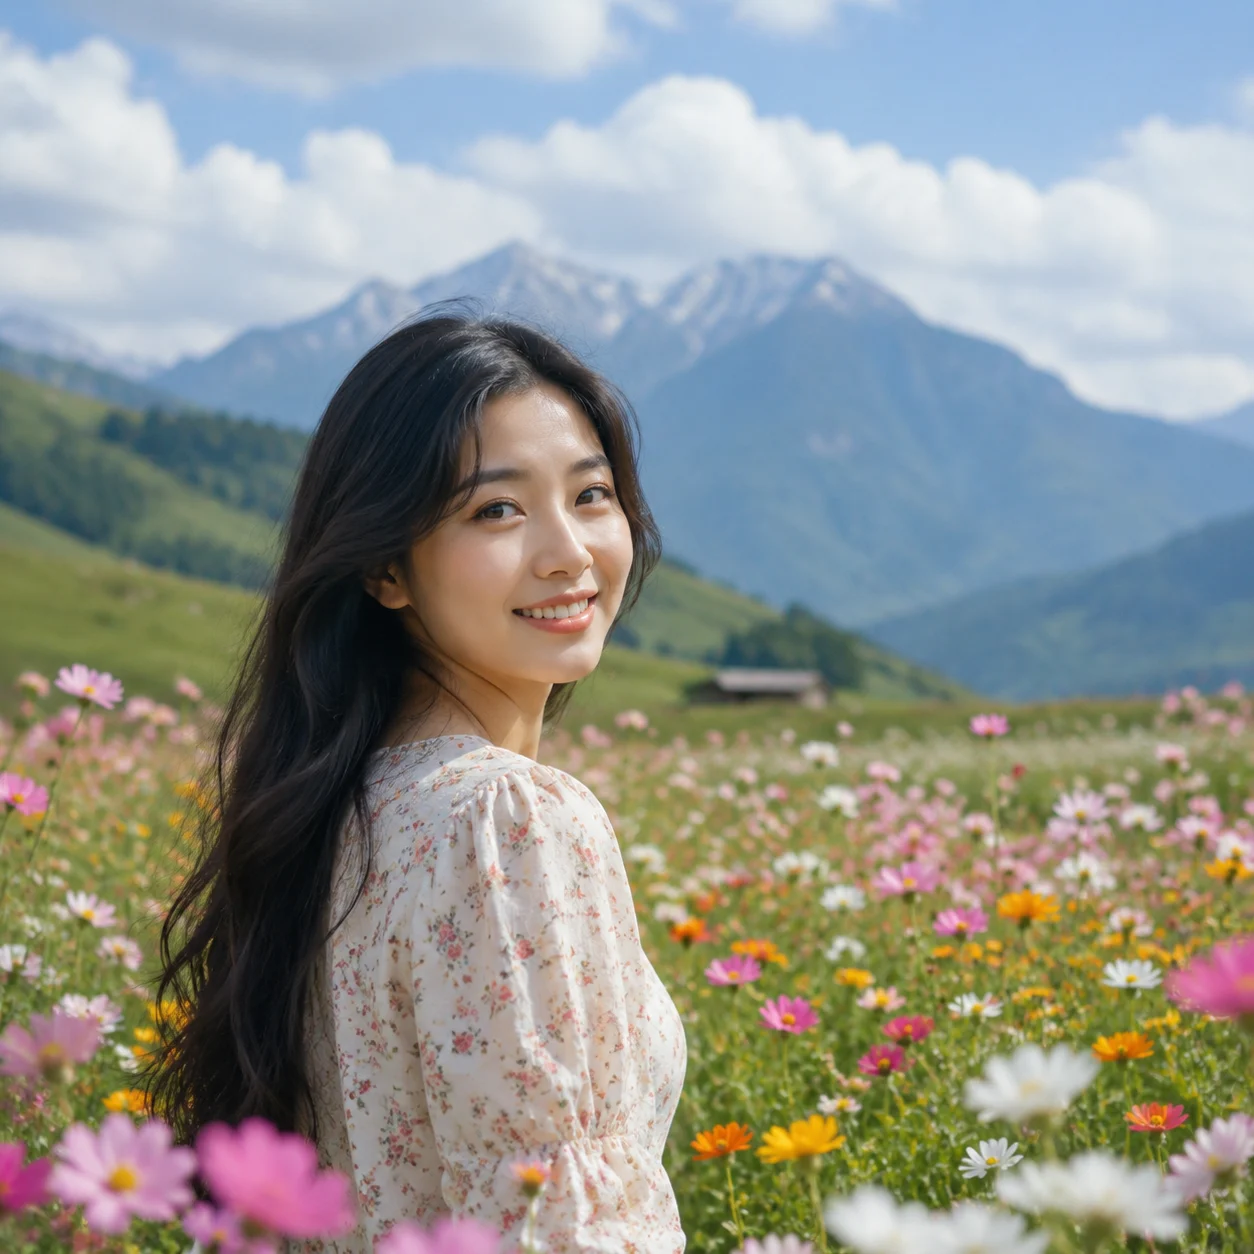
 Before
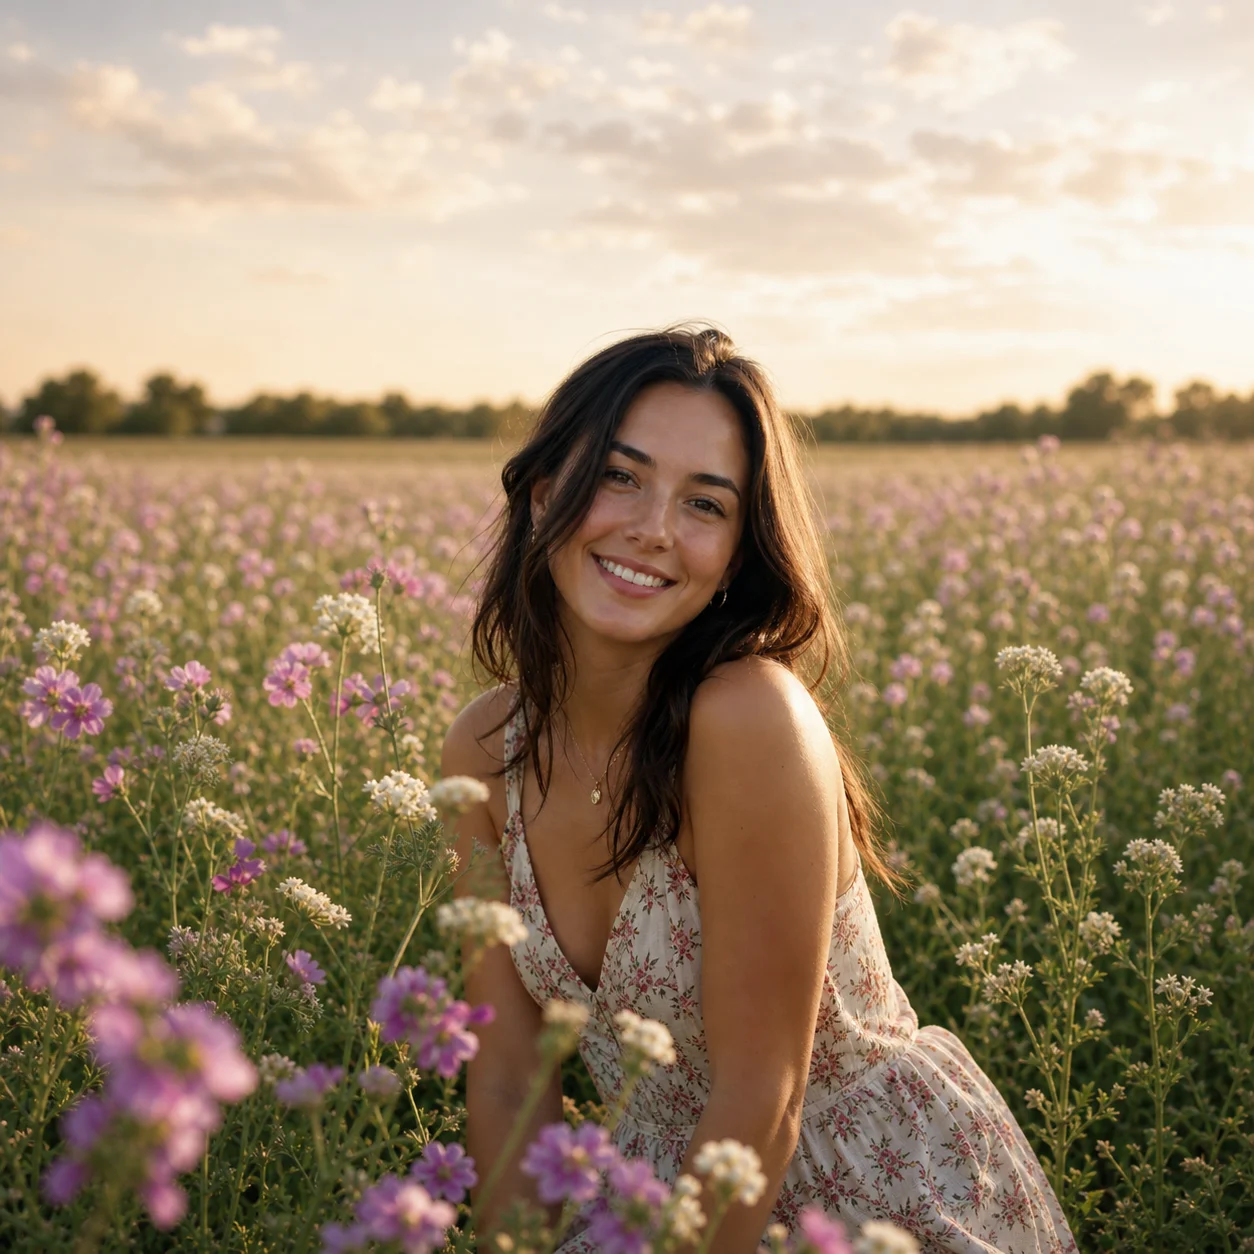 After
AfterLandscape photo adapted to Instagram portrait
A portrait is reframed for a vertical social slot while leaving room above the subject.
An AI image resizer helps one finished image fit several placements. It can extend or recompose the canvas around the subject, but text, hands, and busy edges still need a final inspection.
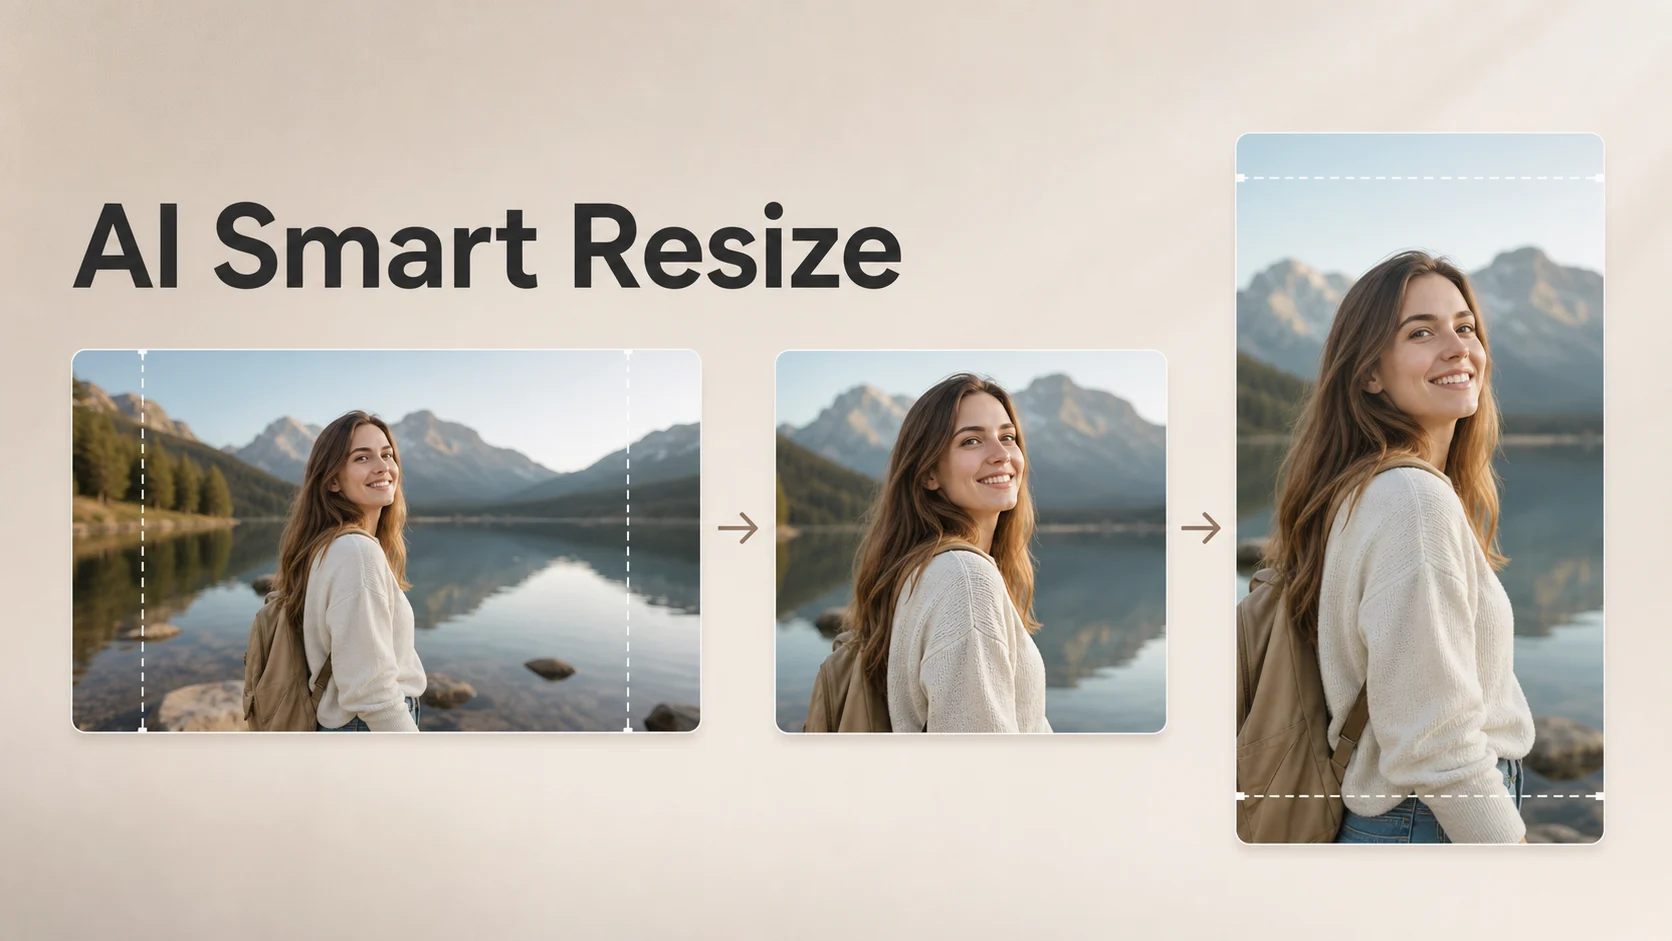
An AI image resizer helps one finished image fit several placements. It can extend or recompose the canvas around the subject, but text, hands, and busy edges still need a final inspection.
Before / After
BeforeAfterA portrait is reframed for a vertical social slot while leaving room above the subject.
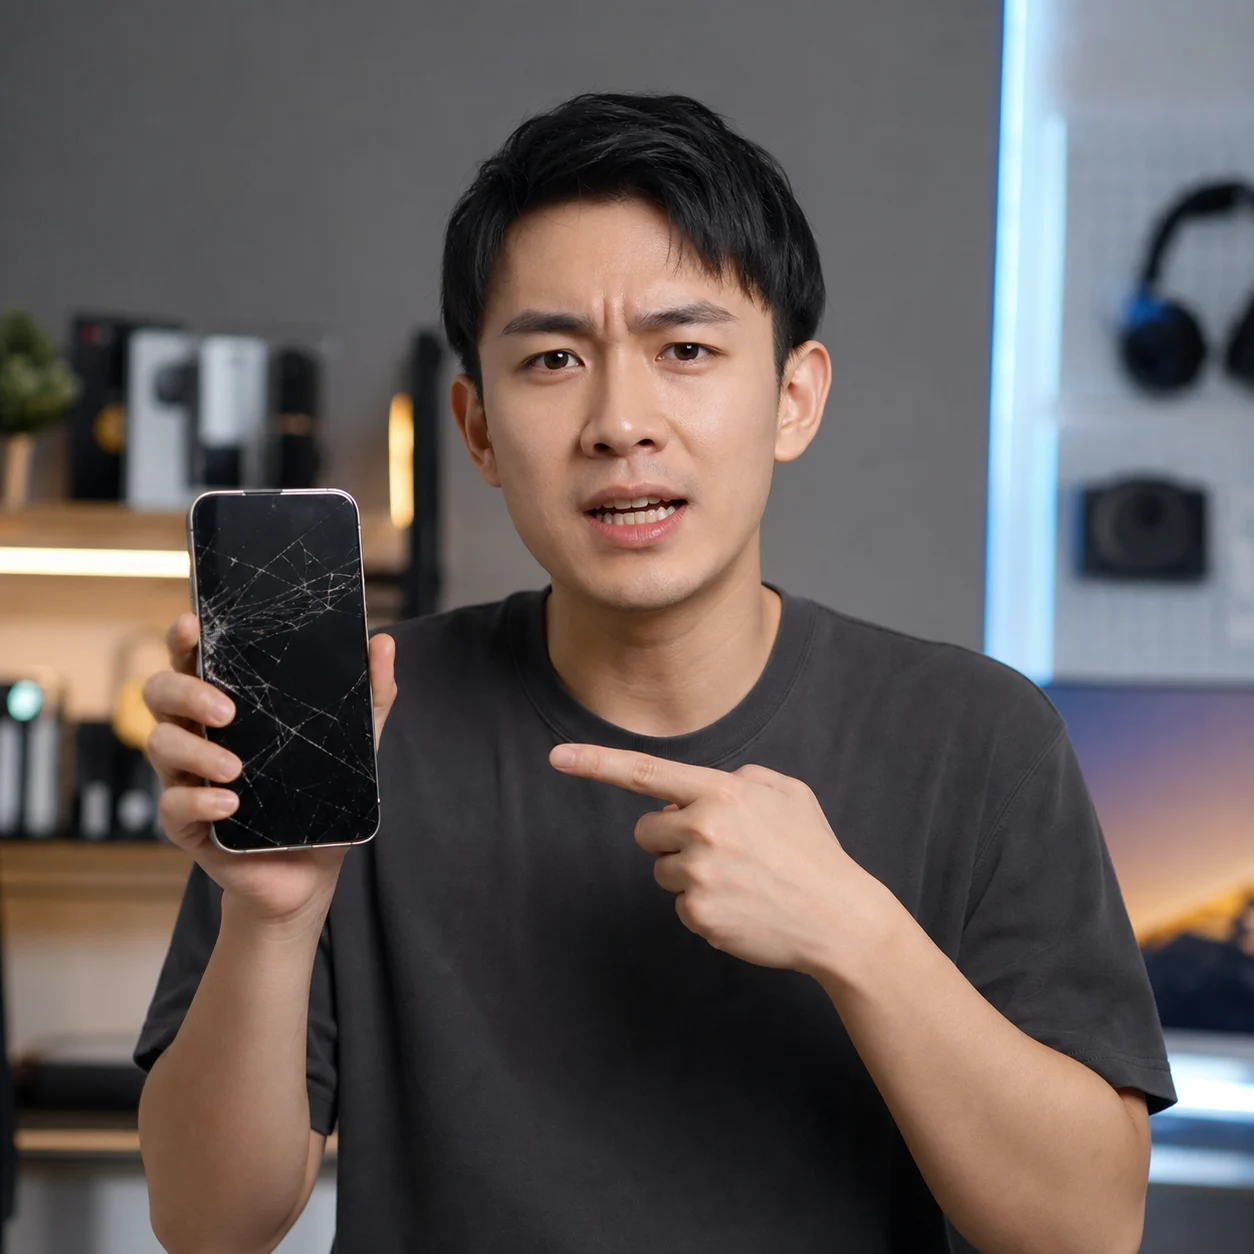 Before
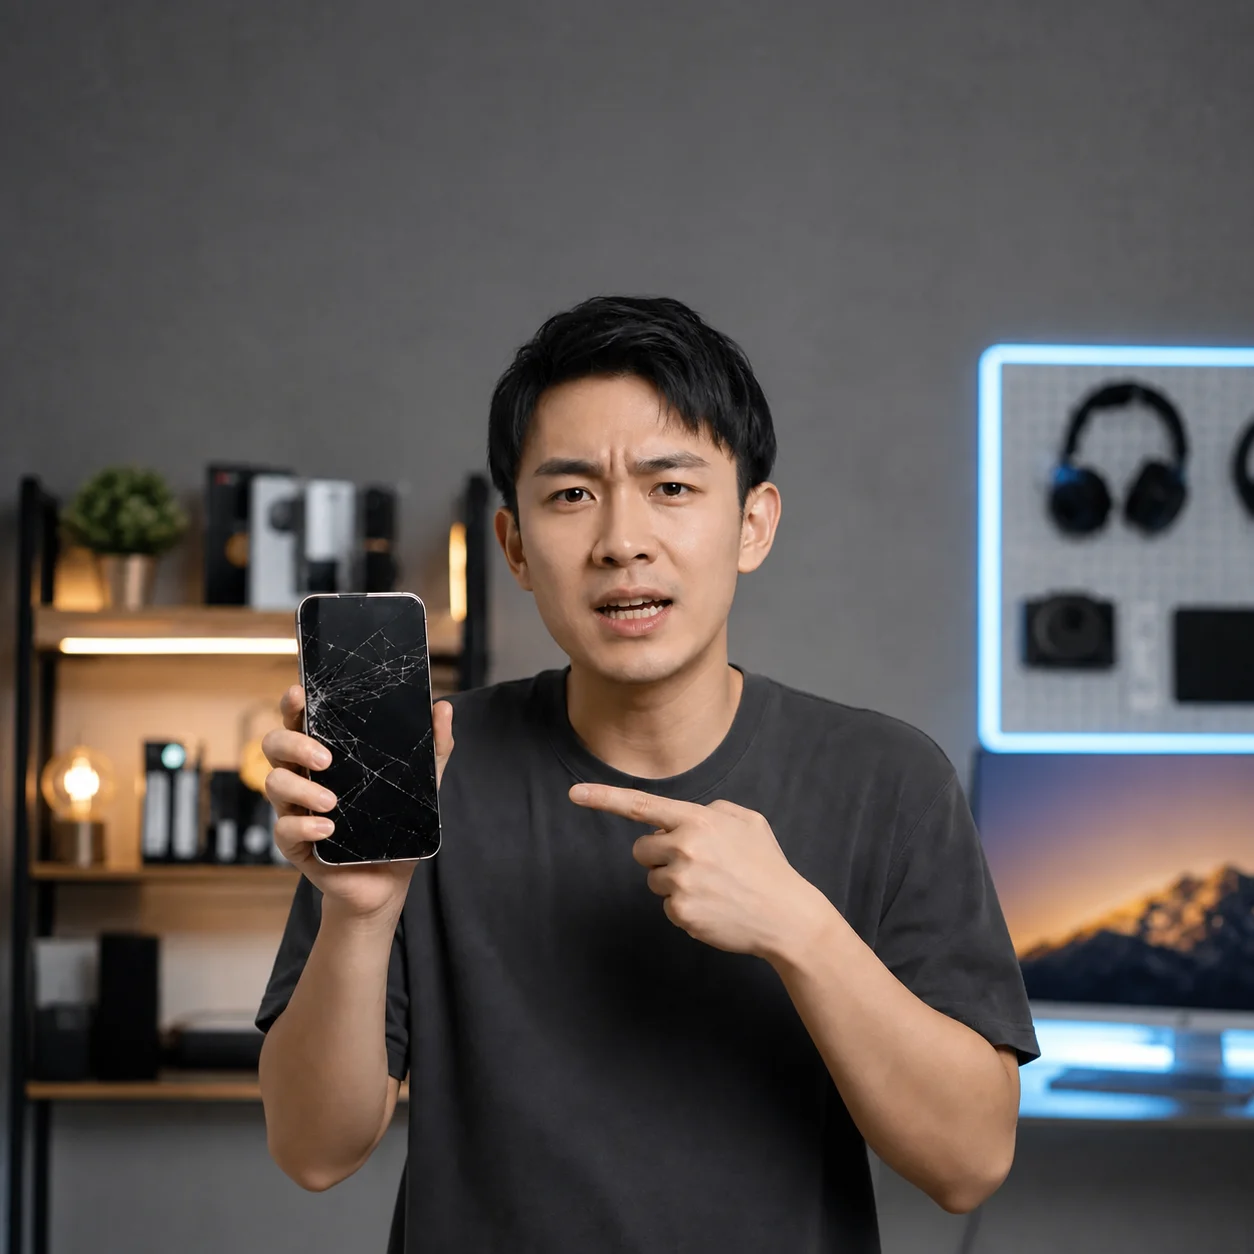 After
AfterA product banner expands sideways so the pack and its headline do not collide.
 Before
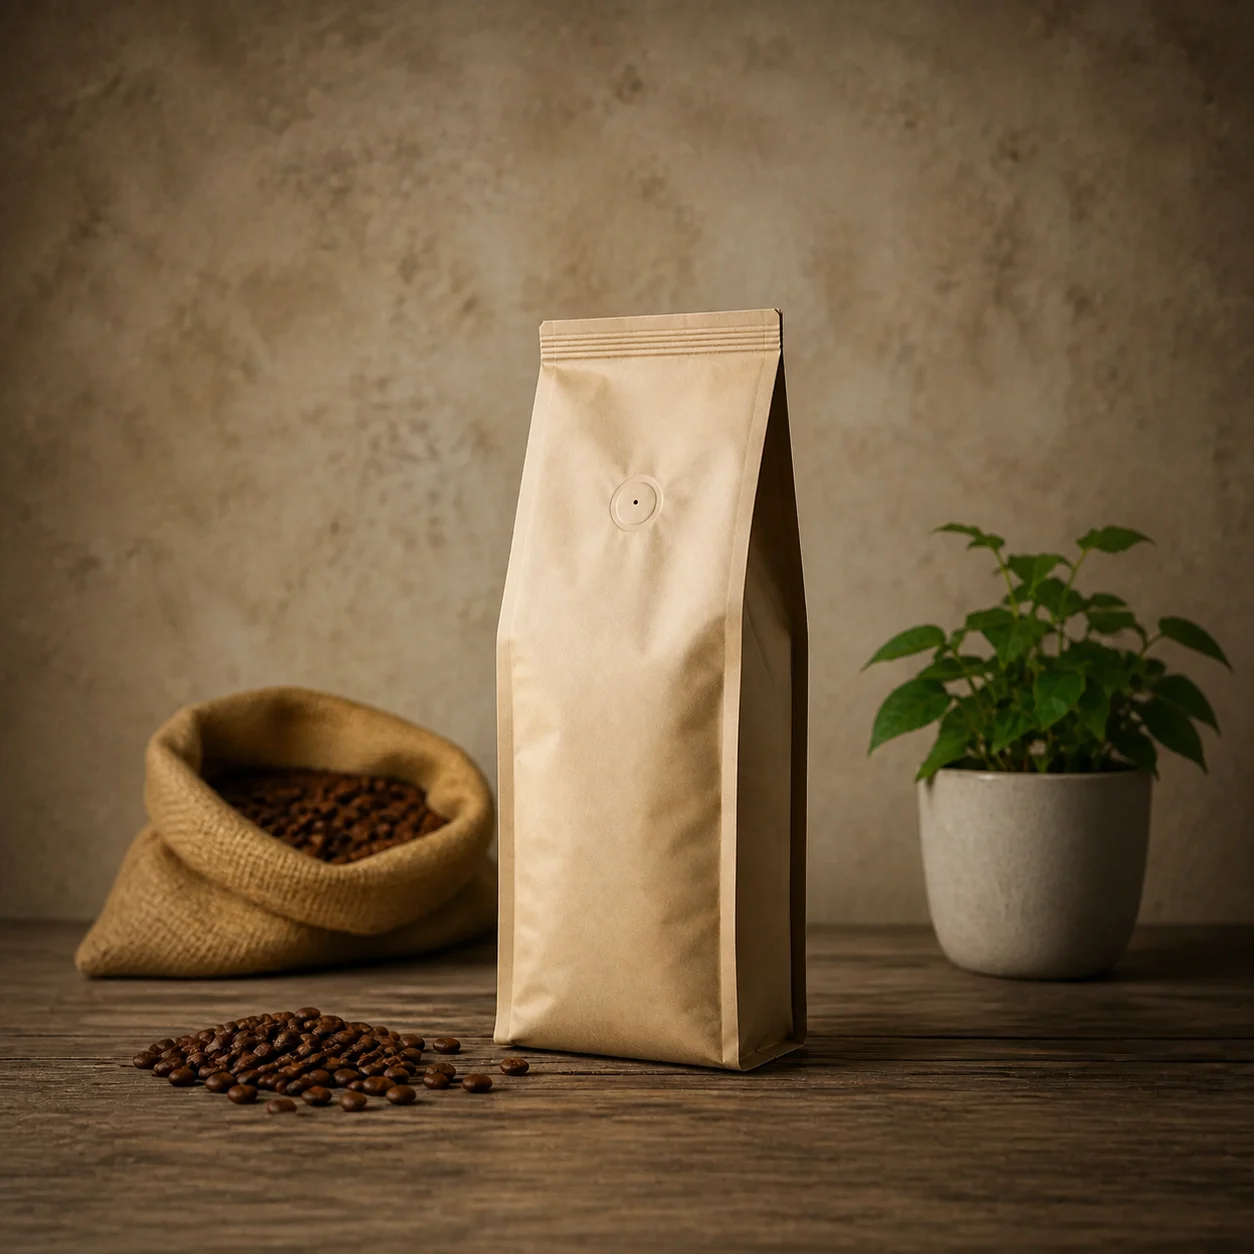 After
AfterAn editorial image becomes a square card without cutting away the main action.
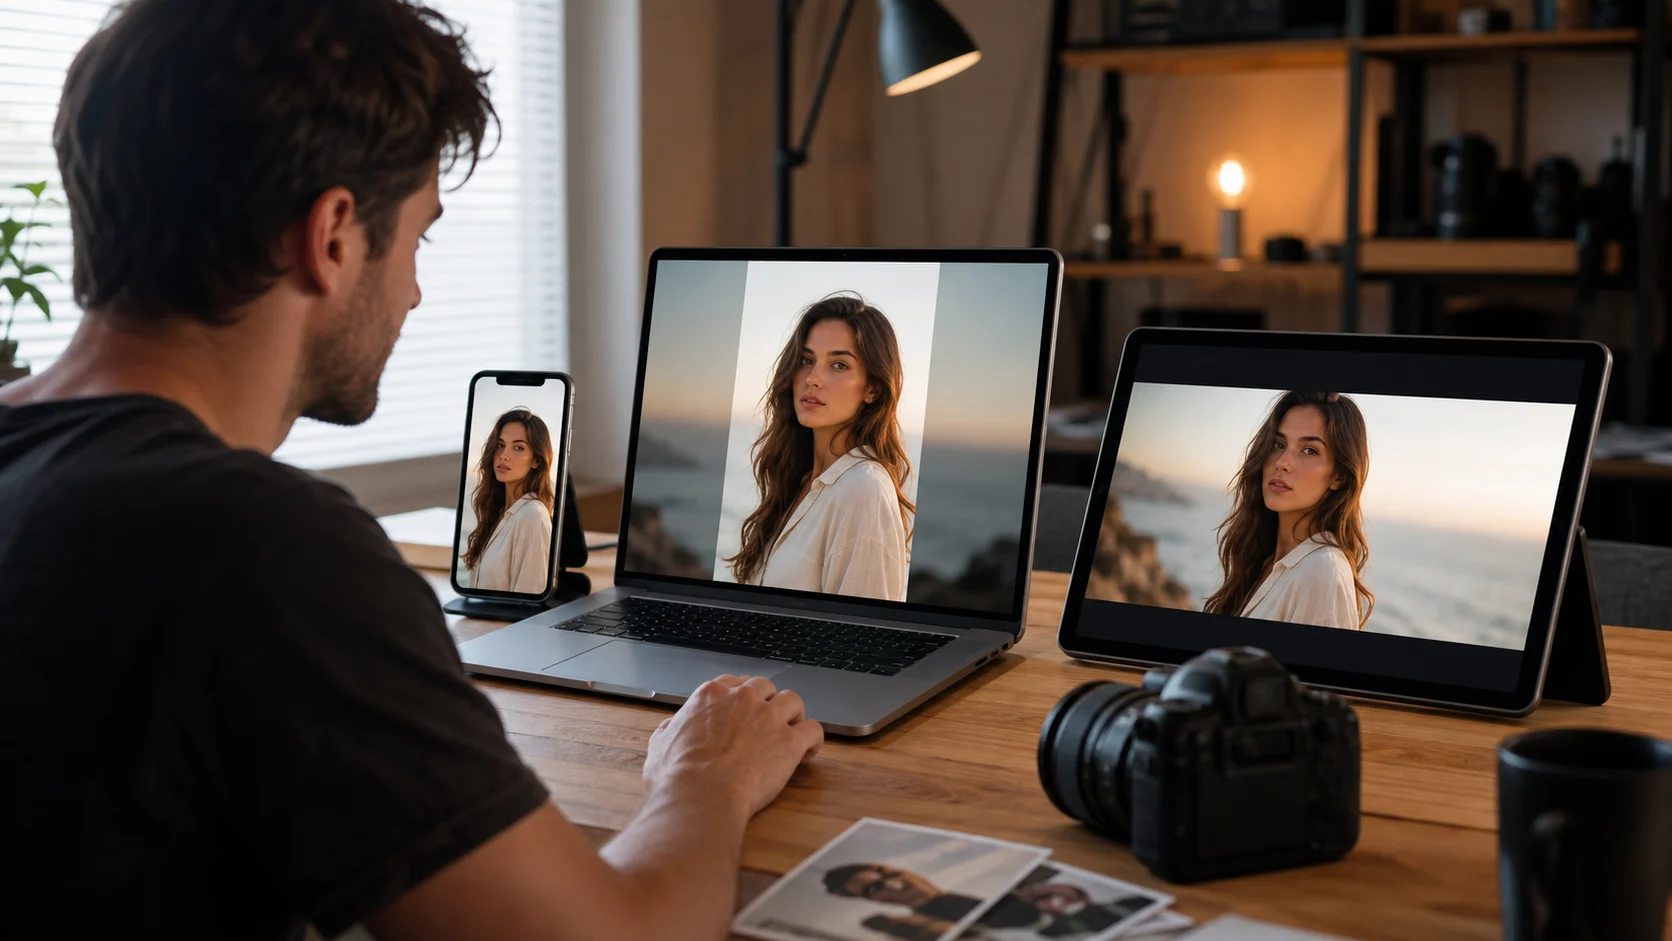
Composition is the decision. The resizer should add useful breathing room or choose a safer crop, not blindly stretch every side of the image.
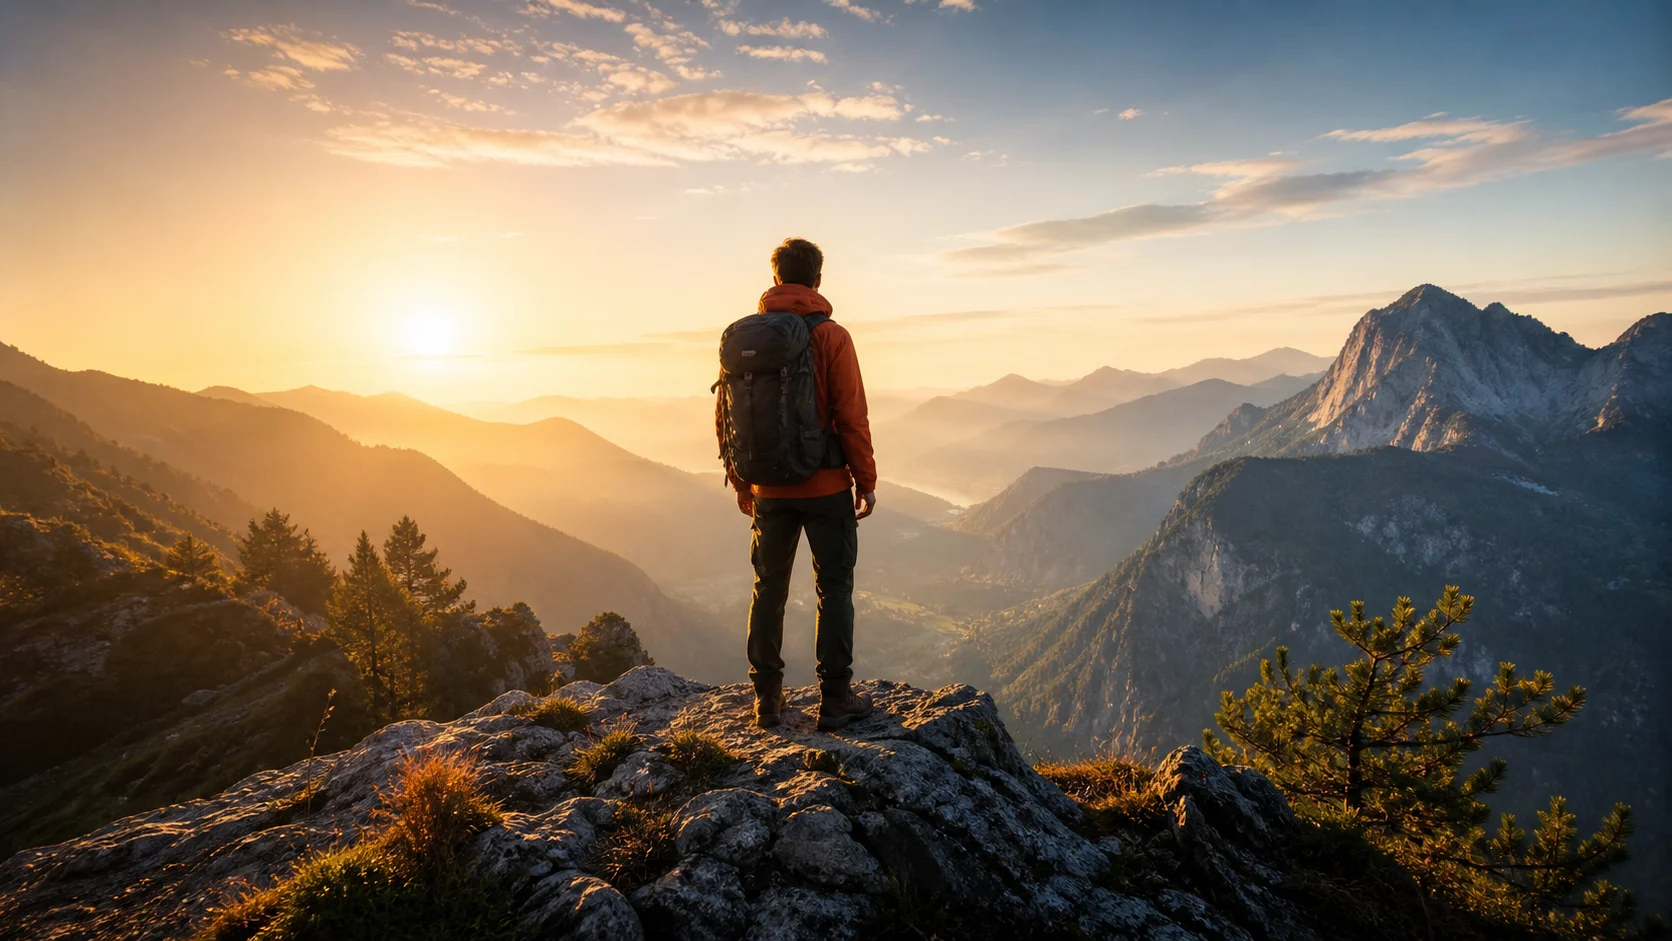
Generated canvas is most noticeable around text, repeating patterns, fingers, and architectural lines. Review those areas at full size before scheduling the asset.
A closer look
The useful part of an AI image resizer is not making pixels larger; it is adapting composition to a destination. Start with the placement that matters most, then inspect how the subject, negative space, and any lettering move in each alternate frame.
Why it works
Protect the focal subject while changing the canvas
Prepare channel-specific crops from one approved source
Spot generated background areas before they reach a feed or shop
Creator notes
Eight grounded snapshots from everyday image work—from quick social posts to client-ready drafts.
“I came in for one quick product image and stayed to try three directions. The workflow never made me feel like I needed a tutorial first.”
 Maya R.E-commerce manager
“The controls are restrained in a good way. I can get a useful draft, download it, and finish the last ten percent in my usual design app.”
 Jon BellFreelance designer
“What won me over was consistency. I can repeat the same brief without rebuilding every setting from scratch.”
 Priya S.Content lead
“The first result is often close enough to start a real conversation with a client. That alone saves me a round of mood-board work.”
 Owen K.Independent maker
“I tested it during a busy launch week. It was fast, clear, and I always knew what the next click would do.”
 Nina ParkSocial media editor
“Being able to keep the source image visible matters to me. I can judge what changed instead of guessing from memory.”
 Luis M.Photographer
“It feels designed for actual production work, not just a flashy demo. The examples are practical and the output is easy to hand off.”
 Sophie ChenBrand coordinator
“I mostly use it for small weekly assets. It turns the blank-page moment into something I can react to in a couple of minutes.”
 Tom W.Newsletter creator
AI Image Resizer
Use 3:4 for Instagram, 9:16 for TikTok, 16:9 for YouTube, and 1:1 when a square is required. Check the destination's current publishing requirements.
Smart Expand aims to add canvas around the source, while Smart Crop reframes it. Compare the result with the original because generated edges or the crop can change the composition.
It tries to preserve the main subject, but generated space can change small lettering and fine patterns. Keep the original open for a side-by-side check.
Use Crop when the subject already fits the target frame and removing edges is acceptable. Use Expand when you need to keep the subject and add space around it.
The page creates one selected output at a time. Repeat the workflow for other platform sizes, keeping important text and faces away from crop boundaries.
No. Smart Resize changes the canvas or framing; it does not restore real detail from a tiny or heavily compressed source. Use an upscaling workflow first when needed.
Use a sharp, lightly compressed image with the full subject visible. Heavy blur, tight cropping, or repeatedly edited files make important details harder to preserve and review.
Compare the output with the source at full size. Check identity, edges, text, hands, texture, and composition, and keep the original file for any important use.
✦ One focused tool, ready for your next idea
An AI image resizer helps one finished image fit several placements. It can extend or recompose the canvas around the subject, but text, hands, and busy edges still need a final inspection.
Start with AI Image Resizer