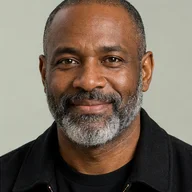

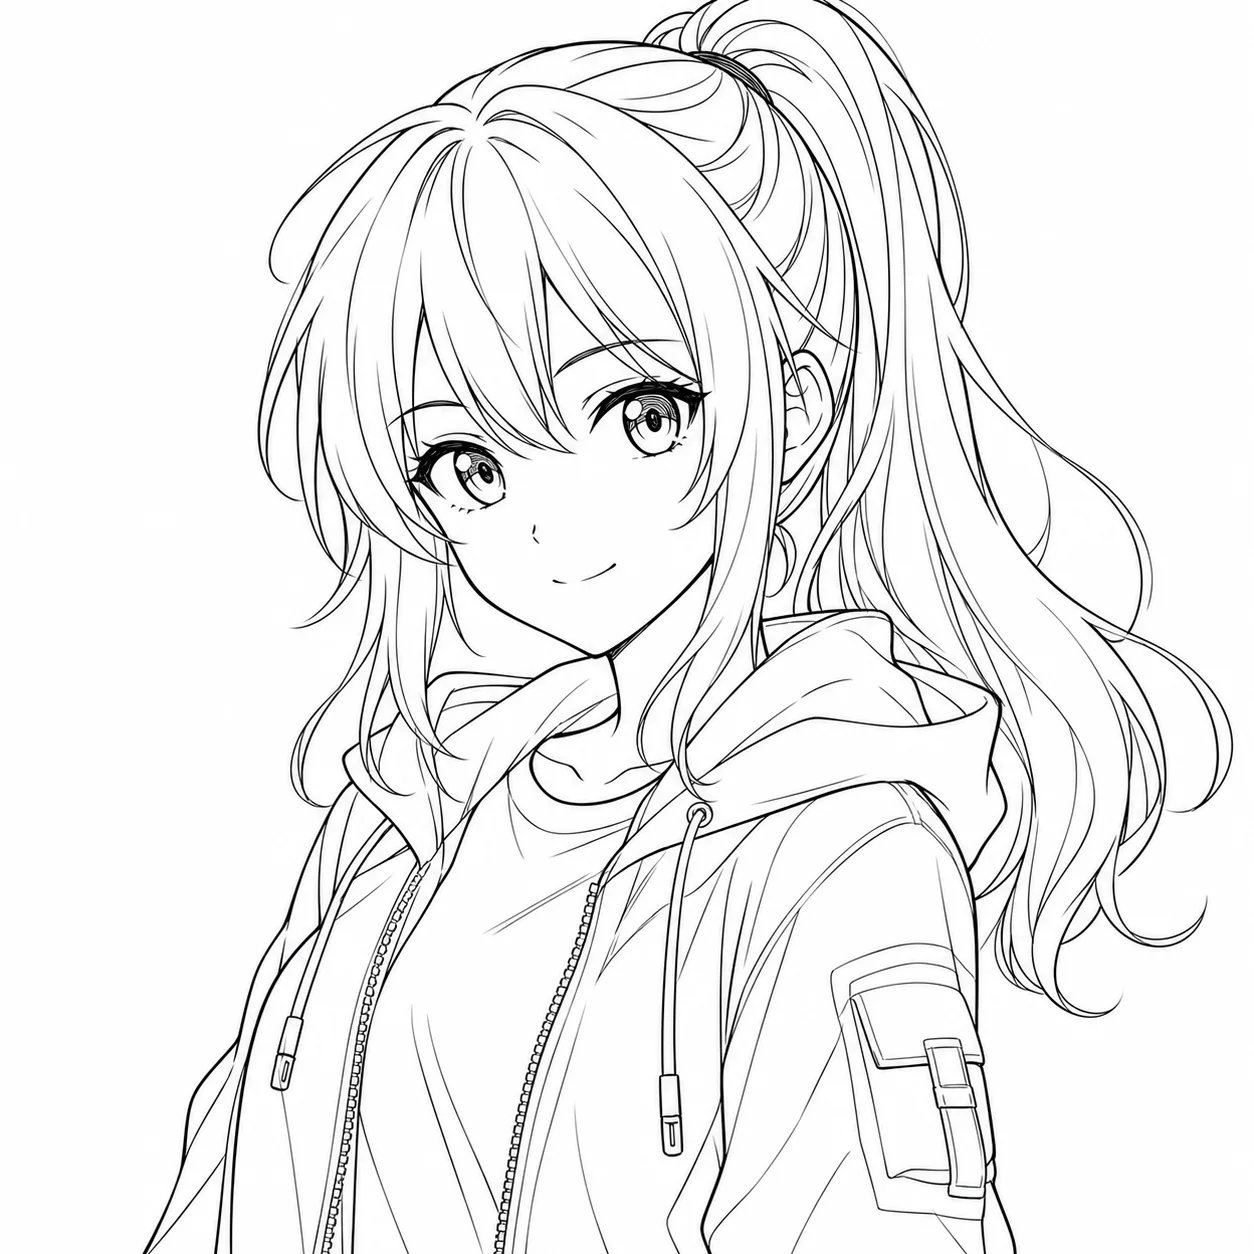
 Before
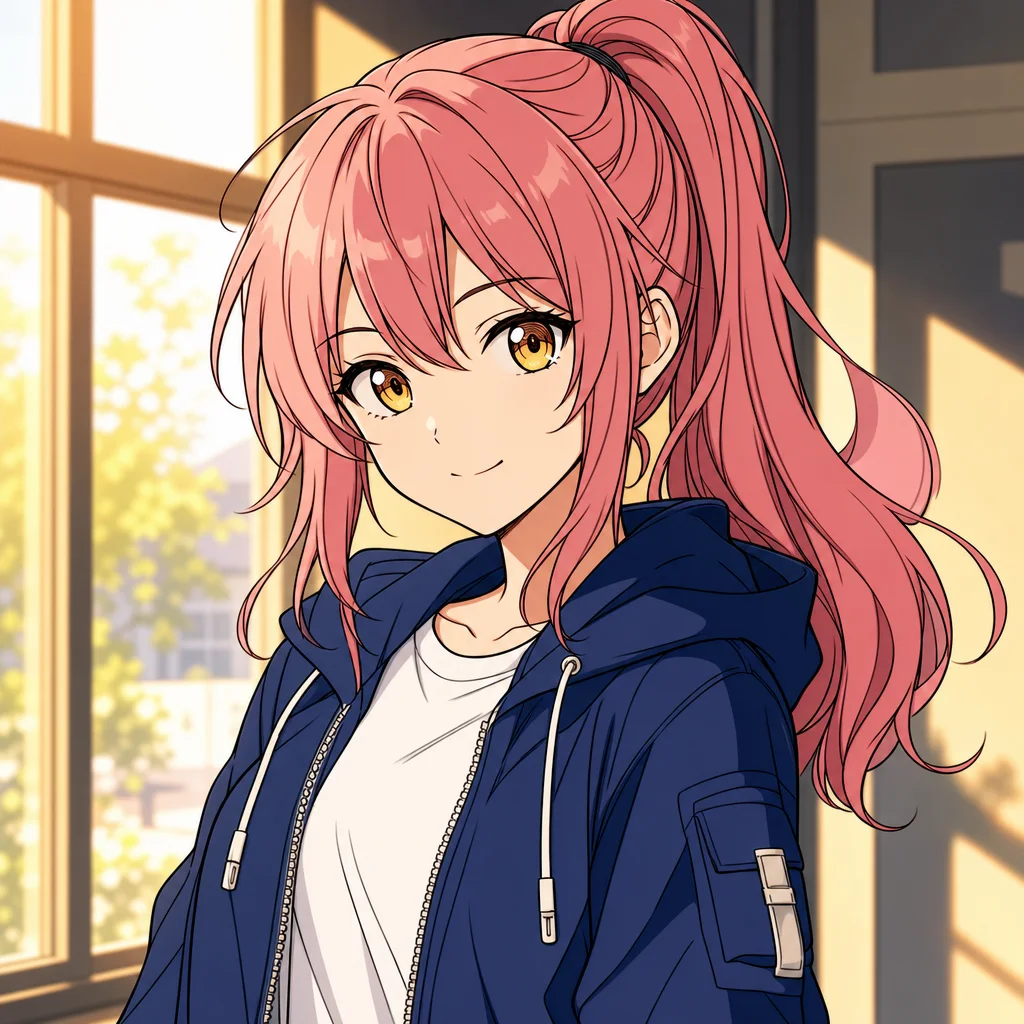 After
AfterPortrait to printable outline
Keeps the face, hairline, and clothing silhouette readable without carrying over the original photo texture.
Image to line art conversion reduces color and surface noise so you can study the structure of a photo or drawing. Use it as a tracing or coloring starting point, not as a promise that every texture becomes a correct line.
Image to line art conversion reduces color and surface noise so you can study the structure of a photo or drawing. Use it as a tracing or coloring starting point, not as a promise that every texture becomes a correct line.

Use a photo, drawing, or product image with the main subject visible and enough contrast around its edges.
Use Outline for coloring pages, Ink for stronger contours, or Fine detail when small shapes matter more than simplicity.
Check faces, hands, thin wires, and overlapping objects before using the result as a printable or tracing reference.
Before / After
BeforeAfterKeeps the face, hairline, and clothing silhouette readable without carrying over the original photo texture.
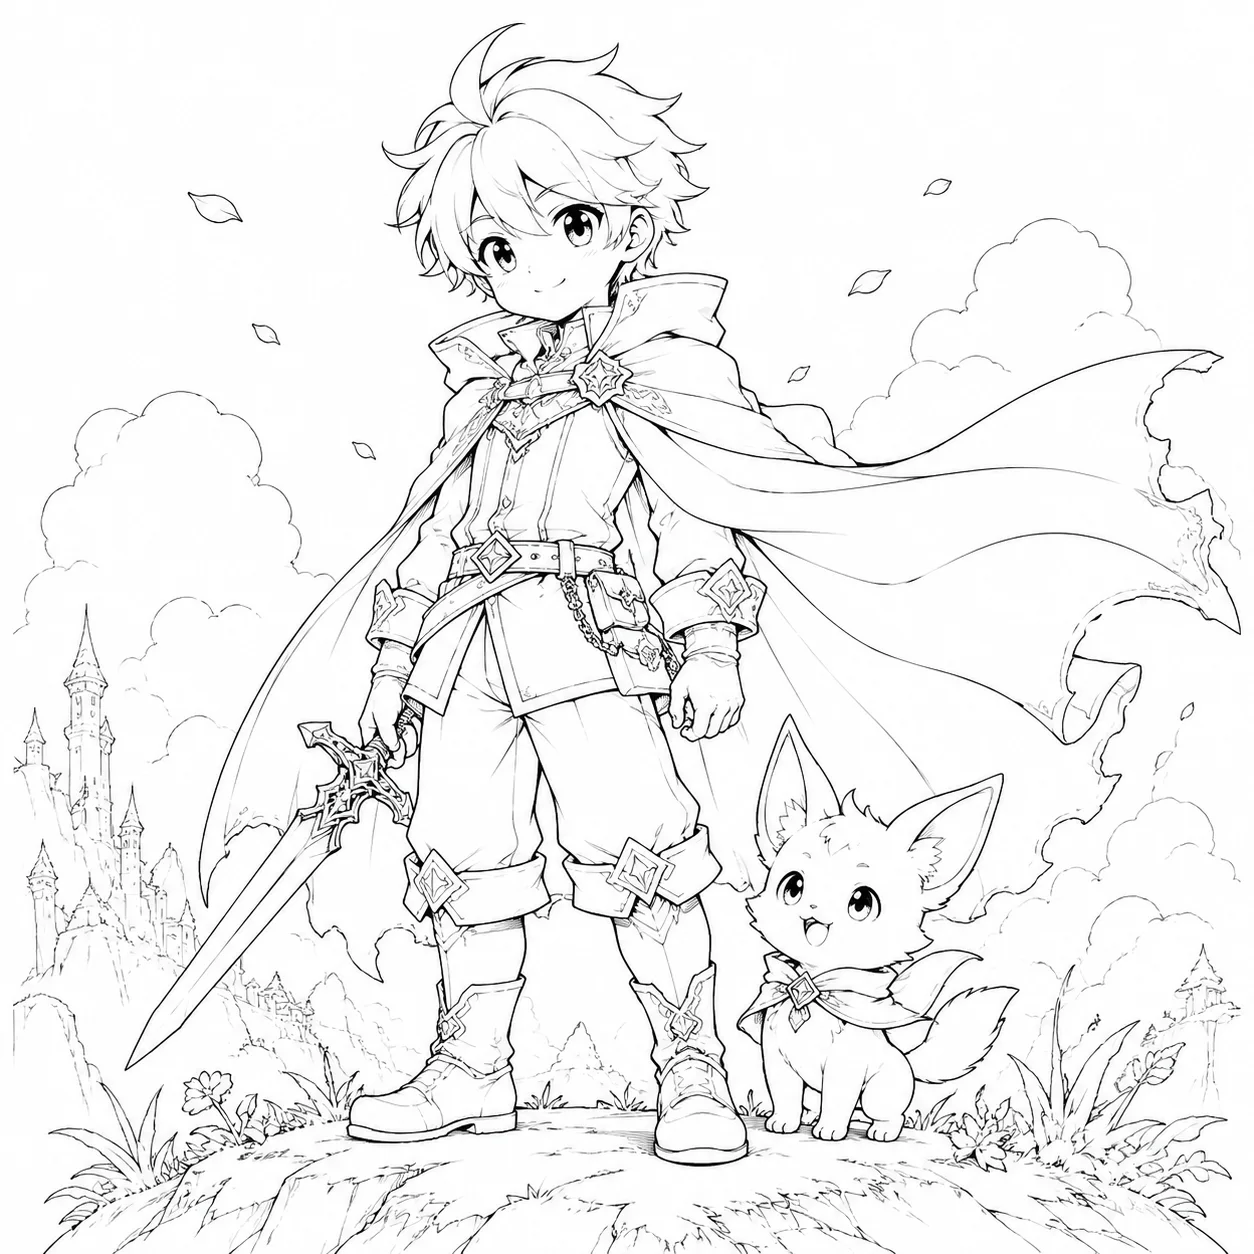 Before
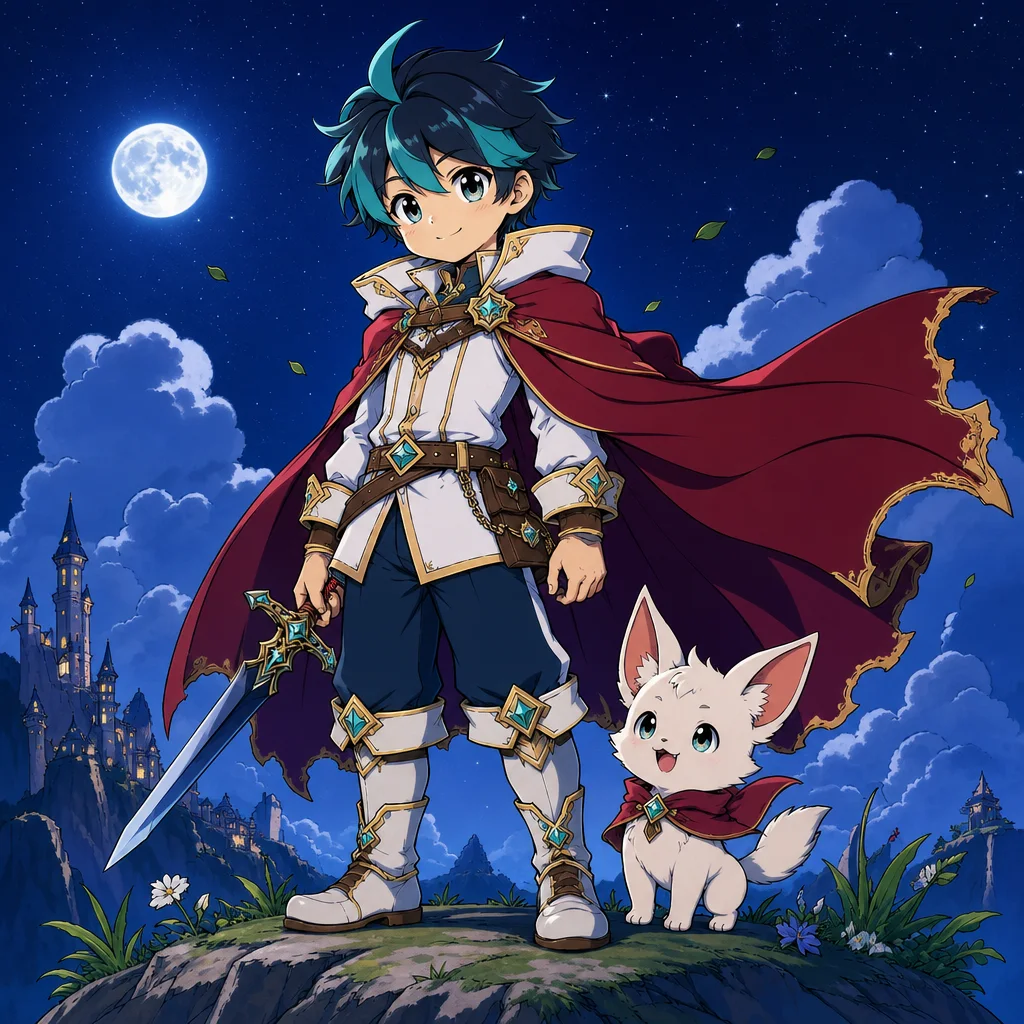 After
AfterReduces color and surface noise so the main profile and construction lines are easier to trace.
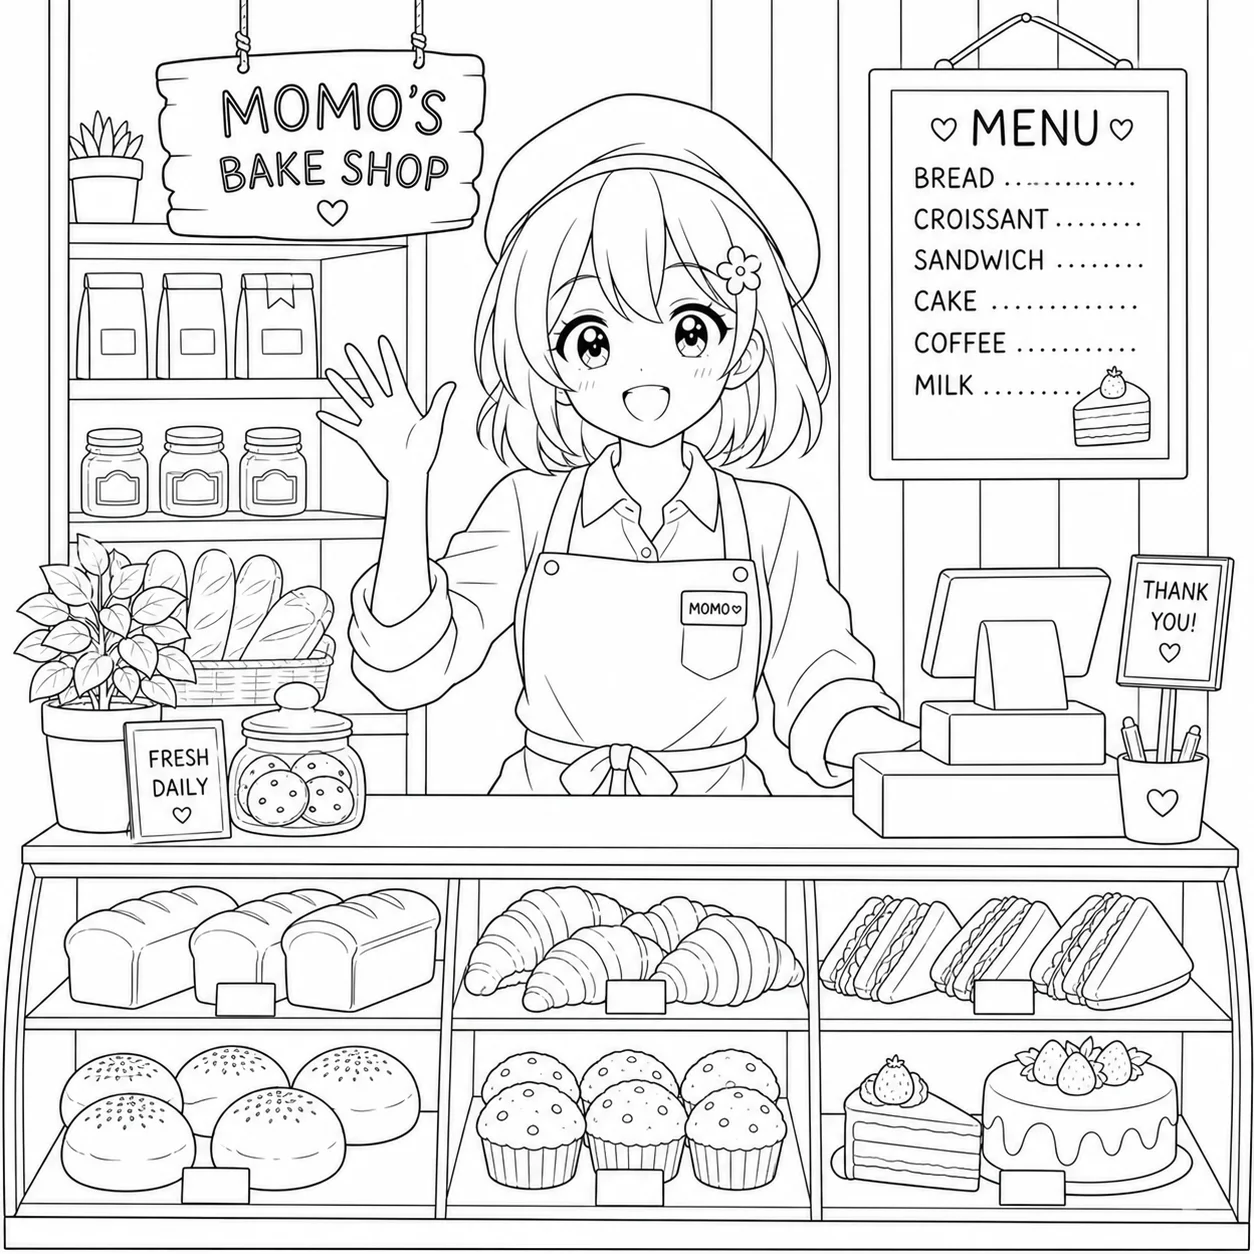 Before
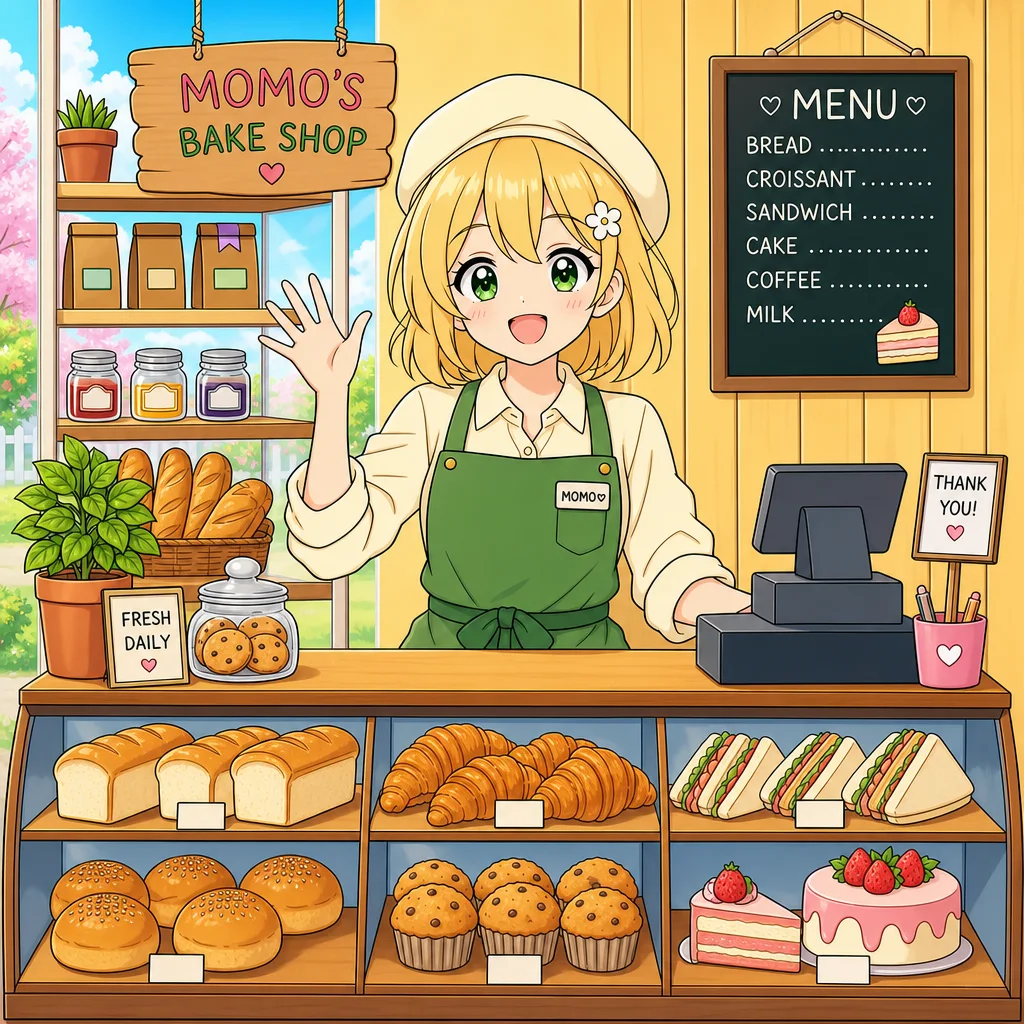 After
AfterLeaves larger fill areas open while retaining enough fur and ear detail to keep the subject recognizable.
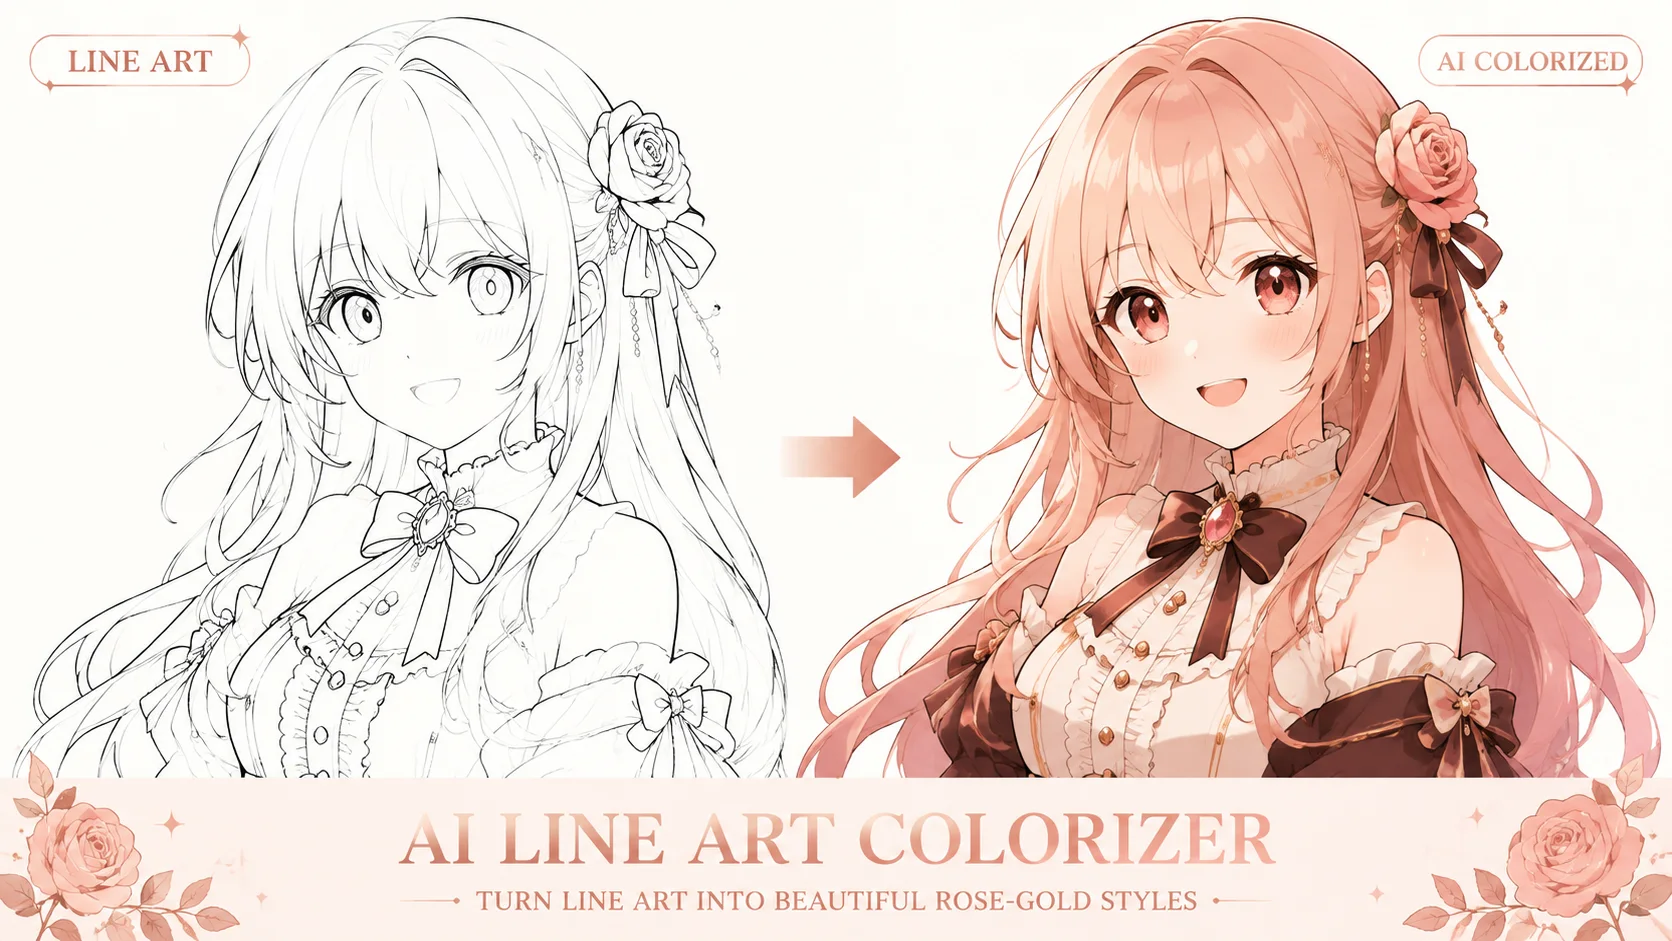
A line-art conversion is not a literal edge detector. It decides which boundaries matter, so a balanced setting usually works better than forcing every texture into a dark line. For coloring pages and tattoo drafts, start with Clean or Outline and add detail only when the subject loses its identity.
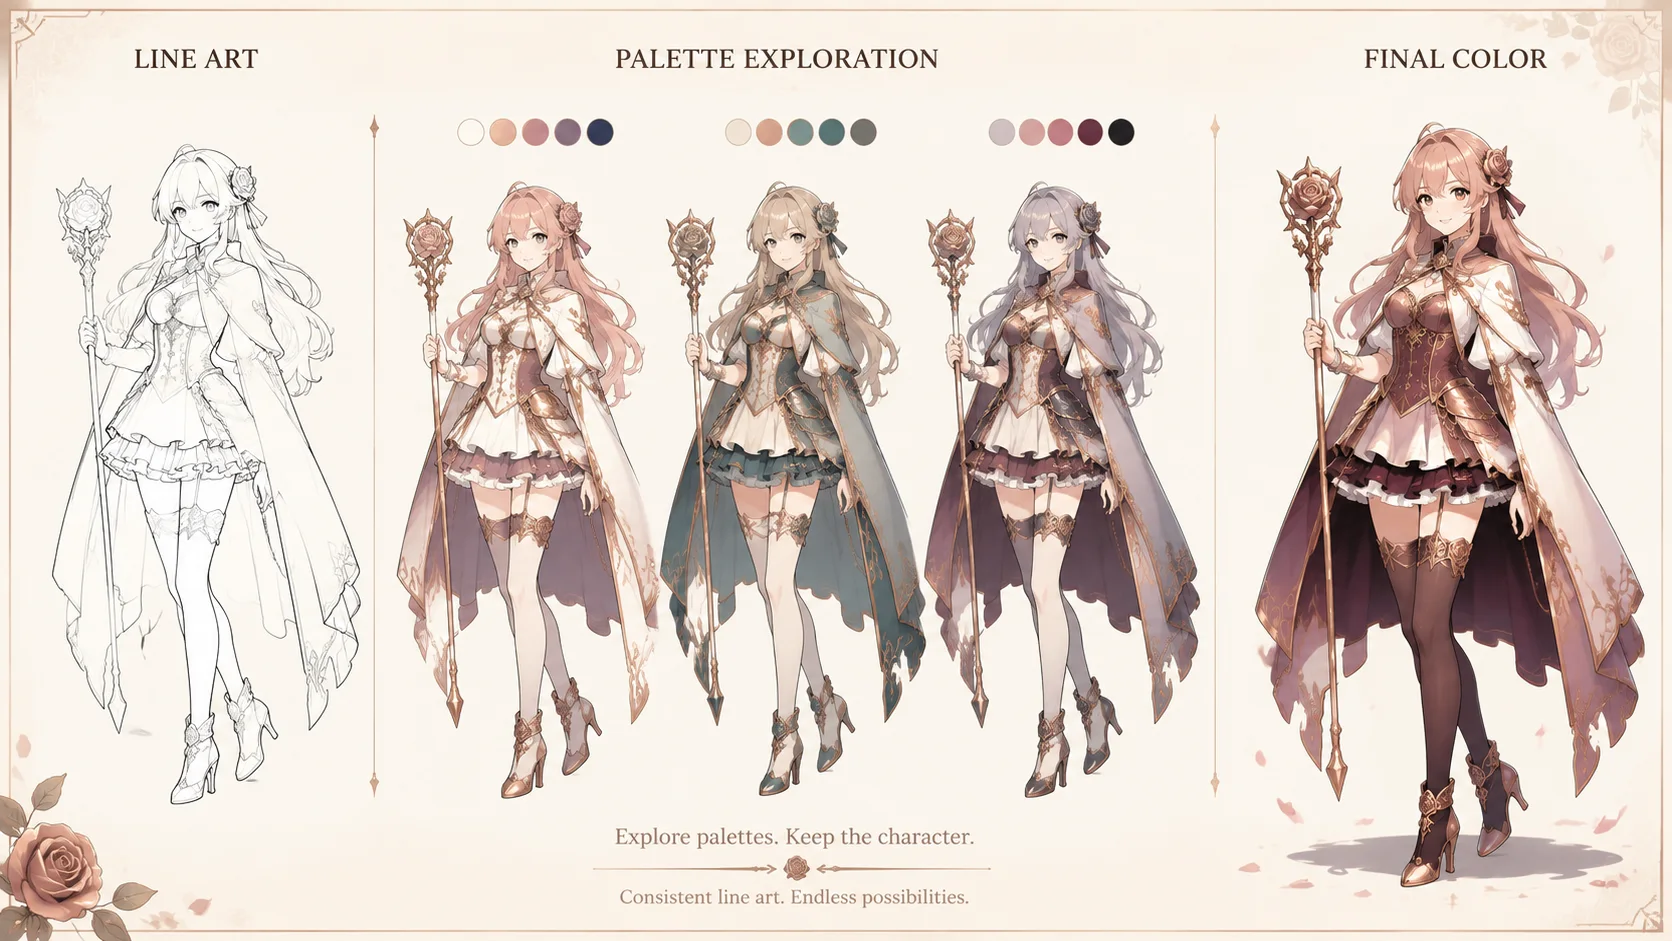
A plain wall, product table, or uncluttered portrait usually converts cleanly. Foliage, crowds, reflective surfaces, and overlapping limbs can create extra contours. Crop the source first or use a simple prompt instruction when the background is more important than the subject outline.
A closer look
This workflow is intended for a usable first draft: a cleaner contour reference for artists, educators, crafters, and anyone who needs to see the structure of an image without its original color and surface texture.
Why it works
Start simple for coloring pages, then move toward Fine when the subject needs more interior structure.
The base instruction protects pose, proportions, and important contours instead of producing a generic outline.
Review thin lines, hands, text, reflections, and crowded backgrounds before printing or publishing.
Creator notes
Eight grounded snapshots from everyday image work—from quick social posts to client-ready drafts.
“I came in for one quick product image and stayed to try three directions. The workflow never made me feel like I needed a tutorial first.”
 Maya R.E-commerce manager
“The controls are restrained in a good way. I can get a useful draft, download it, and finish the last ten percent in my usual design app.”
 Jon BellFreelance designer
“What won me over was consistency. I can repeat the same brief without rebuilding every setting from scratch.”
 Priya S.Content lead
“The first result is often close enough to start a real conversation with a client. That alone saves me a round of mood-board work.”
 Owen K.Independent maker
“I tested it during a busy launch week. It was fast, clear, and I always knew what the next click would do.”
 Nina ParkSocial media editor
“Being able to keep the source image visible matters to me. I can judge what changed instead of guessing from memory.”
 Luis M.Photographer
“It feels designed for actual production work, not just a flashy demo. The examples are practical and the output is easy to hand off.”
 Sophie ChenBrand coordinator
“I mostly use it for small weekly assets. It turns the blank-page moment into something I can react to in a couple of minutes.”
 Tom W.Newsletter creator
Image to Line Art
Yes. Use a well-lit photo with one clear subject, choose Outline or Coloring page, and review the result at full size. Busy backgrounds and overlapping objects often need cropping before conversion.
Outline with Clean detail is the simplest starting point. Balanced is better when a face, product seam, or pet markings disappear, while Fine detail is more likely to preserve small contours and background noise.
The prompt asks the model to preserve pose and proportions, but very small or blurry subjects can still drift. Compare eyes, hands, wheels, and repeated product details before using the drawing for production.
It can be a useful visual draft, especially for simple silhouettes. It is not a substitute for a tattoo artist or production-ready embroidery file: simplify crossings, check line weight, and confirm the final design manually.
The model is treating texture, leaves, reflections, or architectural edges as meaningful contours. Crop closer to the subject, select Clean detail, or describe the background as blank and secondary in the prompt.
It can tidy a readable sketch, but faint construction marks and overlapping strokes may be interpreted as final lines. Use a high-contrast scan and expect to erase or redraw a few ambiguous areas.
JPG, PNG, and WEBP are suitable for normal uploads. PNG is preferable when the source already has transparent areas or crisp black lines; a larger file cannot restore detail that is absent from a blurred photo.
Use a sharp, lightly compressed image with the full subject visible. Heavy blur, tight cropping, or repeatedly edited files make important details harder to preserve and review.
✦ One focused tool, ready for your next idea
Image to line art conversion reduces color and surface noise so you can study the structure of a photo or drawing. Use it as a tracing or coloring starting point, not as a promise that every texture becomes a correct line.
Start with Image to Line Art