

 Before
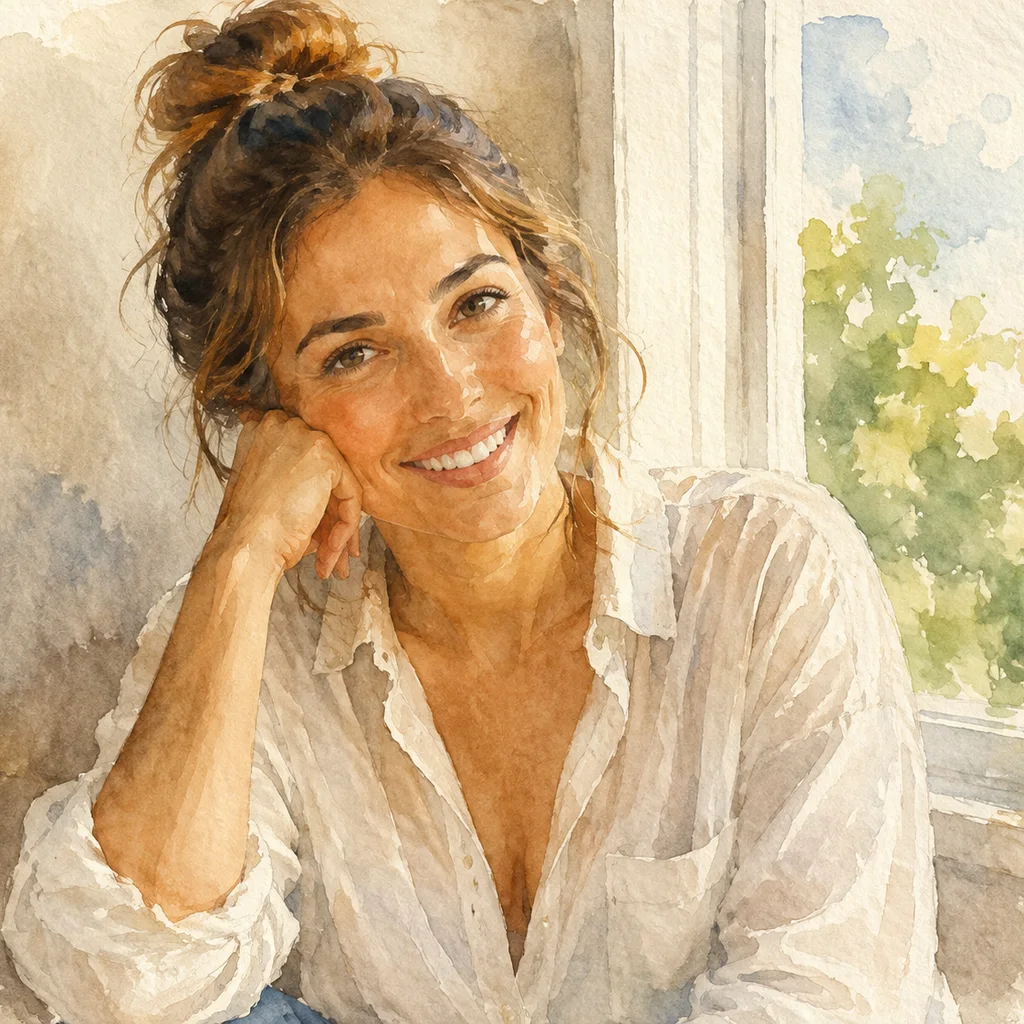 After
AfterPortrait reimagined as a wash
Skin and hair become soft pigment while the likeness stays.
Photo to watercolor conversion reinterprets a portrait, pet, or scene as painted artwork. It keeps the main framing while replacing photographic texture with pigment and paper, so it is a style study rather than a literal filter.
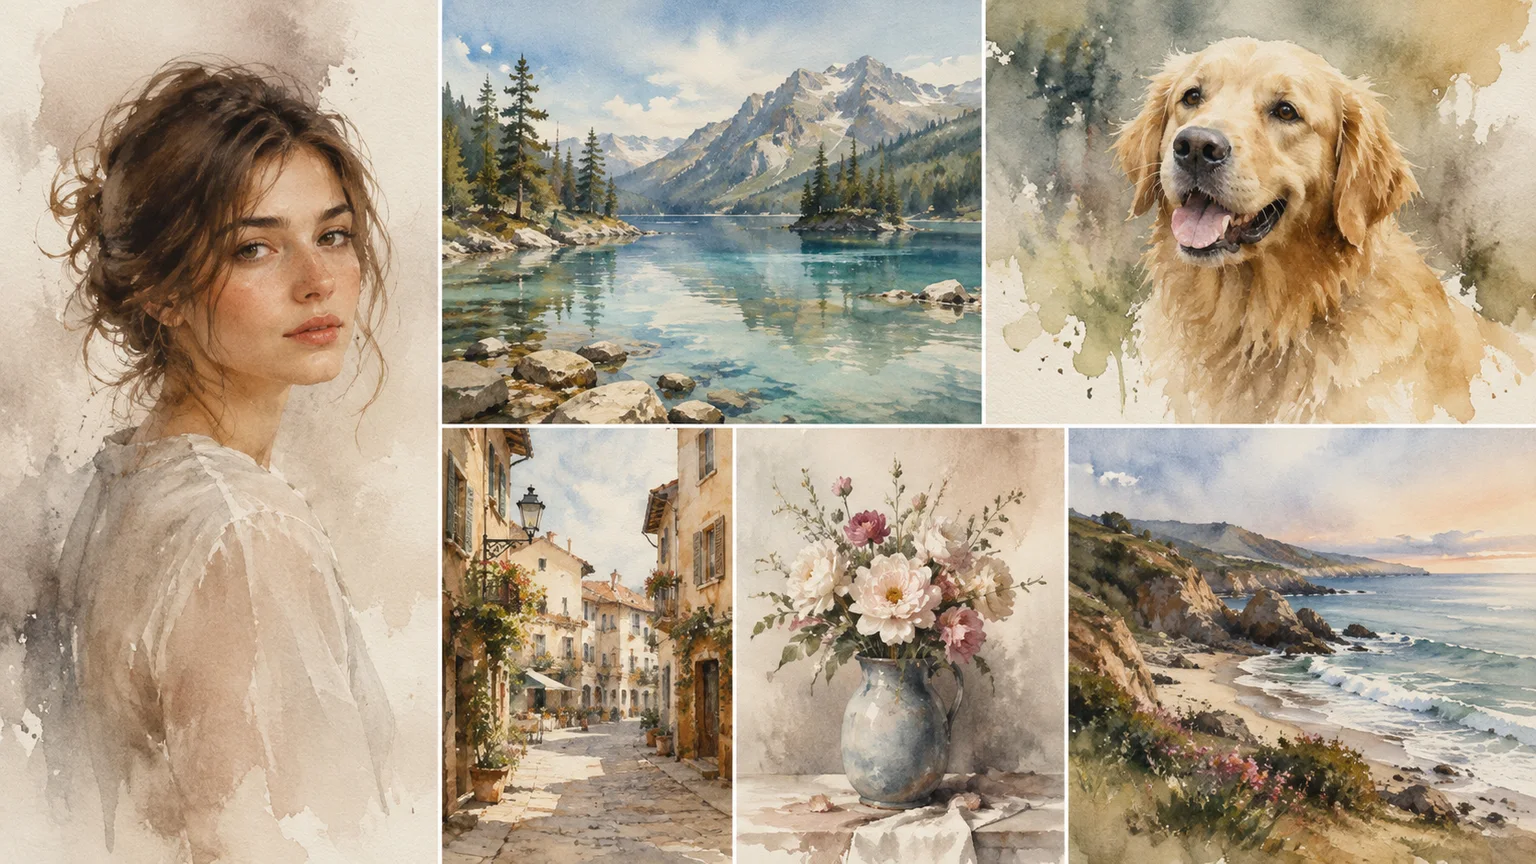
Photo to watercolor conversion reinterprets a portrait, pet, or scene as painted artwork. It keeps the main framing while replacing photographic texture with pigment and paper, so it is a style study rather than a literal filter.
Before / After
BeforeAfterSkin and hair become soft pigment while the likeness stays.
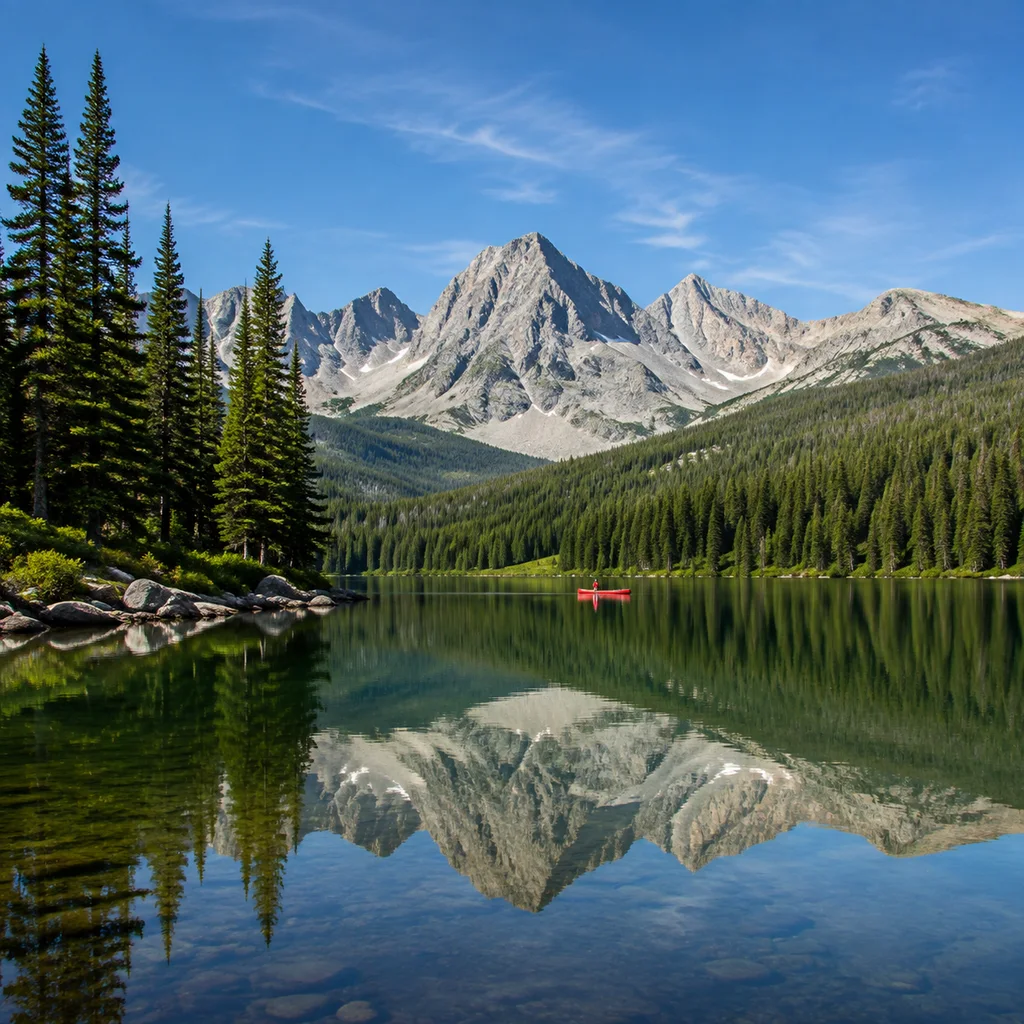 Before
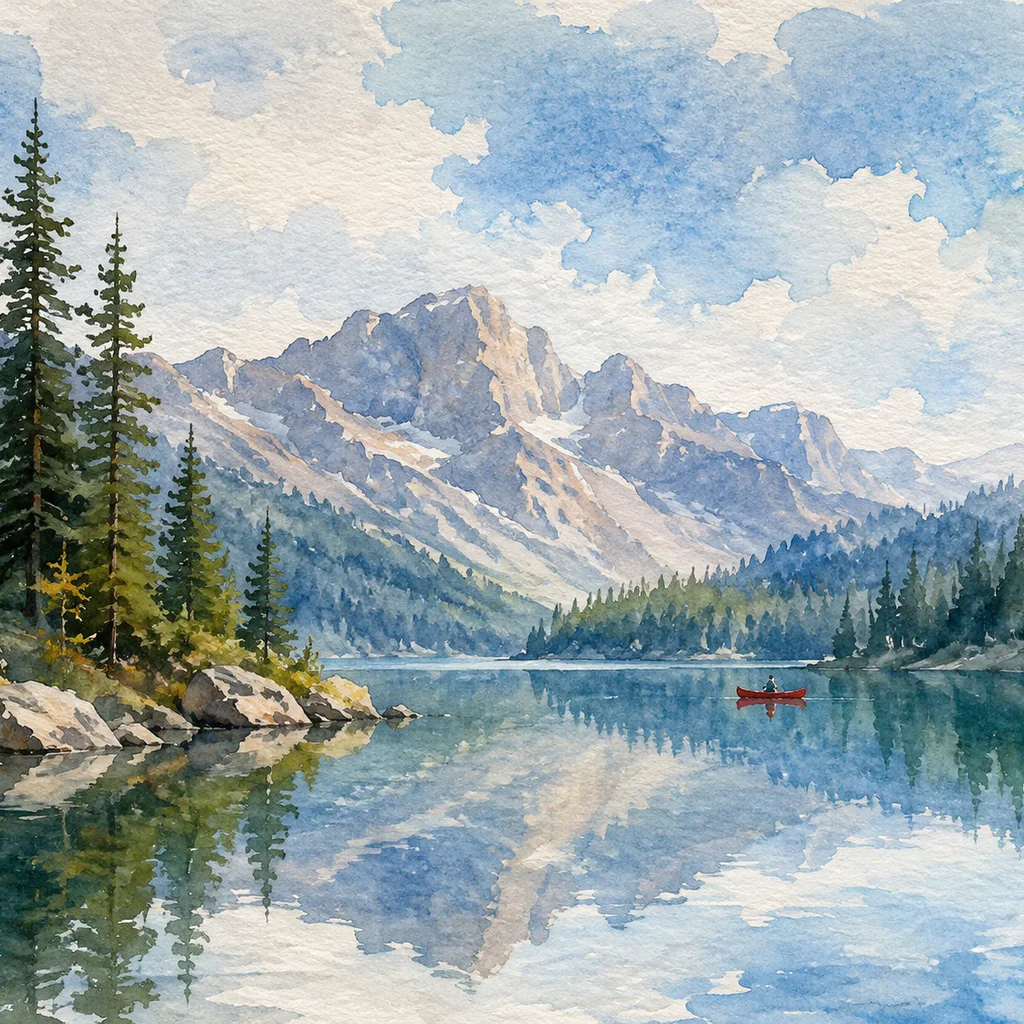 After
AfterSky and foliage pick up visible brush and paper texture.
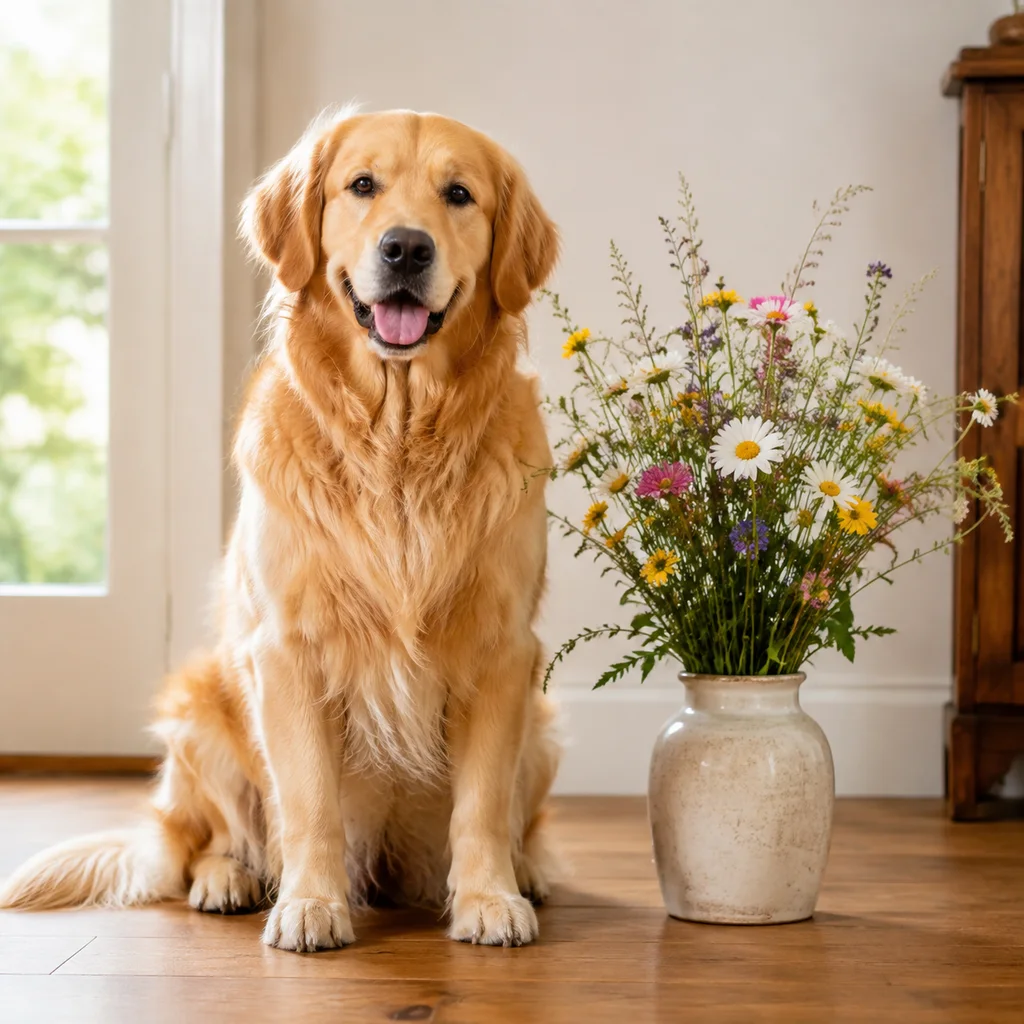 Before
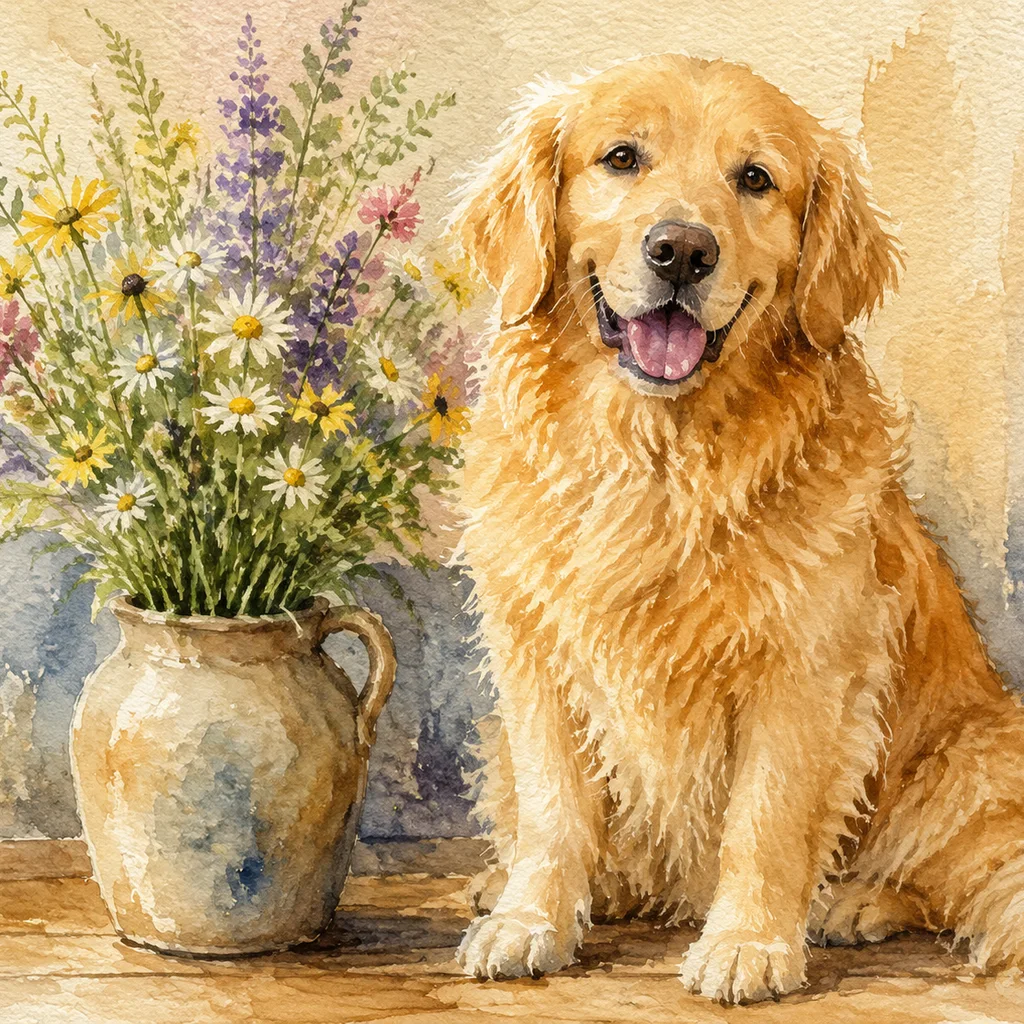 After
AfterA pet photo becomes a keepsake painting on a tinted ground.
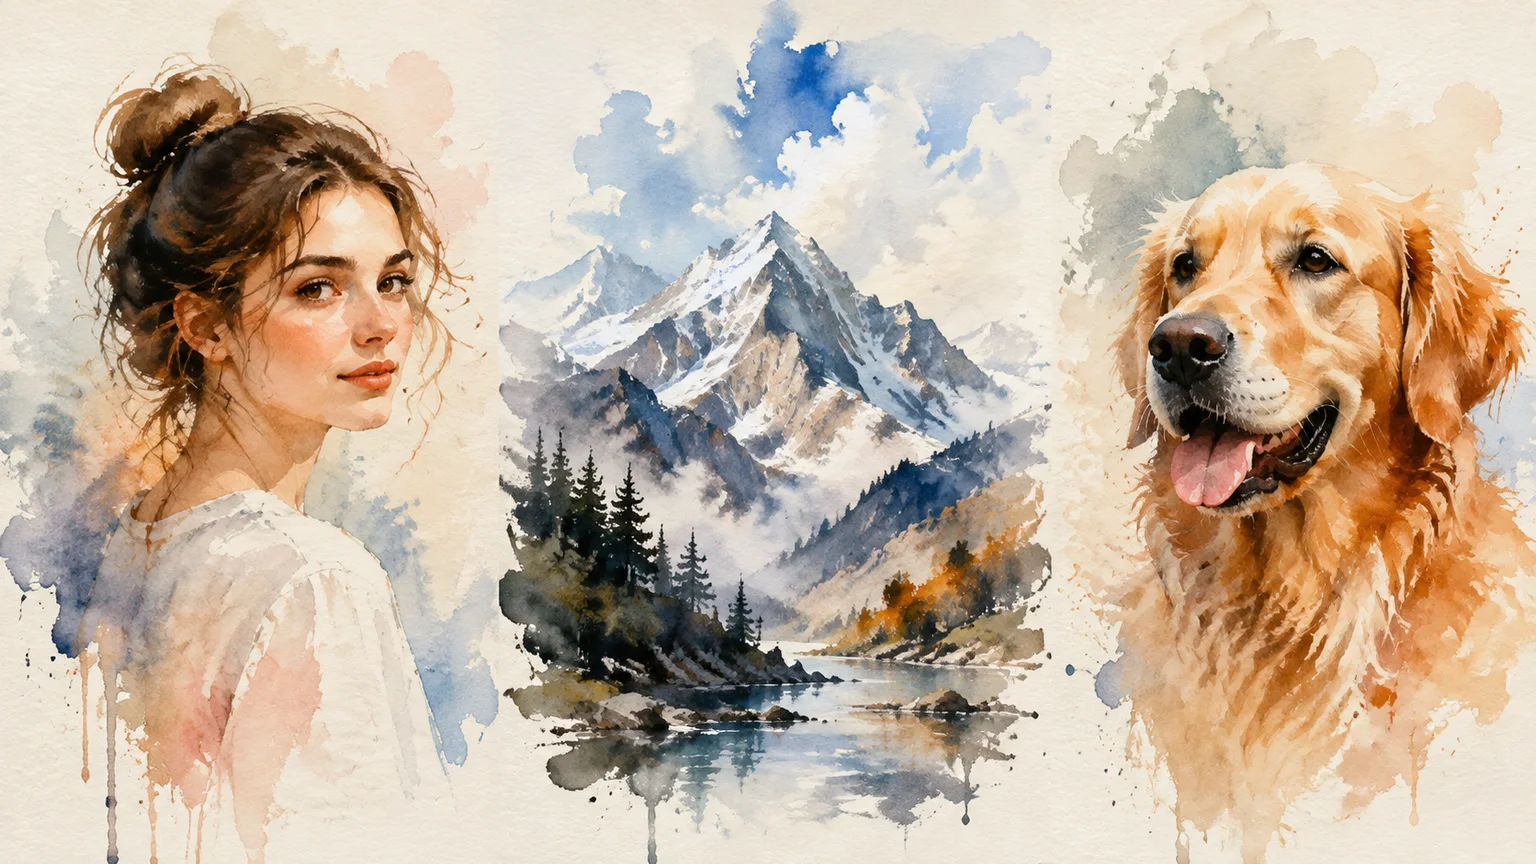
Unlike a flat filter, the conversion aims to respect your original pose and framing. Heavier pigment and rough paper add drama but can swallow fine detail like eyelashes or printed text.
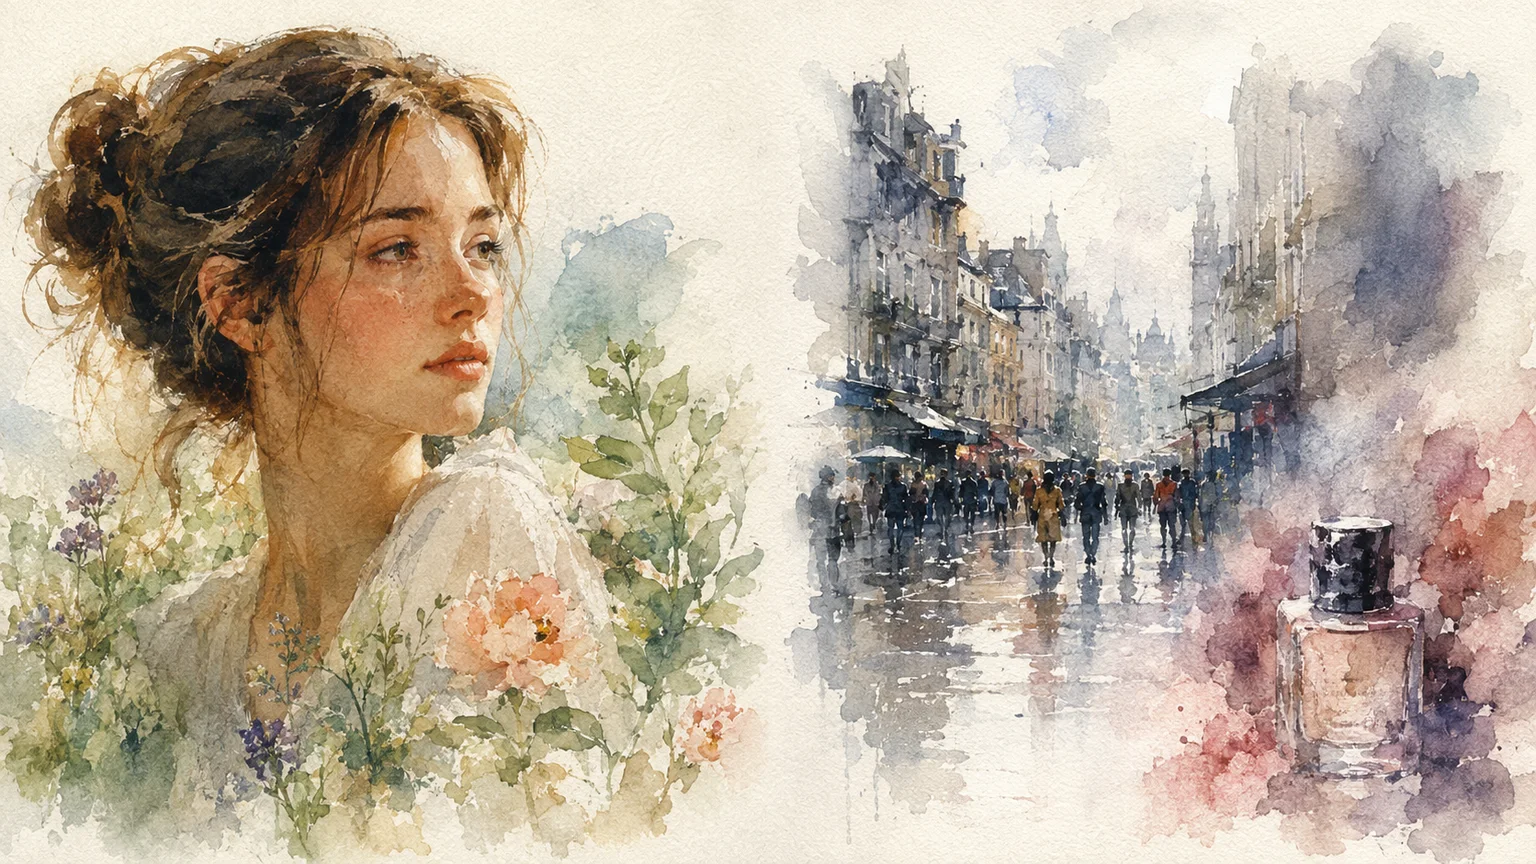
Tiny text, sharp product labels, and very busy scenes do not survive the wash — they blur into the background. For those, a cleaner line or a realistic style will preserve information better than watercolor.
A closer look
This tool reinterprets a photograph as a hand-painted watercolor so you can keep the moment while changing how it feels.
Why it works
Keep the original moment
Choose a painted medium
Export frame-ready art
Creator notes
Eight grounded snapshots from everyday image work—from quick social posts to client-ready drafts.
“I came in for one quick product image and stayed to try three directions. The workflow never made me feel like I needed a tutorial first.”
 Maya R.E-commerce manager
“The controls are restrained in a good way. I can get a useful draft, download it, and finish the last ten percent in my usual design app.”
 Jon BellFreelance designer
“What won me over was consistency. I can repeat the same brief without rebuilding every setting from scratch.”
 Priya S.Content lead
“The first result is often close enough to start a real conversation with a client. That alone saves me a round of mood-board work.”
 Owen K.Independent maker
“I tested it during a busy launch week. It was fast, clear, and I always knew what the next click would do.”
 Nina ParkSocial media editor
“Being able to keep the source image visible matters to me. I can judge what changed instead of guessing from memory.”
 Luis M.Photographer
“It feels designed for actual production work, not just a flashy demo. The examples are practical and the output is easy to hand off.”
 Sophie ChenBrand coordinator
“I mostly use it for small weekly assets. It turns the blank-page moment into something I can react to in a couple of minutes.”
 Tom W.Newsletter creator
Photo to Watercolor
If likeness matters, start with Light or Balanced intensity and compare the result with the source. Heavy pigment and rough paper add stronger artistic texture and may soften facial features.
Choose Transparent for a lighter, transparent-style background wash. It does not guarantee an alpha channel; check the downloaded file and use an editor for true cutout transparency.
Watercolor pools and merges tones. Images with lots of small contrast — text, grids, fine patterns — lose that detail in the wash. Start from a photo with one clear subject.
Cold press is the classic watercolor tooth, hot press is smoother and more modern, rough is the most expressive. Preview each; the same photo reads differently per paper.
Yes on art paper, but check the result at 100% first. Very soft settings can look low-resolution when printed large, so keep intensity moderate for wall-sized output.
It can add artistic charm to softer images, but heavy grain or blur will carry into the painting. For damaged photos, restore or upscale before applying the watercolor style.
Use a sharp, lightly compressed image with the full subject visible. Heavy blur, tight cropping, or repeatedly edited files make important details harder to preserve and review.
Compare the output with the source at full size. Check identity, edges, text, hands, texture, and composition, and keep the original file for any important use.
✦ One focused tool, ready for your next idea
Photo to watercolor conversion reinterprets a portrait, pet, or scene as painted artwork. It keeps the main framing while replacing photographic texture with pigment and paper, so it is a style study rather than a literal filter.
Start with Photo to Watercolor