

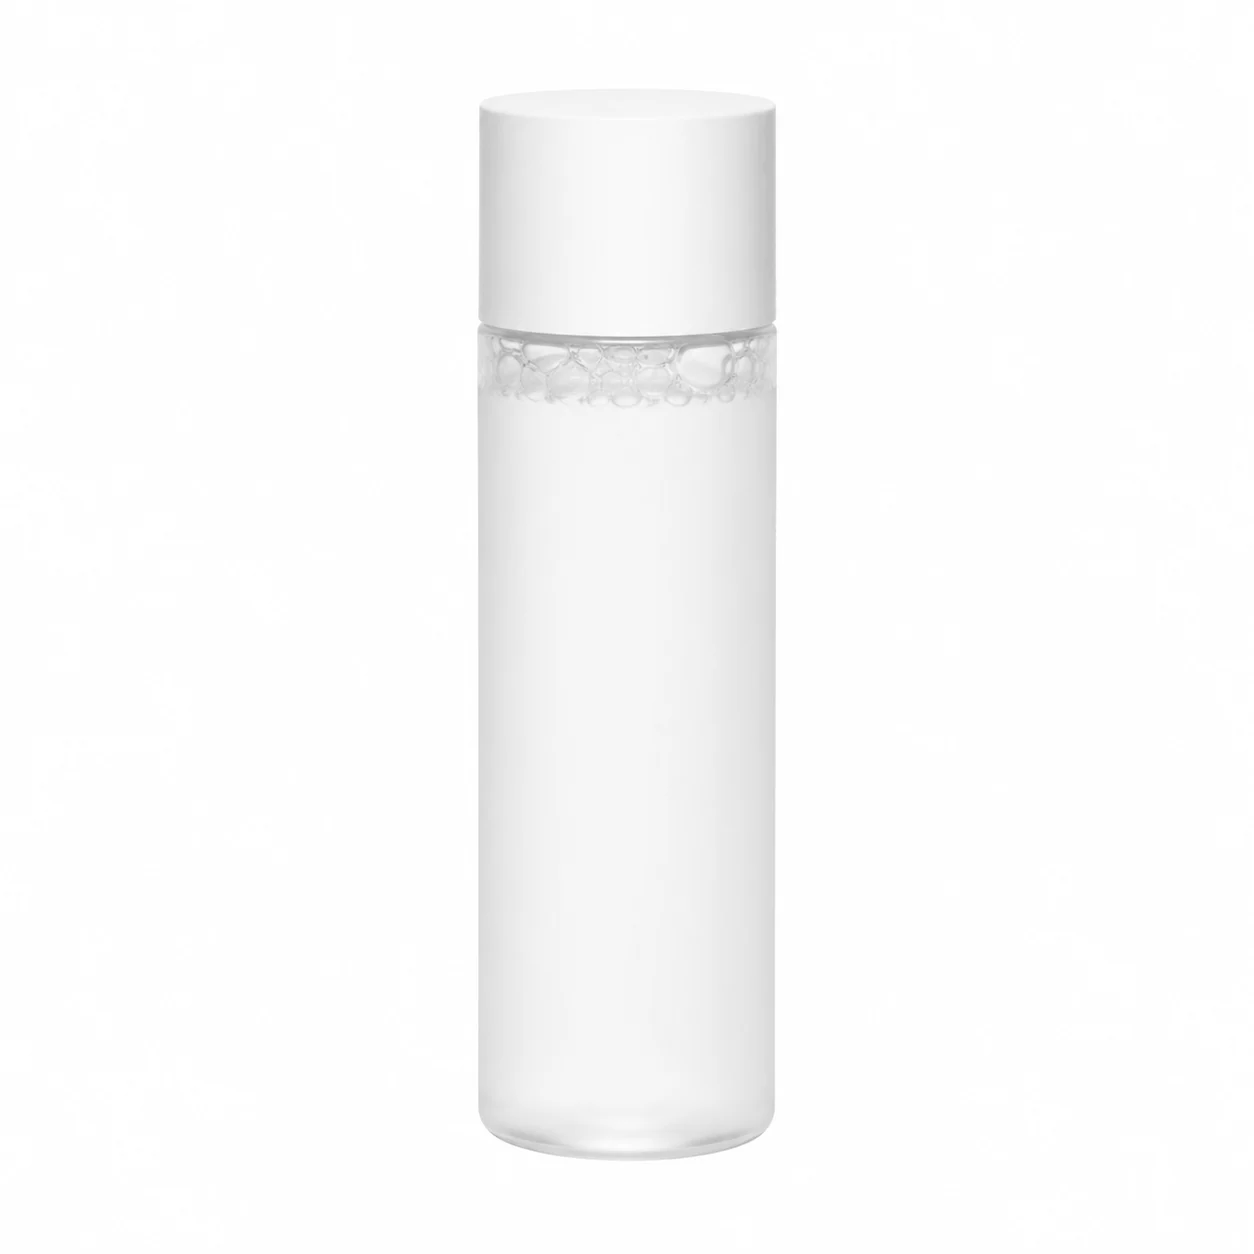
 Before
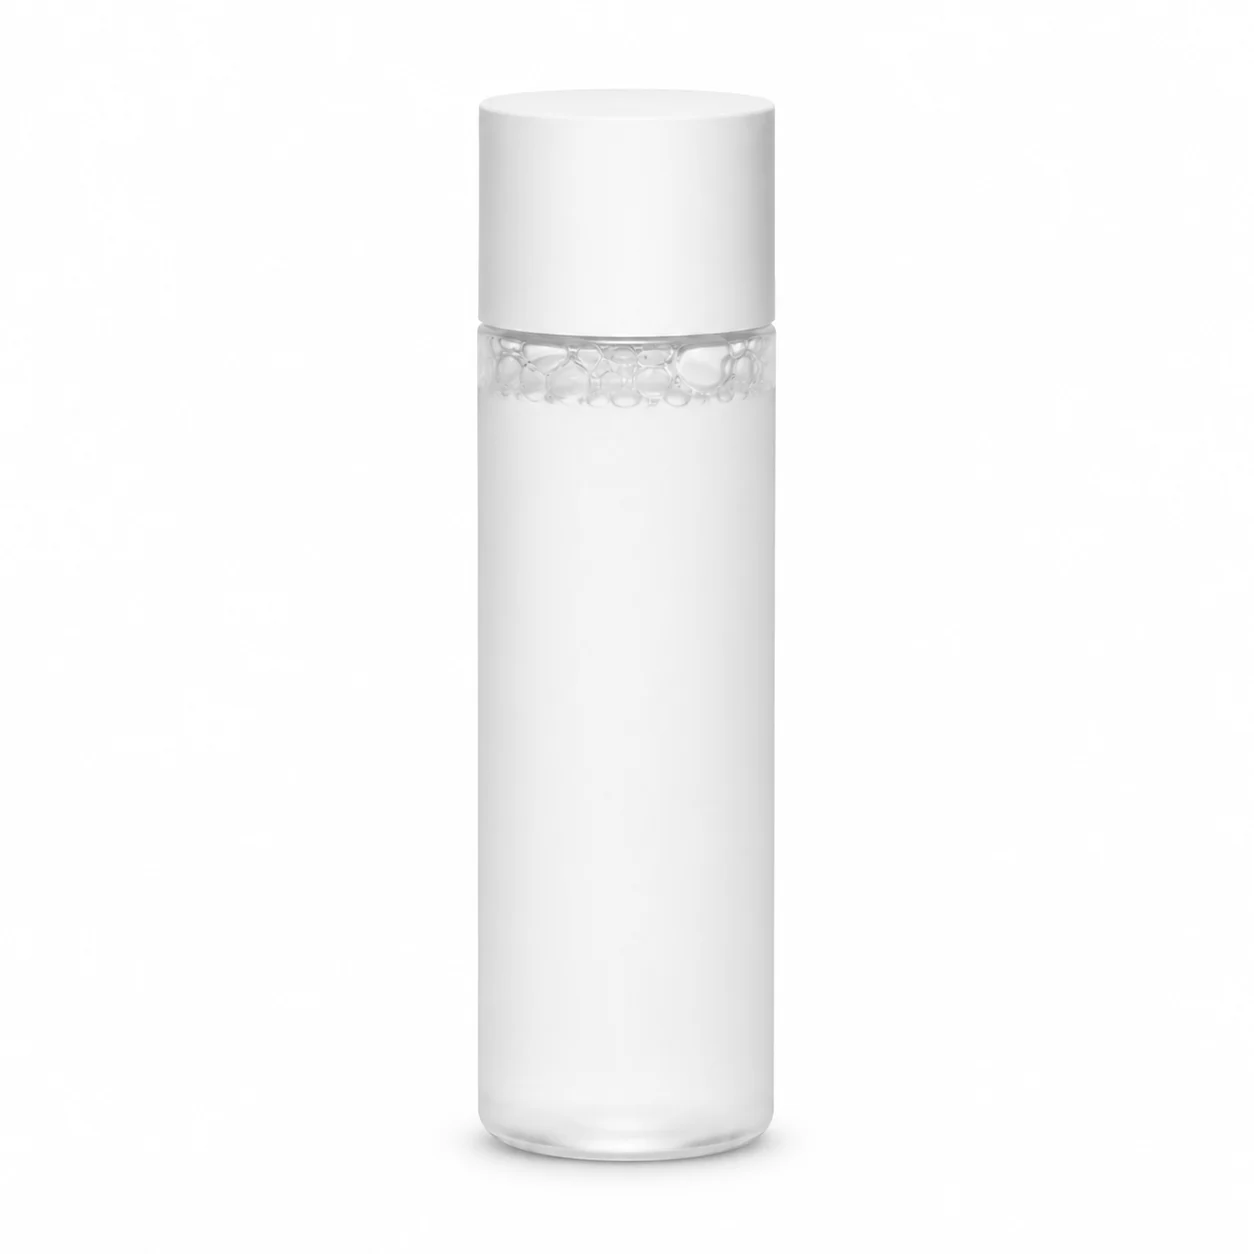 After
AfterSkincare bottle contact shadow
A skincare bottle gains a short contact shadow that follows its circular base.
Add shadow to a product photo when a cutout feels pasted on. Choose contact, drop, or floating depth and keep the product artwork unchanged while you judge the light.
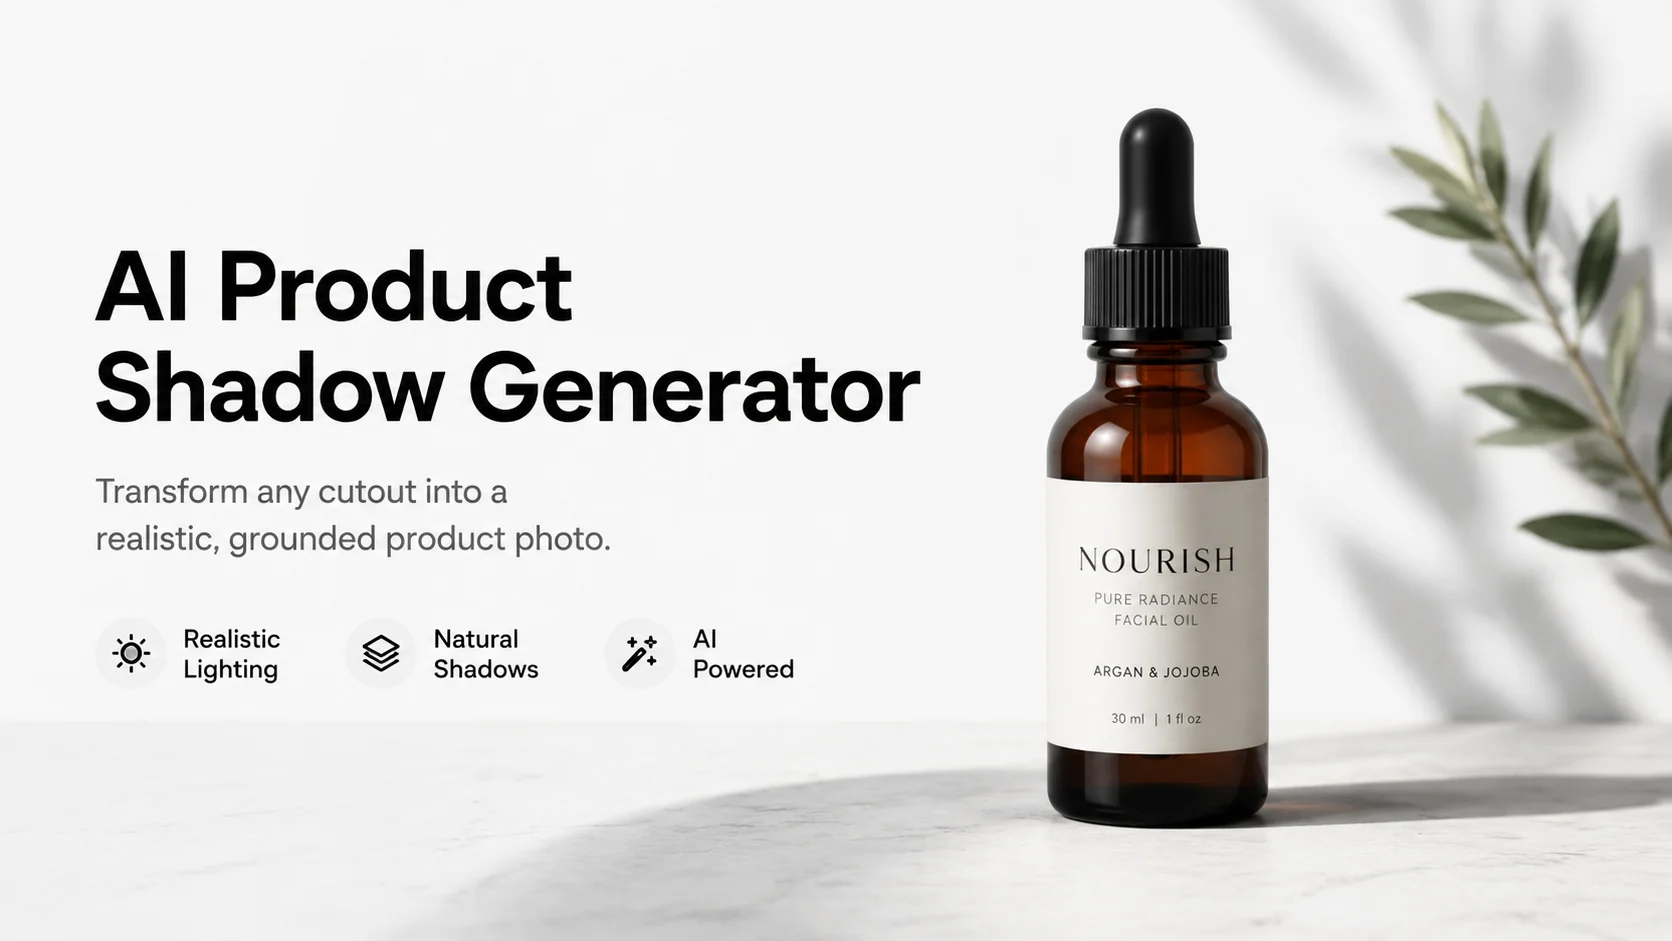
Add shadow to a product photo when a cutout feels pasted on. Choose contact, drop, or floating depth and keep the product artwork unchanged while you judge the light.
Before / After
BeforeAfterA skincare bottle gains a short contact shadow that follows its circular base.
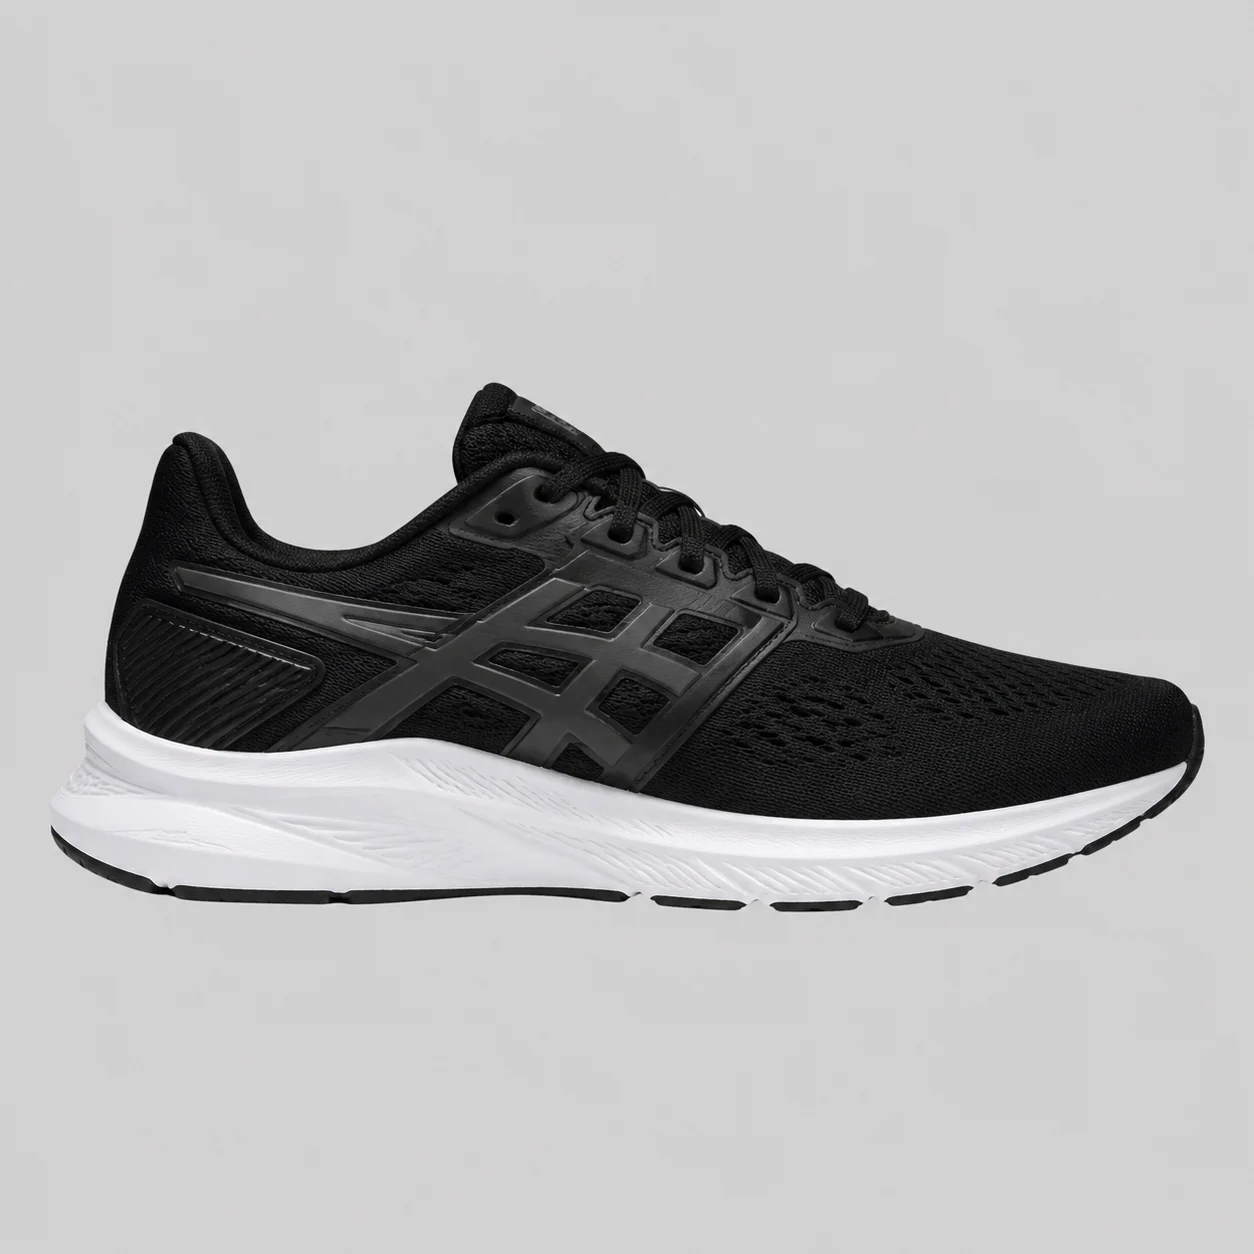 Before
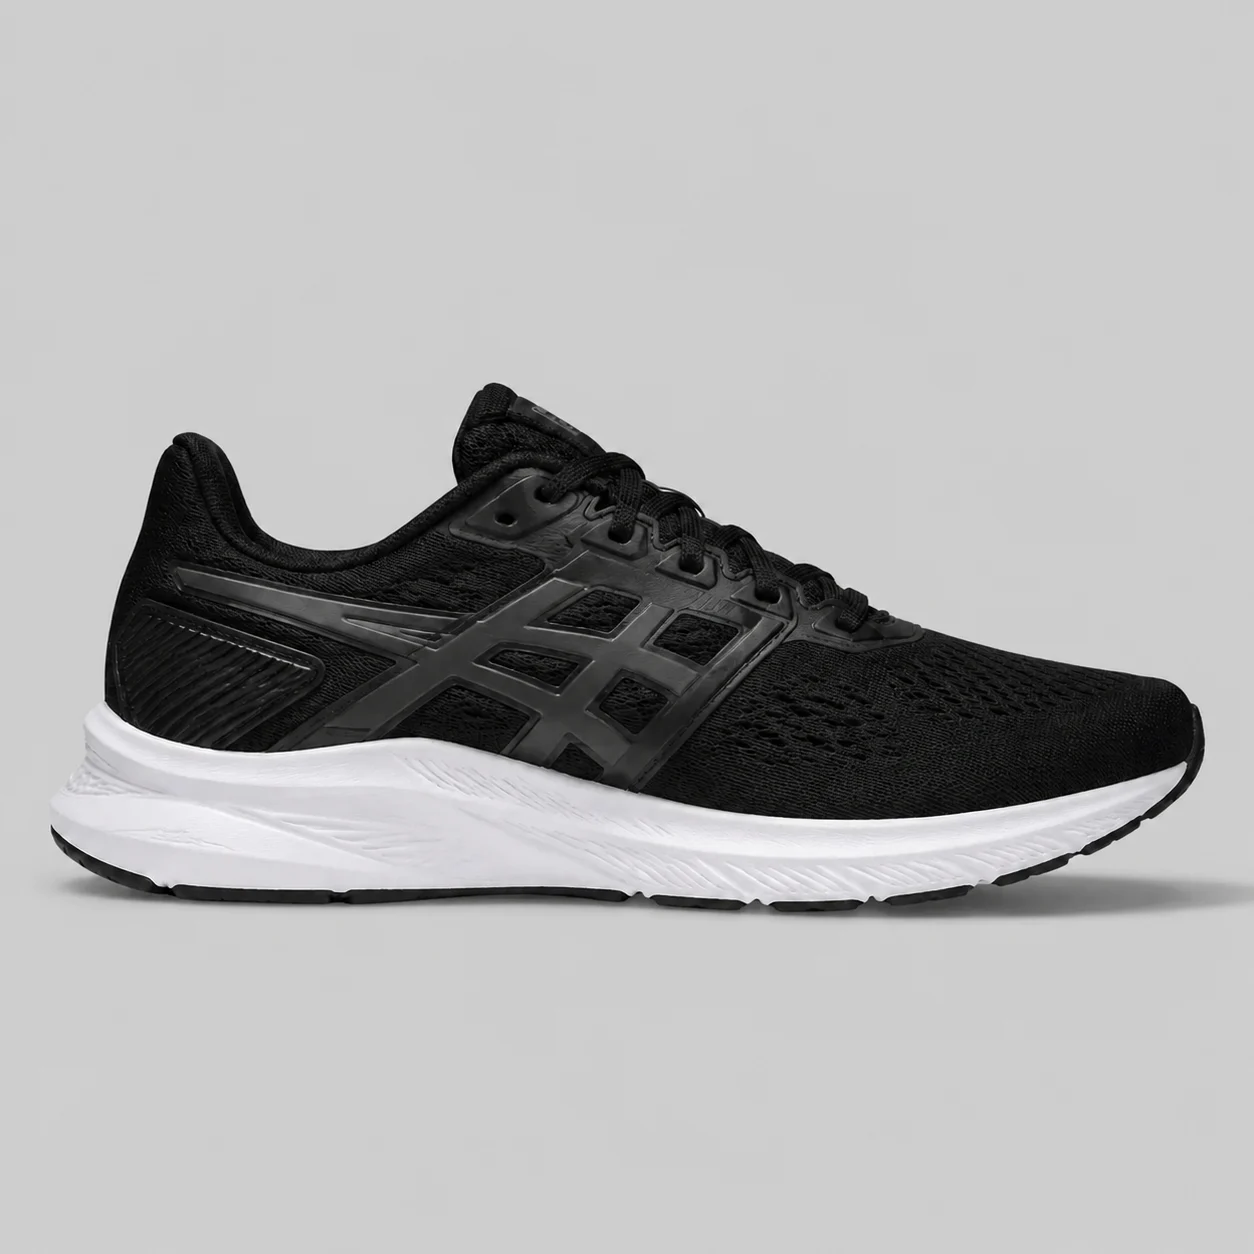 After
AfterA running shoe receives a longer side shadow that explains the chosen light direction.
 Before
 After
AfterHeadphones keep their suspended layout while a restrained shadow clarifies the distance from the surface.
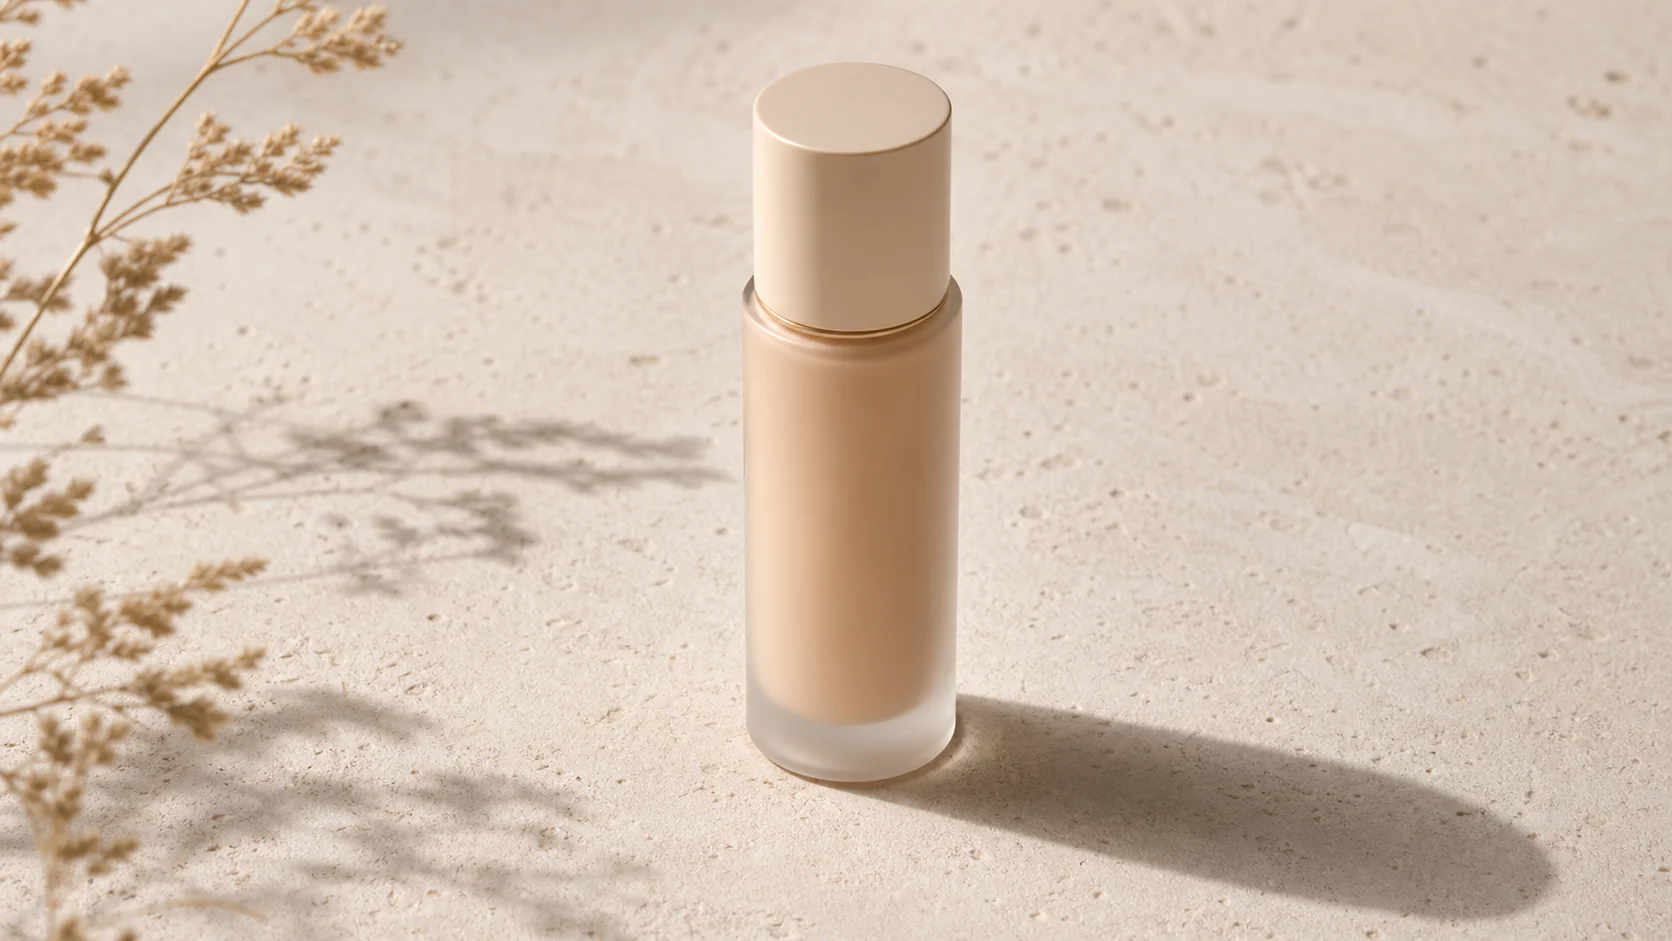
Contact shadows are about weight; drop shadows are about direction; floating shadows are a graphic choice. Picking the effect from the intended use produces a more believable result than making every image equally dramatic.
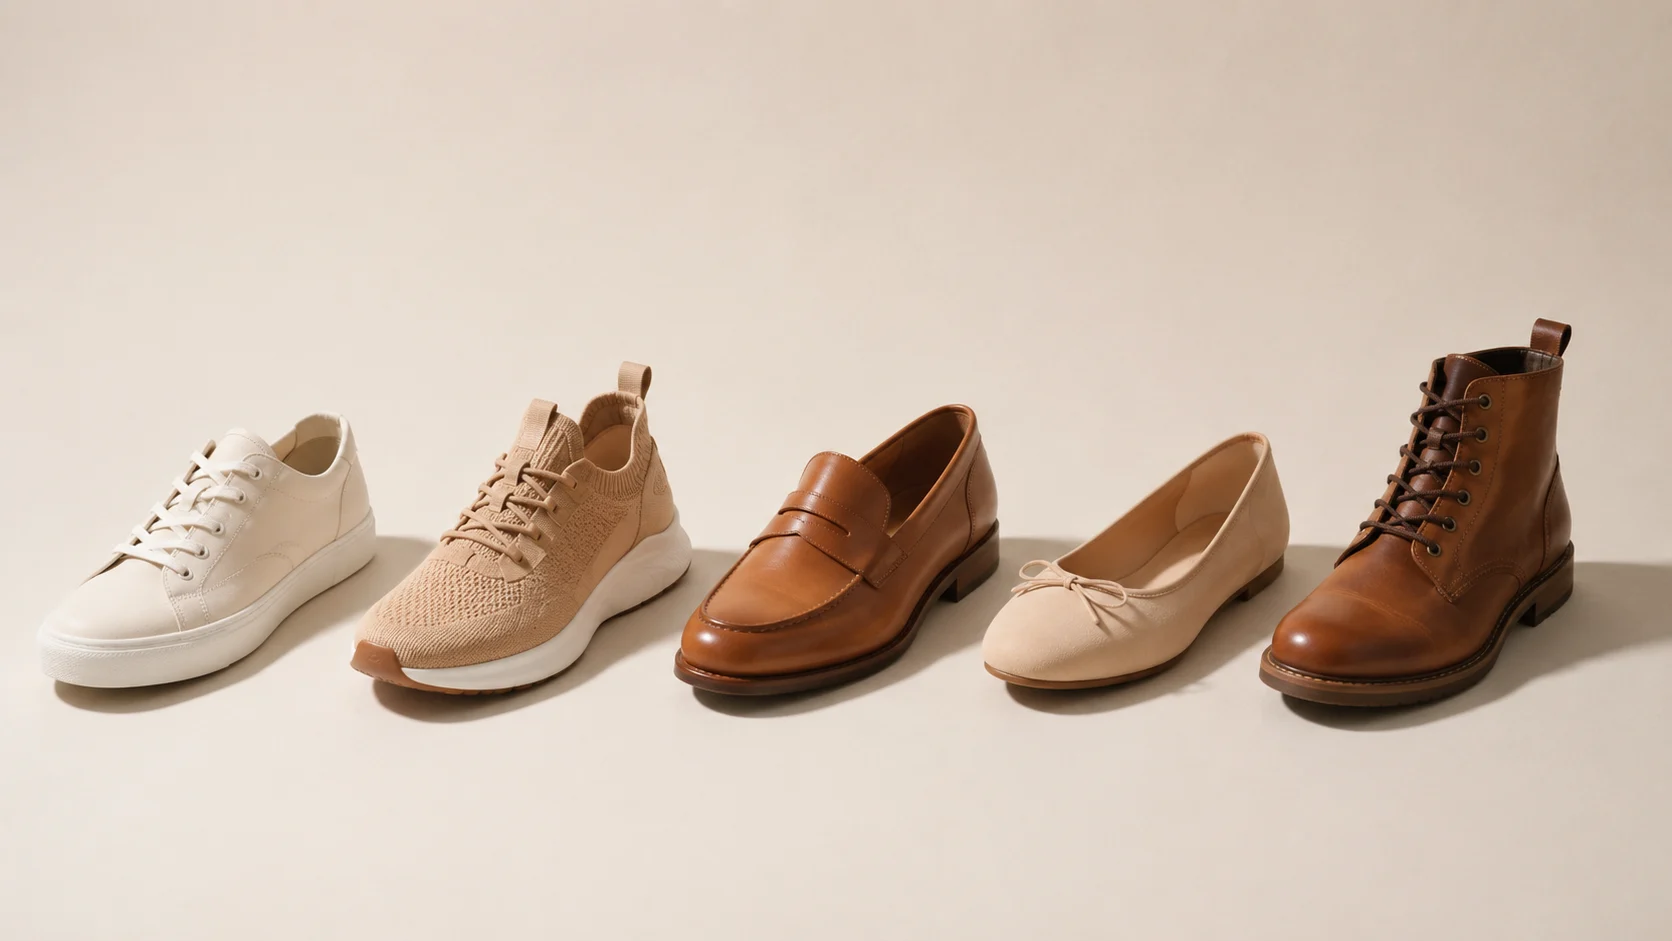
The original highlights still matter. If the product is lit from the left, a shadow that runs left will look contradictory even when its shape is clean.
A closer look
A believable shadow is a relationship between the product, the surface, and the light source. This workflow is for the moment when the object is already usable but appears to hover; it adds depth without asking the model to redesign packaging or color.
Why it works
Anchor the base instead of painting a generic dark mark
Keep shadow direction consistent across a product range
Separate marketplace depth from advertising drama
Creator notes
Eight grounded snapshots from everyday image work—from quick social posts to client-ready drafts.
“I came in for one quick product image and stayed to try three directions. The workflow never made me feel like I needed a tutorial first.”
 Maya R.E-commerce manager
“The controls are restrained in a good way. I can get a useful draft, download it, and finish the last ten percent in my usual design app.”
 Jon BellFreelance designer
“What won me over was consistency. I can repeat the same brief without rebuilding every setting from scratch.”
 Priya S.Content lead
“The first result is often close enough to start a real conversation with a client. That alone saves me a round of mood-board work.”
 Owen K.Independent maker
“I tested it during a busy launch week. It was fast, clear, and I always knew what the next click would do.”
 Nina ParkSocial media editor
“Being able to keep the source image visible matters to me. I can judge what changed instead of guessing from memory.”
 Luis M.Photographer
“It feels designed for actual production work, not just a flashy demo. The examples are practical and the output is easy to hand off.”
 Sophie ChenBrand coordinator
“I mostly use it for small weekly assets. It turns the blank-page moment into something I can react to in a couple of minutes.”
 Tom W.Newsletter creator
Add Shadow to Product Photo
Yes. Transparent edges usually give the model the clearest footprint, but inspect hair-thin accessories and semi-transparent material after generation.
Use contact for a listing image, drop for visible light direction, and floating for a campaign composition. The latter is rarely the safest choice for a marketplace hero image.
Highlights in the source already imply a light source. Match the shadow to those highlights or relight the product first so the two signals agree.
The softness choice controls the visual character rather than replacing a layer-based editor. Download the result for pixel-level opacity or blur adjustments.
Glossy metal and glass can confuse the light estimate. A matte product on a clean background is the better first test.
Use one representative product to decide the type, direction, and softness, then compare every other item against that reference instead of changing the recipe per image.
Use a sharp, lightly compressed image with the full subject visible. Heavy blur, tight cropping, or repeatedly edited files make important details harder to preserve and review.
Compare the output with the source at full size. Check identity, edges, text, hands, texture, and composition, and keep the original file for any important use.
✦ One focused tool, ready for your next idea
Add shadow to a product photo when a cutout feels pasted on. Choose contact, drop, or floating depth and keep the product artwork unchanged while you judge the light.
Start with Add Shadow to Product Photo